Receive from Cloud / Data Output

Click the SubC Data Routing icon
You will be prompted to Sign in with your SubC Stream Account (Use your email address that you’ve registered for SubC Streaming Services).
This interface allows you to receive data that you are transmitting over the SubC Streaming Service from another system/location and forward it to a different device/application.
Select Receive from Cloud / Data Output UI
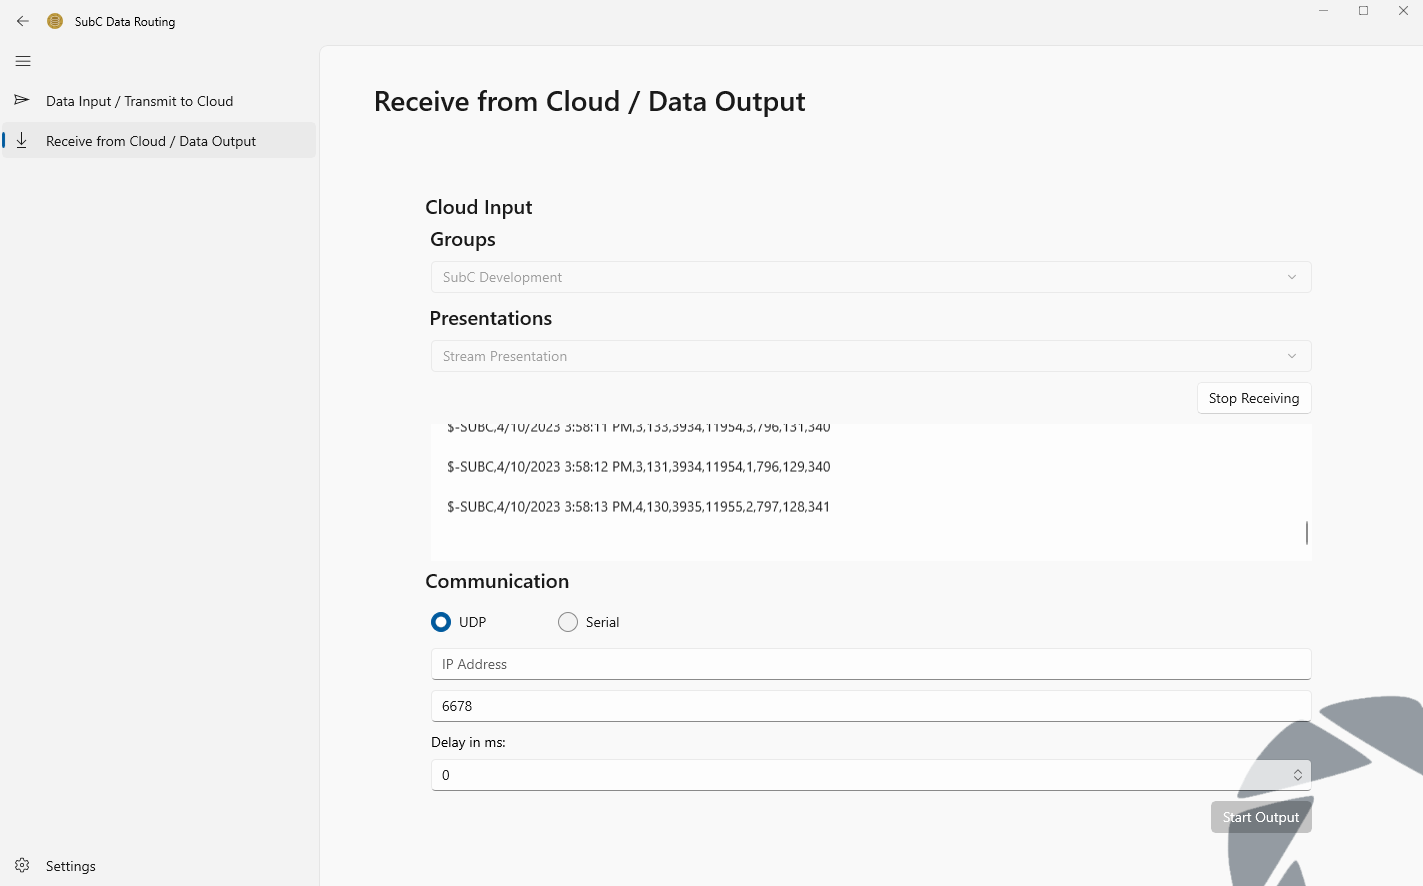
Cloud Input
With another instance of SubC Data Routing that is transmitting data (standalone) or a Streaming enabled application (companion) such as SubC Stream Desktop, transmitting data, you can receive the data via Cloud Input.
Under the Data Routing → Cloud Input section, select the Group & Presentation to which the data source system is transmitting.
Click Start Receiving
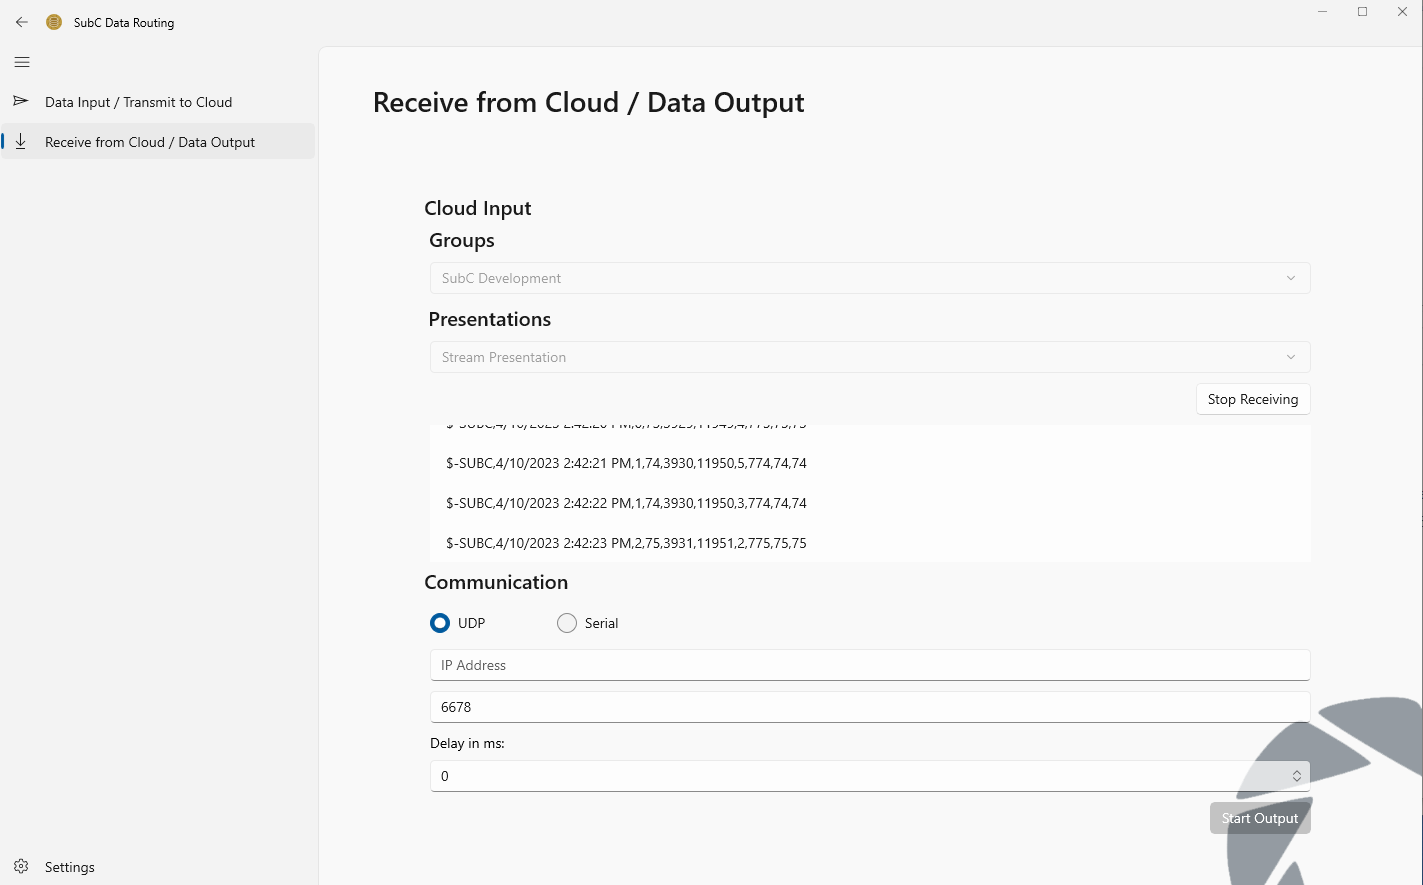
You will see data coming through in the preview window below.
Communication
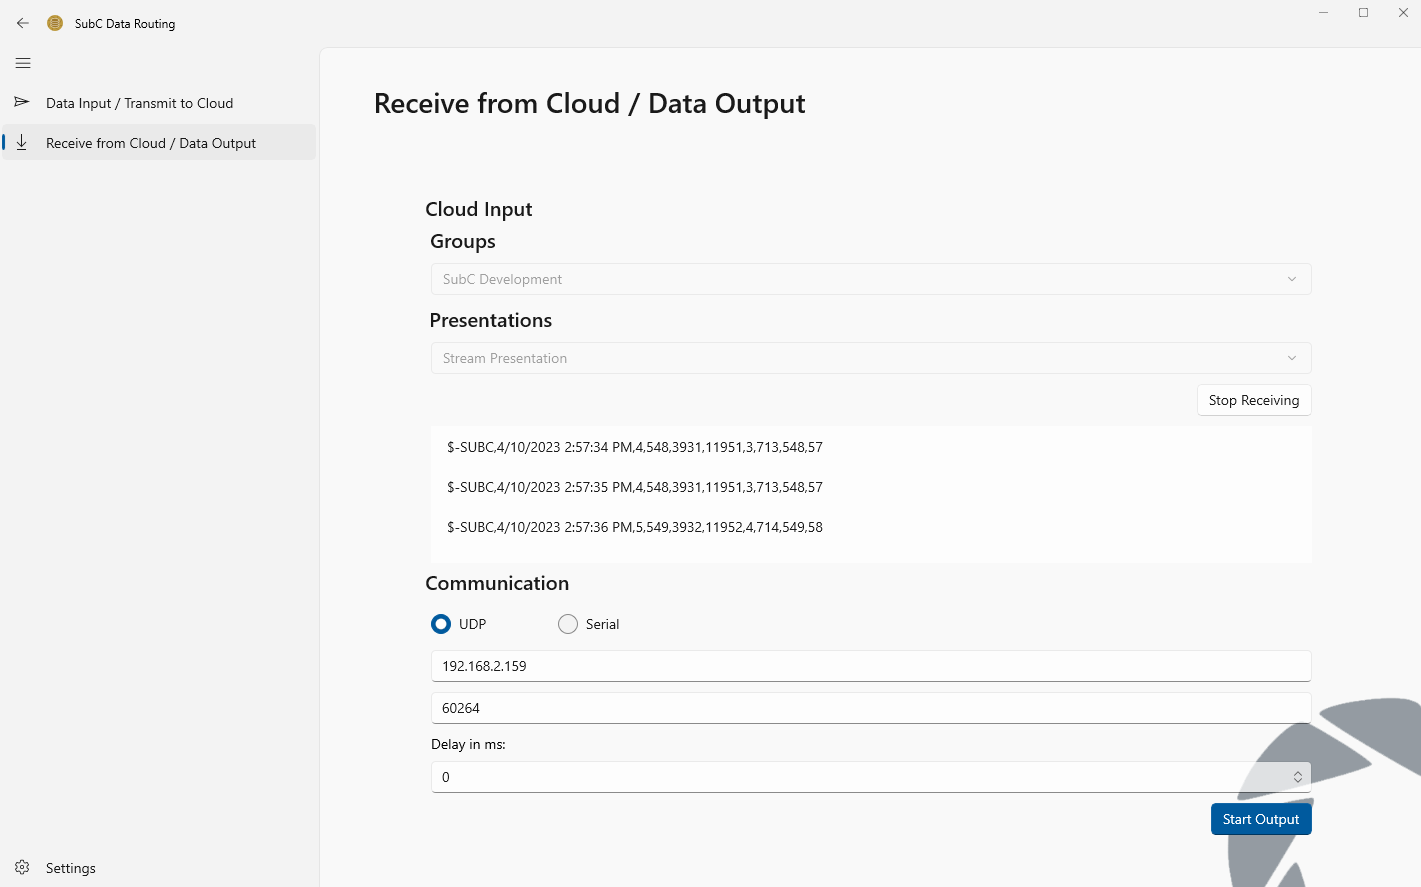
In the Communication section, the Data that in incoming via Cloud Input section, can be output to another target system.
Select UDP or Serial protocol
Enter the IP Address and the Port Number of the target system
Delay in ms: If you want to delay the data stream to match up it’s timing with another process you can enter the number of milliseconds here.
Click Start Output
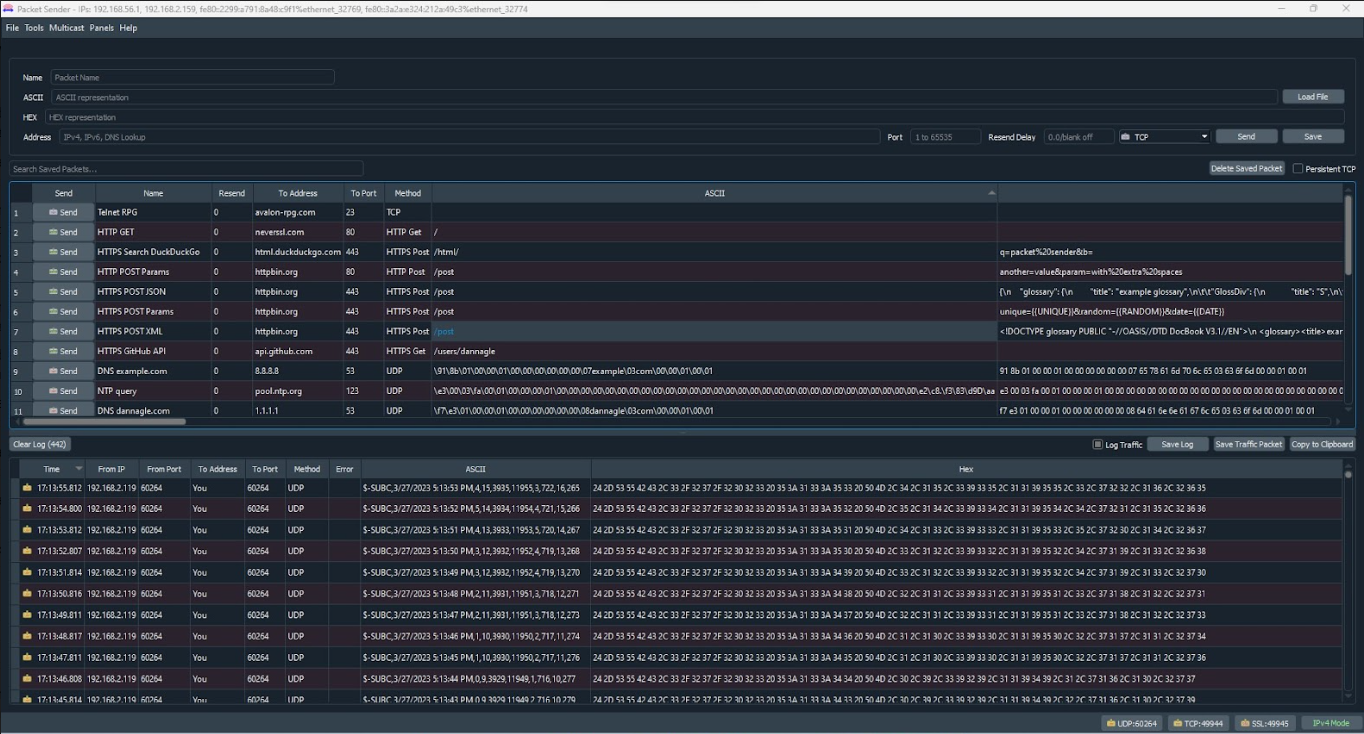
Target System
In this example, the target system is receiving the data into an application called Packet Sender which lets us visually verify that it is coming through.
Companion Example:
Use Data Routing to receive data that has been transmitted by another SubC streaming enabled application, such as SubC Stream Desktop application, then transmitted to another (Target) system/application.
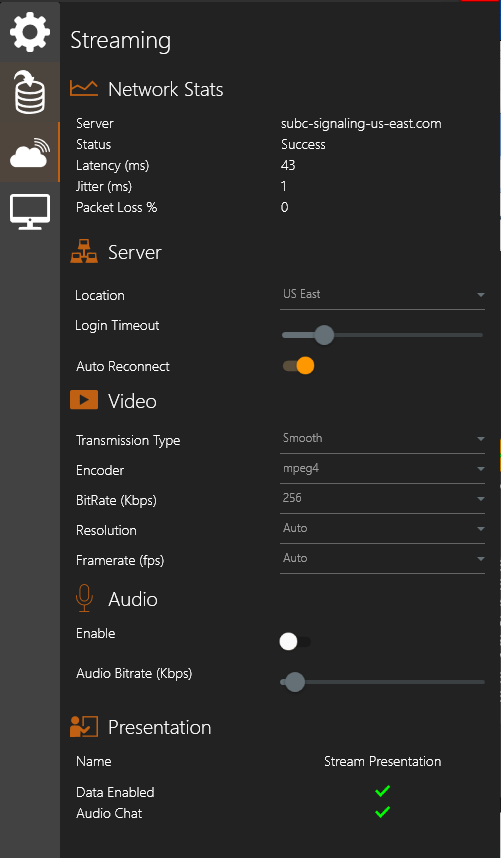
System 1: SubC Stream Desktop with Channel configured with Data Input & Streaming to a Group/Presentation
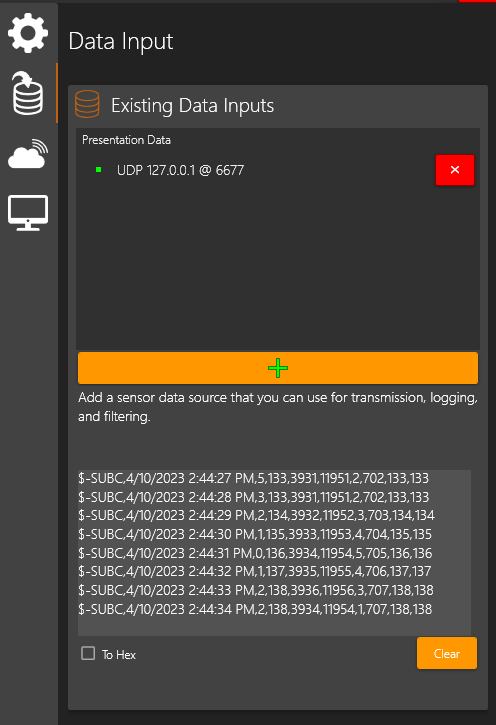
And it is Streaming to a Presentation called “Stream Presentation”
→ System 2: Data Routing: Receive from Cloud / Data Output (Cloud Input / Communication) we have the Group of the streaming Channel and the Presentation to which it is streaming selected, and we can see the data coming through the data view window.
→ Target System - Enter the IP Address & Port of the Target system and click Start Output