
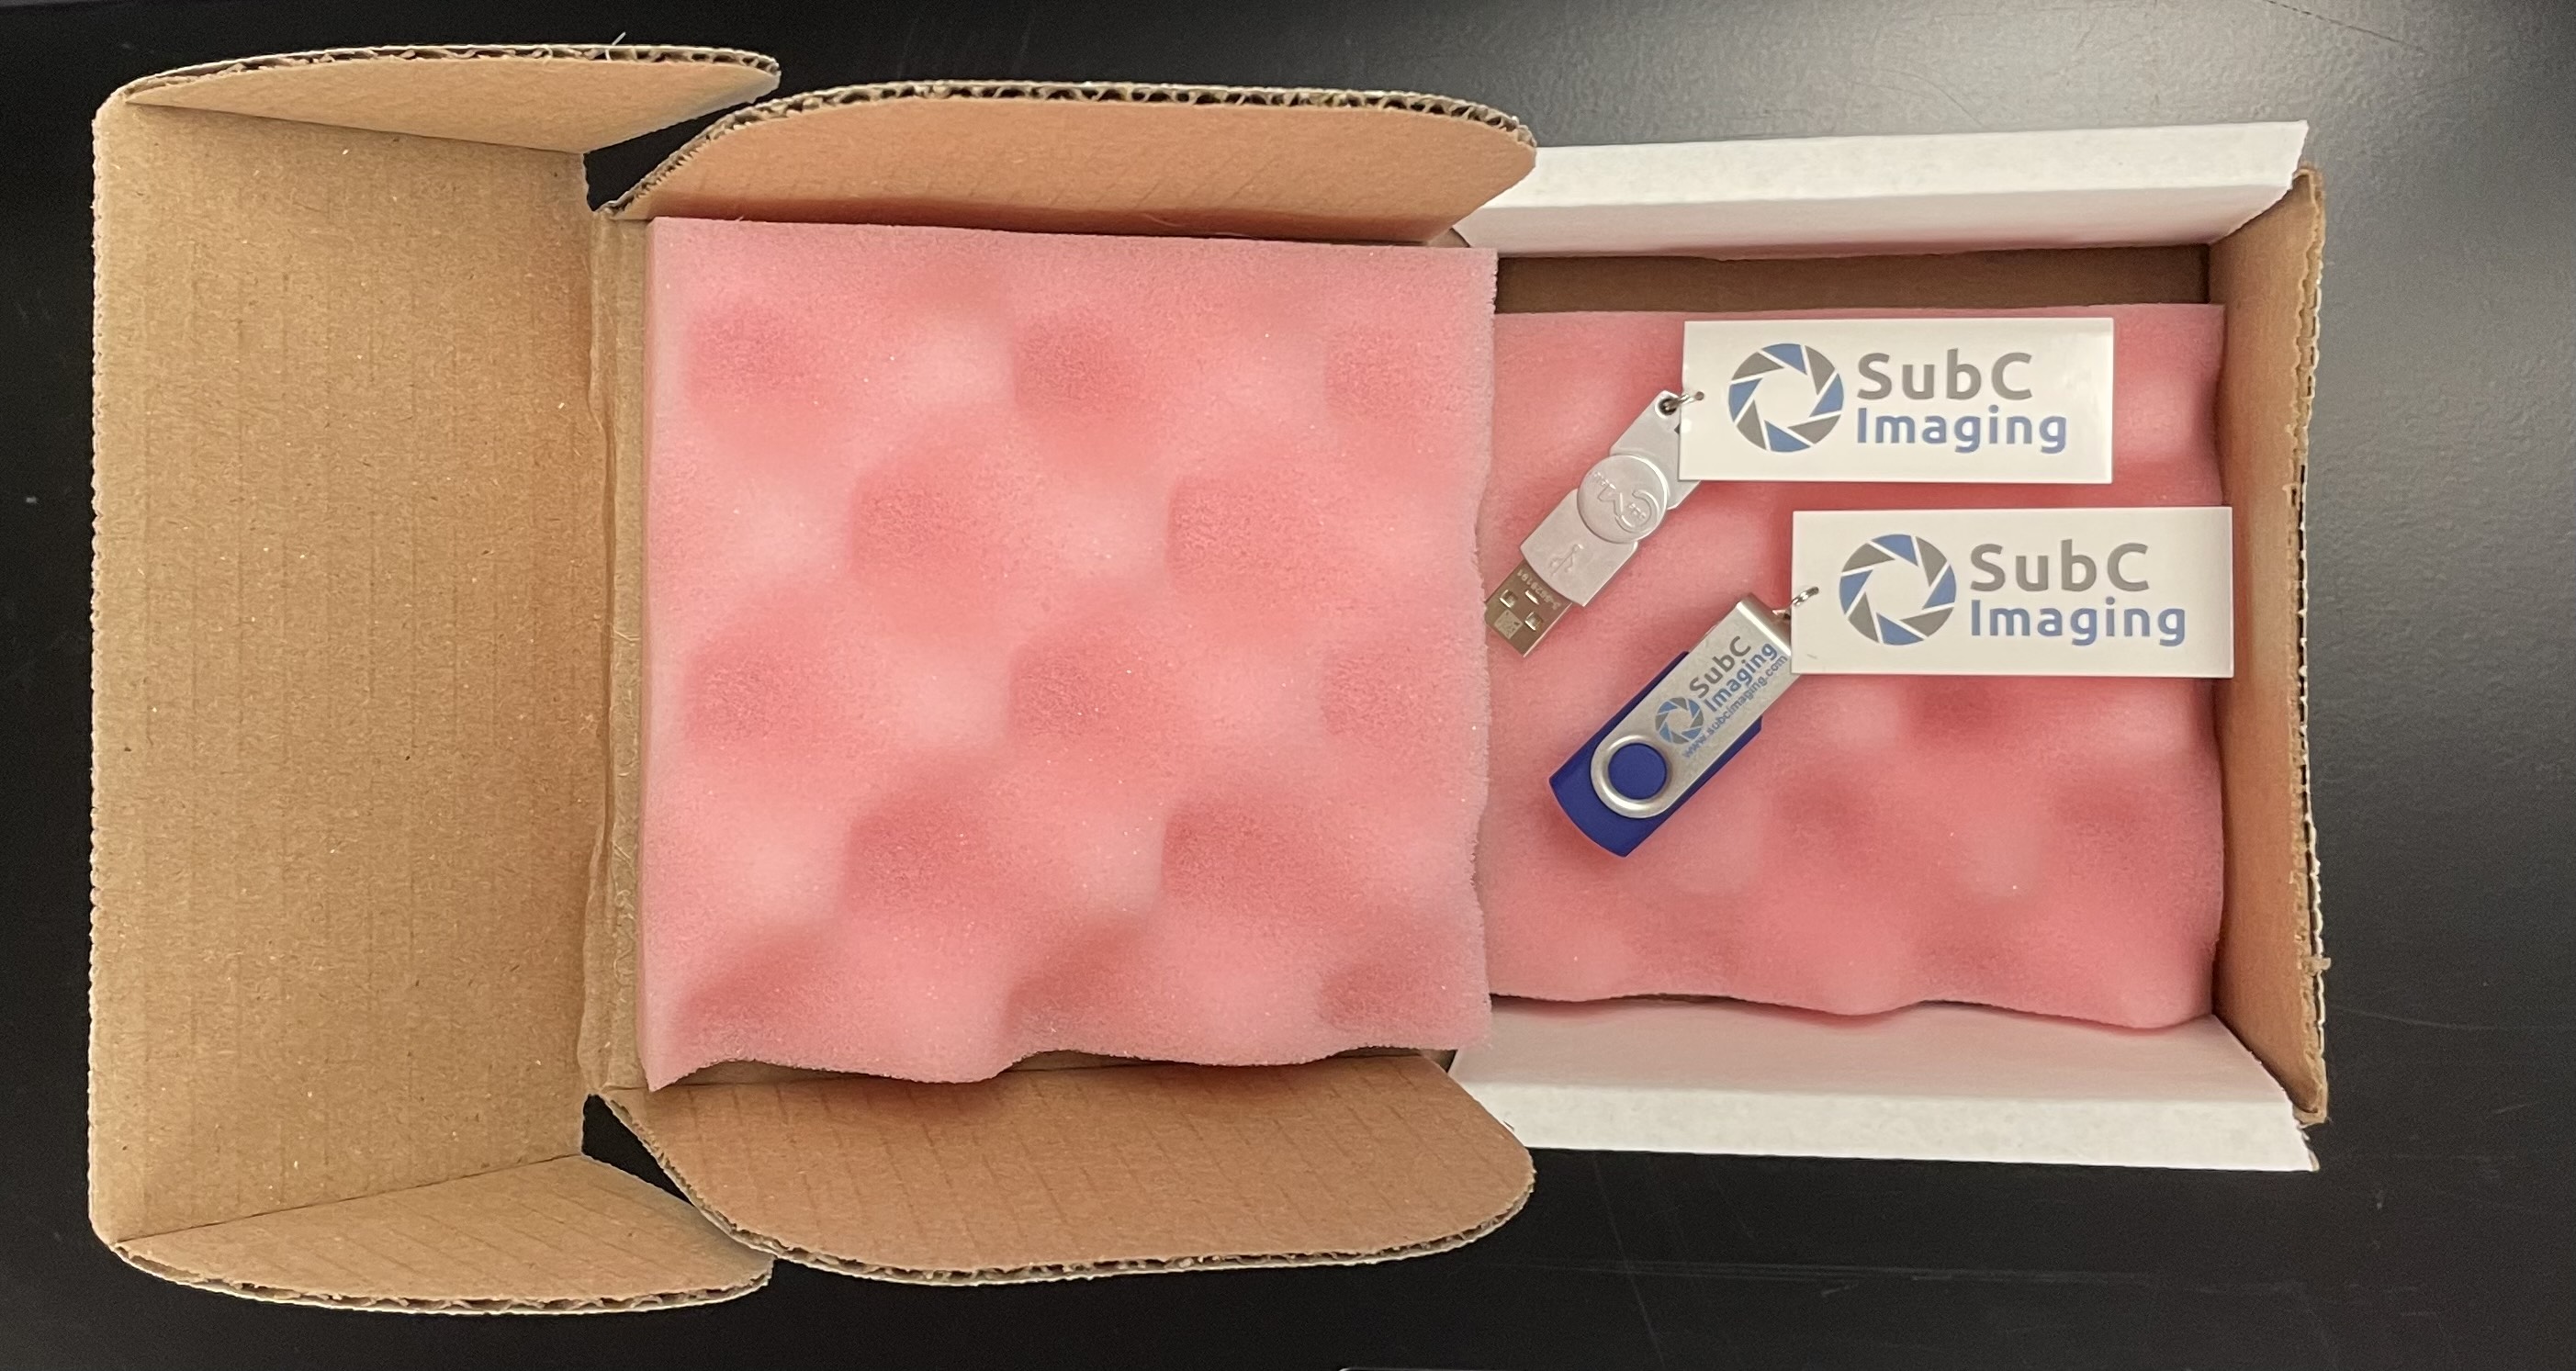
When you purchase SubC DVR+O / SCI software only, you have two licensing method options.
Option 1
-
If you wish to have the flexibility to relocate the DVR+O / DVR+O SCI applications to various systems, we will provide you with the DVR+O Software installation file on a flash drive and the Software CodeMeter License on a dongle.
-
Plug the flash drive that contains the SubC DVR+O Software installation file into a USB port on the system you wish to install.
-
Open a Windows File Explorer and navigate to the flash drive.
-
You can copy the Installation file to a folder on your system and run the installation from that location if you so choose.
-
-
Run the DVR+O installer and follow the prompts through the installation process.
-
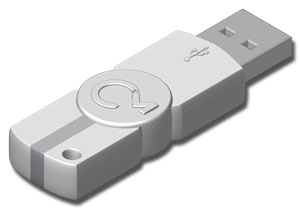
Plug the CodeMeter License dongle into the system.
-
The DVR+O / DVR+O SCI applications will not run unless the CodeMeter License dongle is plugged into the system. If you wish to run DVR+O / DVR+O SCI application on multiple systems simultaneously, you will require a CodeMeter License for each system.
Option 2
-
If you wish to use DVR+O / DVR+O SCI on a single system
-
We can provide you with a link to download the DVR+O v7 software installation bundle and we will provide you with a virtual CodeMeter License Update file to upload onto that specific system.
-
Your SubC Sales representative will contact SubC Support Team support@subimaging.com to make a request to generate your DVR+O virtual License Request & License Update file.
-
Software Installation
-
Go to https://getdvr7.subcservices.com/ to download the latest version of DVR+O v7
-
Open your Windows File Explorer → Downloads folder…
-
Click “SubCDVR+O v7.x.exe” to run the DVR+O installer and follow the prompts through the installation process.
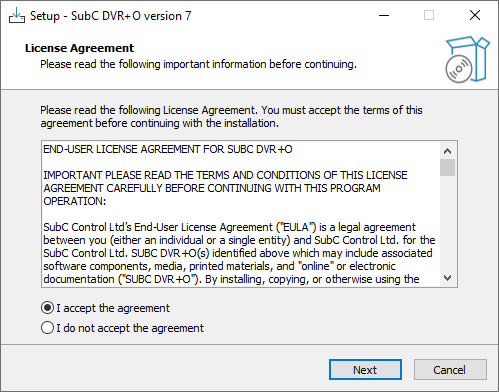
4. Select “I accept…” and click Next.
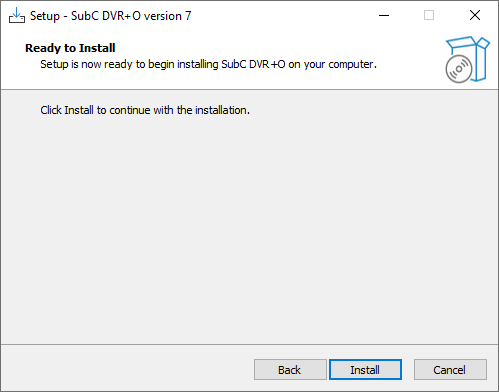
5. Click Install.
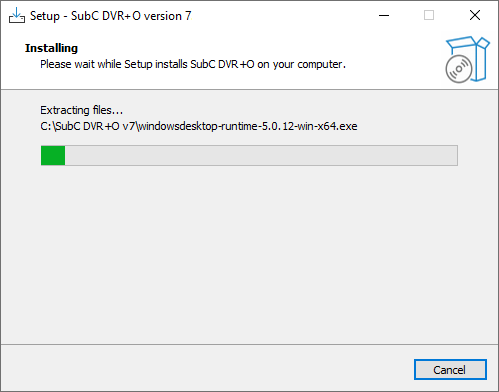
6. Wait for the installation to complete (it will only take a couple of minutes).
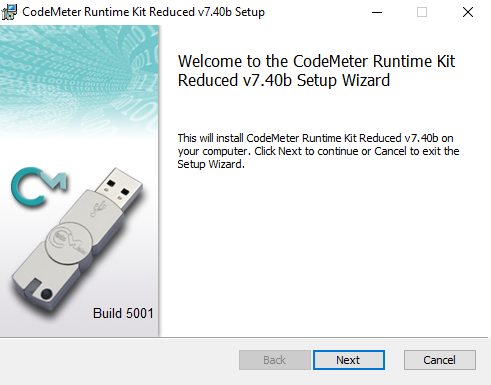
7. Click Next.
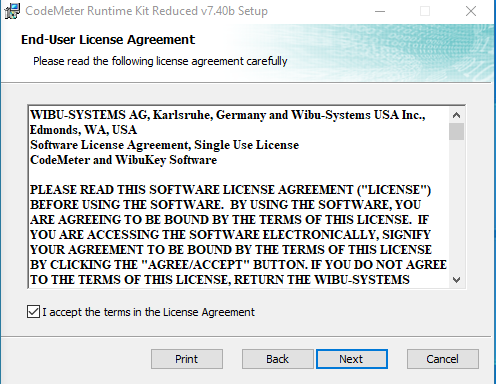
8. Select “I accept…” and click Next.
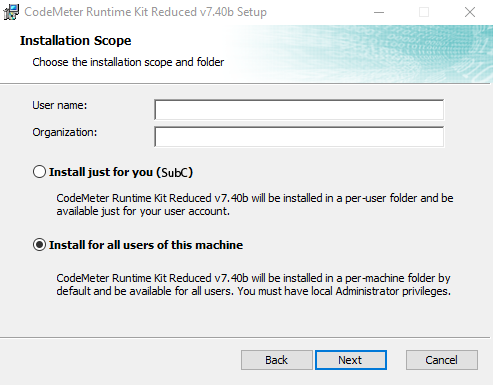
9. Select your preferred option and click Next.
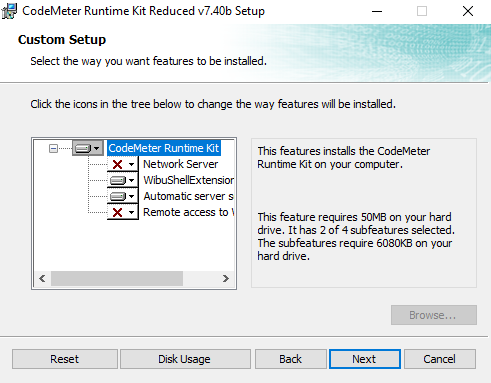
10. Click Next
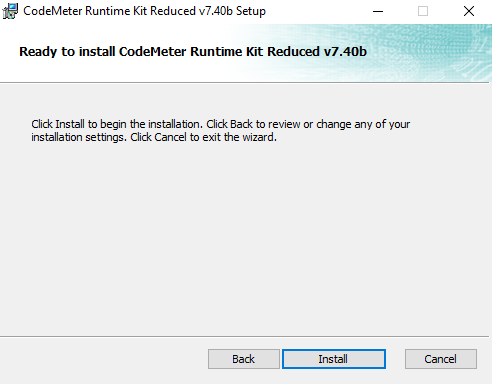
11. Click Install
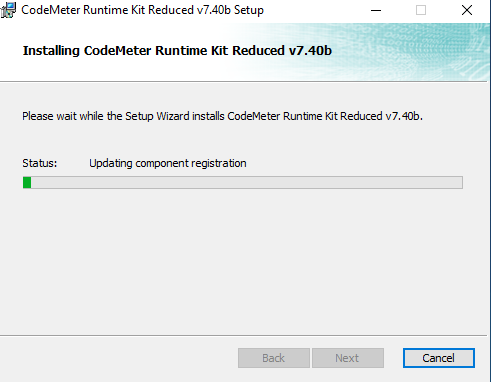
12. Wait as the CodeMeter Runtime Kit installs (it will just take a moment).
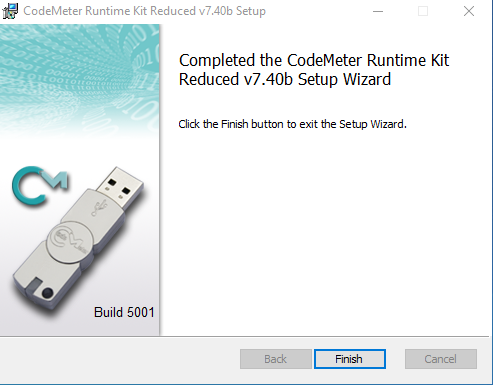
13. This step only pertains to option 1 - Plug the CodeMeter License dongle into the System USB port when you see this CodeMeter window. The CodeMeter License dongle must remain plugged into the System otherwise the SubC DVR+O application will not launch.
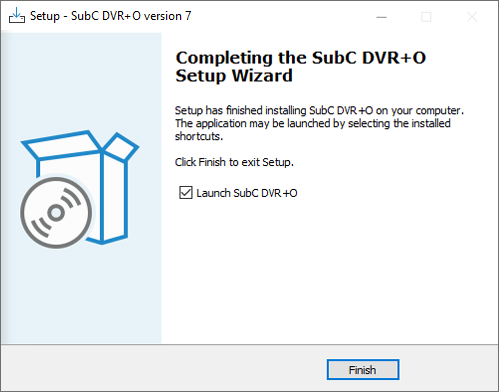
14. Click Finish.
DVR+O application will open if “Launch SubC DVR+O” is checked.
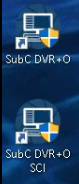
The SubC DVR+O and SubC DVR+O SCI icons will appear on your computer desktop.
-
SubC DVR+O - Multi Channel - (Number of Channels is based on your License. Up to 6 Channels are available)
-
SubC DVR+O SCI - Single Channel Inspection
Note: The Software License (dongle or virtual) must be present on the system for the DVR+O application to open.