How to make Rayfin Timelapse video with DaVinci Resolve 19
Images captured with the Rayfin camera can be combined to created a timelapse video.
https://www.youtube.com/watch?v=o3vMAsx7U1wYou can make a Timelapse video using Rayfin camera Still images and DaVinci Resolve 19.
Free Download: DaVinci Resolve 19 – Studio | Blackmagic Design

Open DaVinci Resolve
Create a New Project
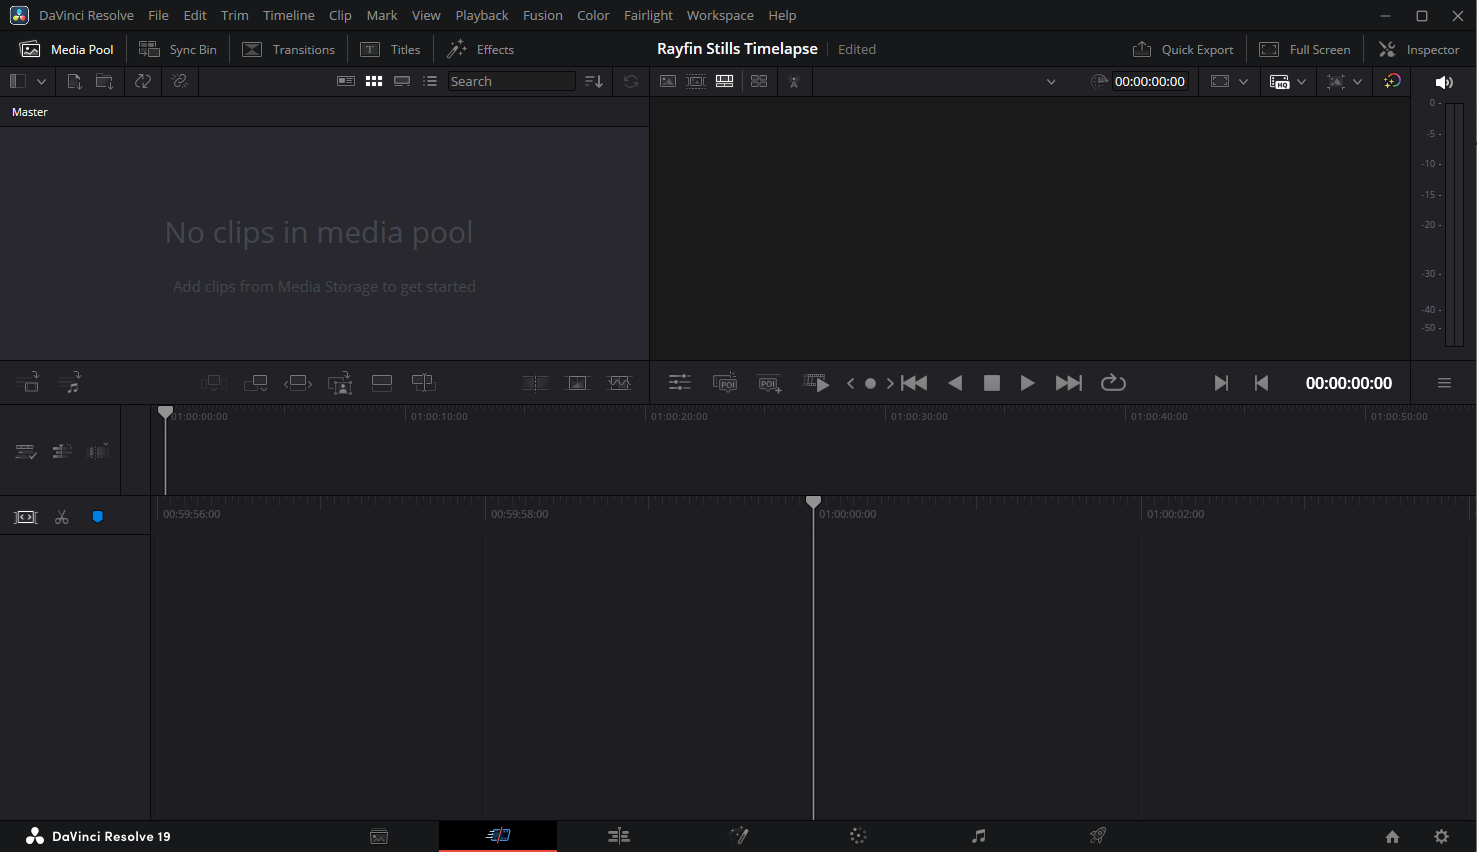
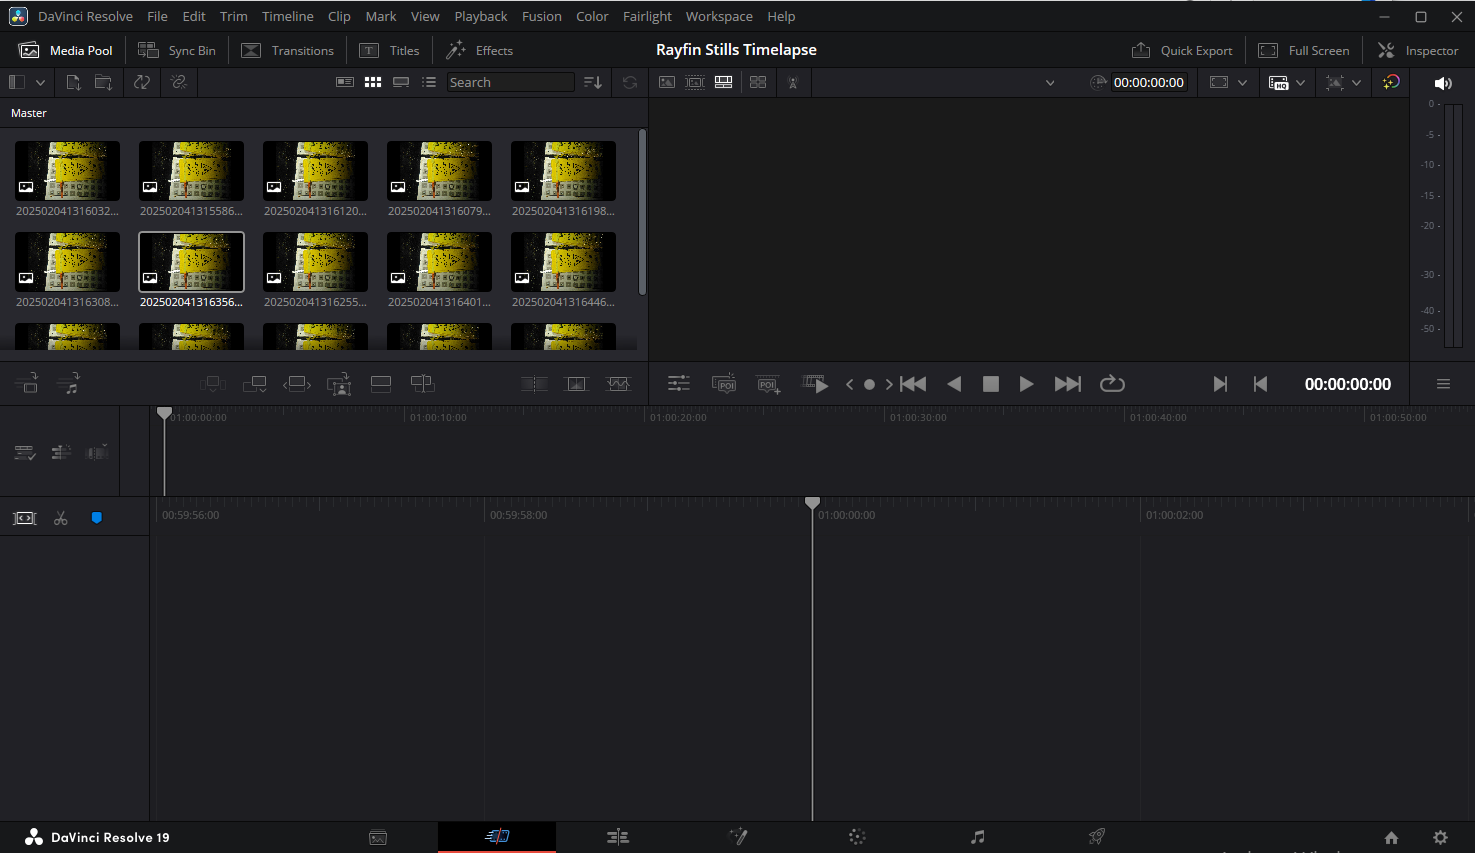
Example: Our new project name “Rayfin Stills Timelapse” appears in top center of the next window.
Hold the cursor over the “No clips in media pool” area and Right Click → Import Media
If you have not already done so, open DVR+O / SCI, connect to a Rayfin camera and take several Still images, then Import those Still images to DaVinci Resolve.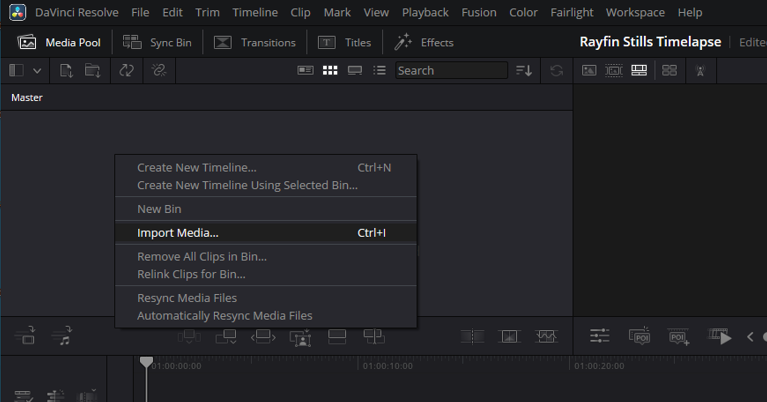
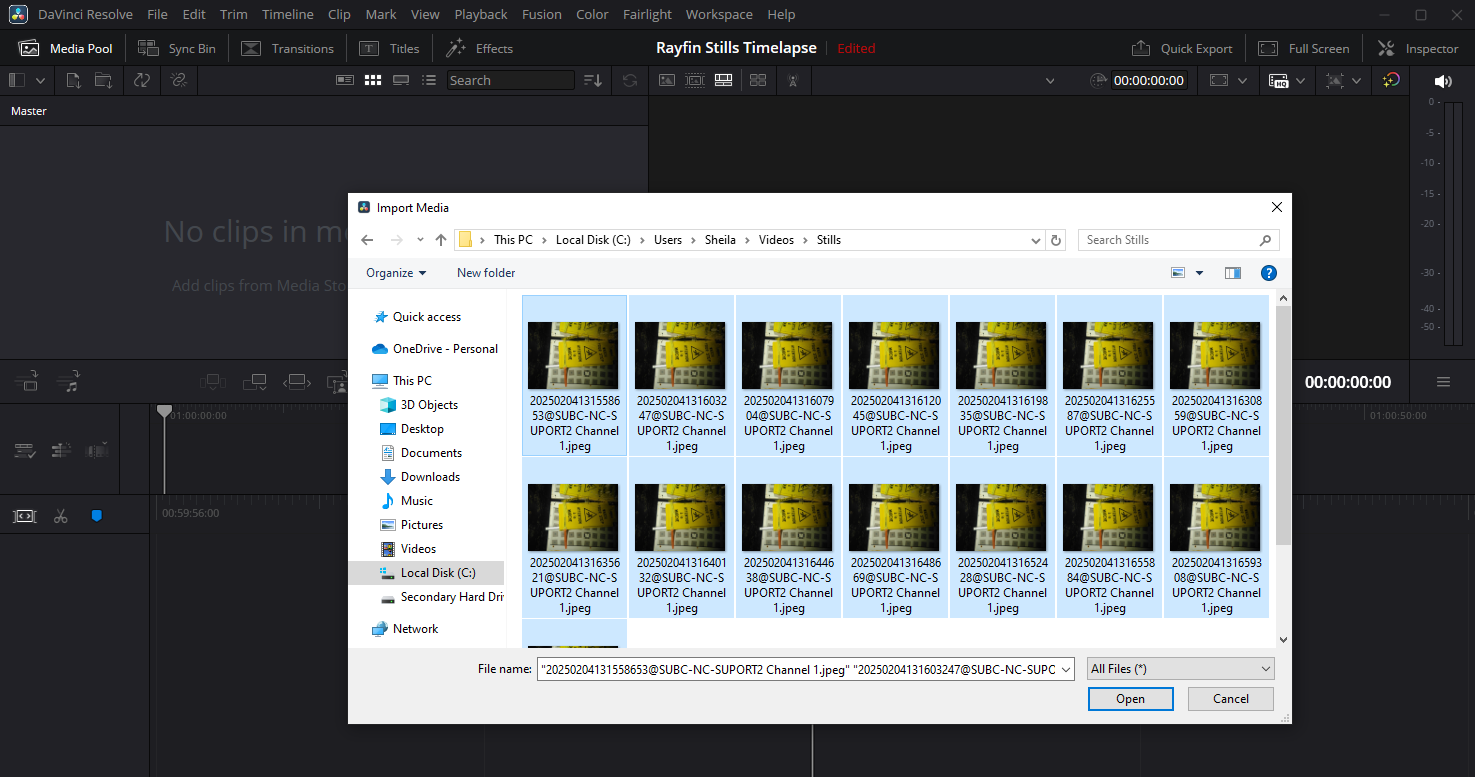
Browse to the folder where you’ve saved your Still images. Select all .jpeg files you wish to import and click Open.
The Still images will appear in the DaVinci Resolve “Master” frame (top, left).
Select an image and Ctrl-a to select all
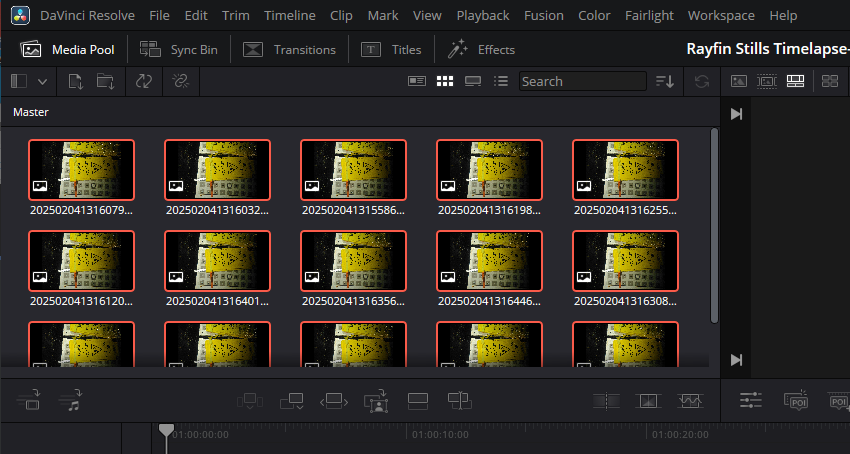
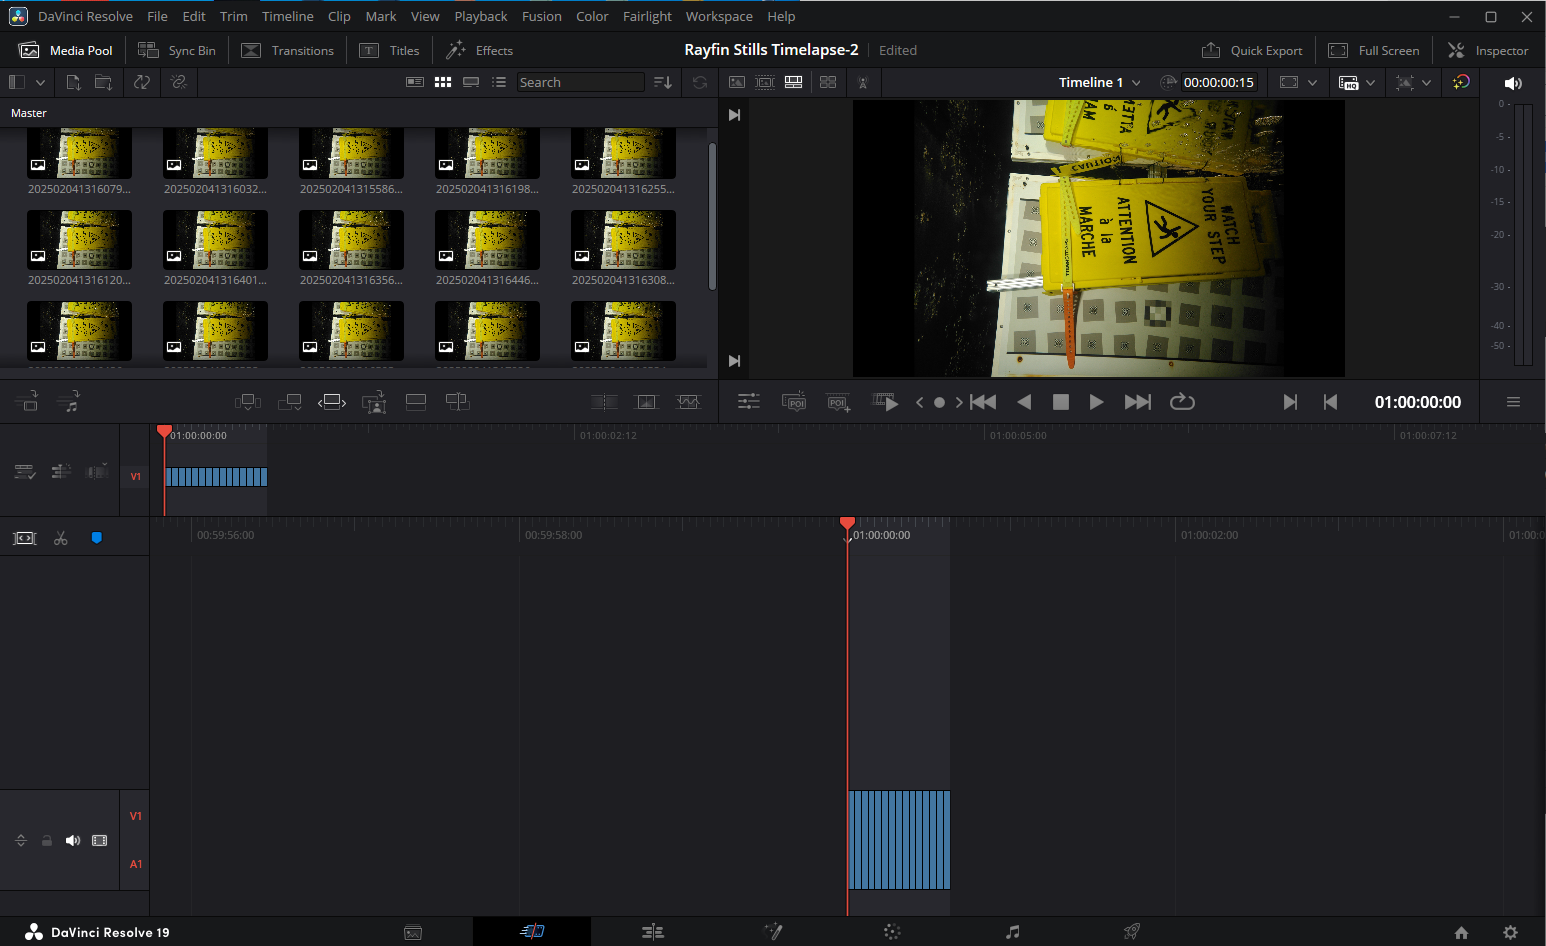
Hold cursor on the selected images and drag & drop the images into the section below
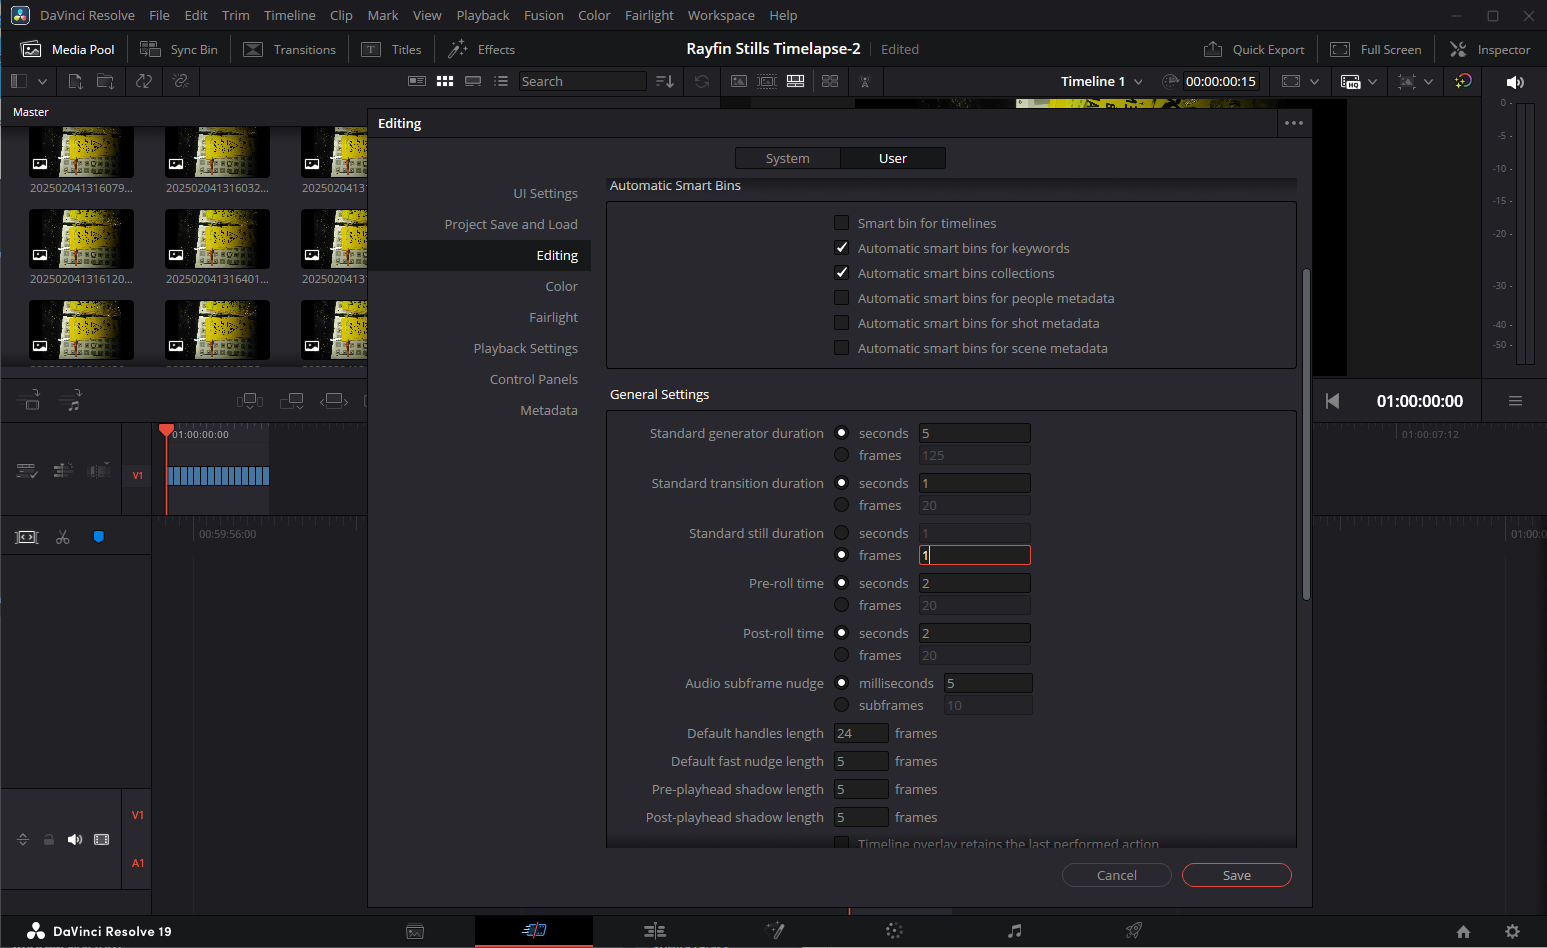
Open DaVinci Resolve → Preferences…
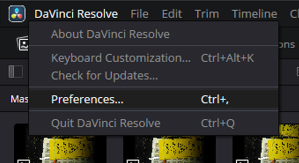
Select the User tab, select Editing, scroll down to Standard still duration - change to 1 second, and click Save.
Click the Deliver button on the right of the tool tray at the bottom
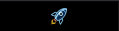
Enter a File Name for the DaVinci video you are about to make.
Click on Browse and select a folder location to save the video
Under Export Video → Format → Select MP4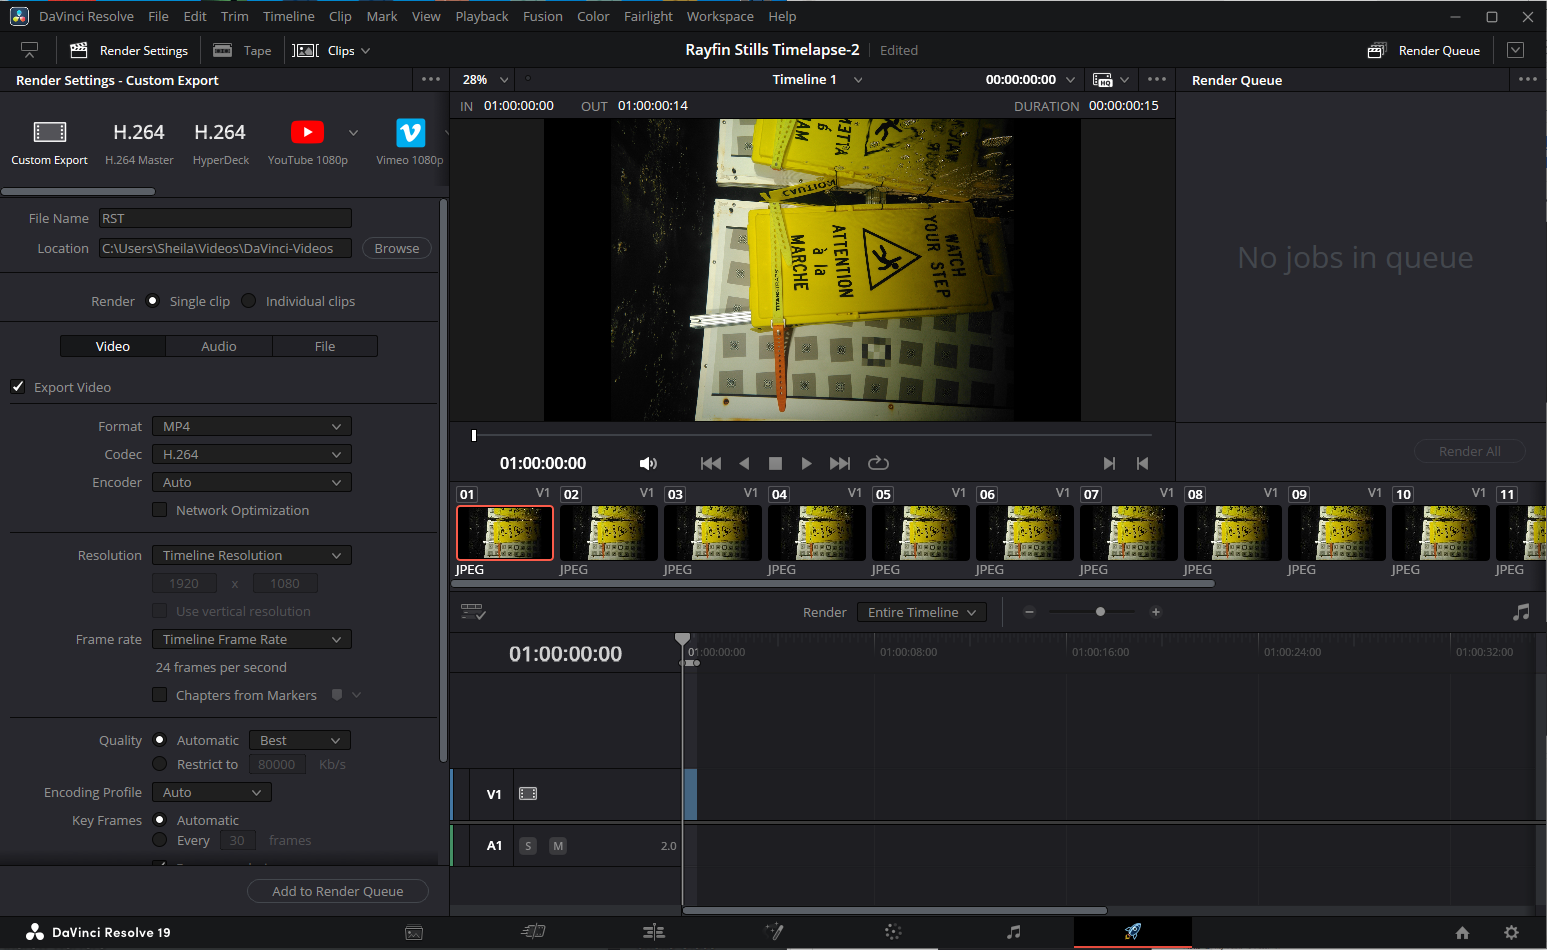
Click Add to Render Queue button (bottom, left) and you will see the “Job #” appear in the top, right panel. Click Render All button.
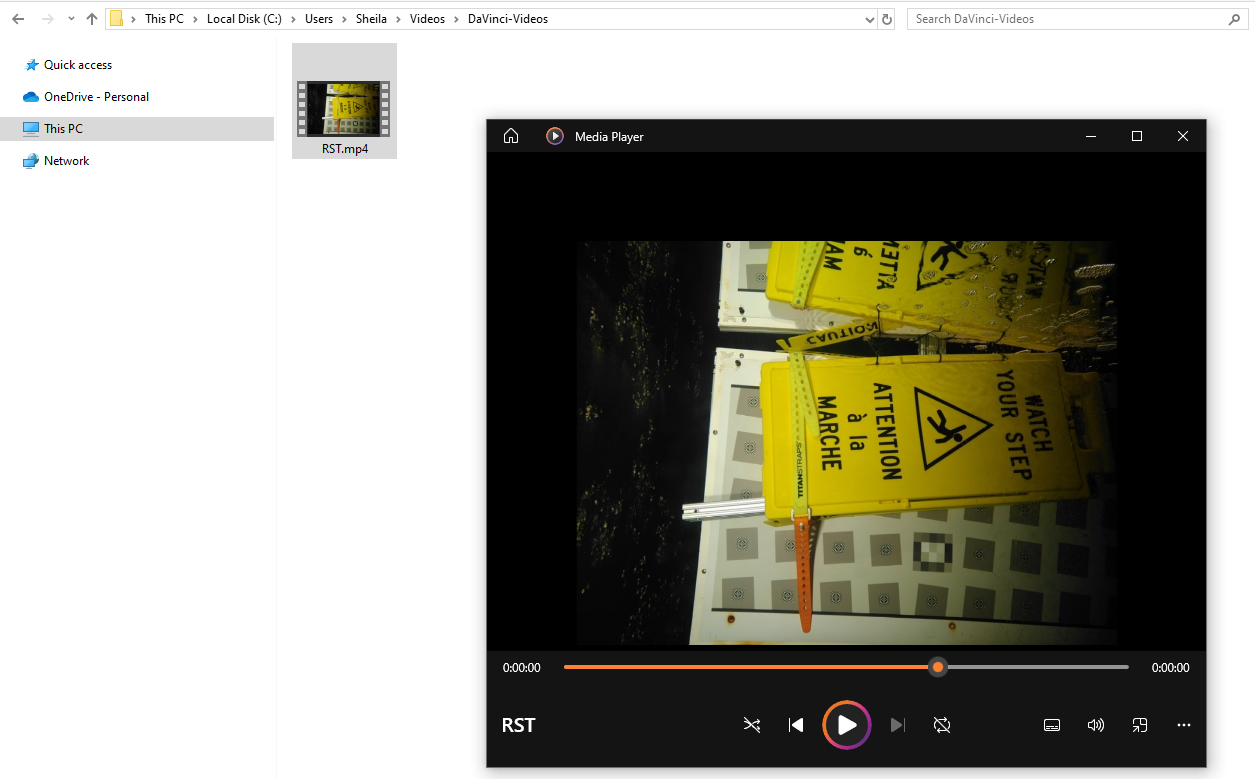
Now you can open the folder where you saved your video files and watch the timelapse video you’ve just created using Rayfin Still images.