Using SubC Audio Rooms
Connect to SubC Audio Rooms
Visit the following address in a browser https://audiorooms.subcservices.com/.
Log in with your SubC Streaming Service account.
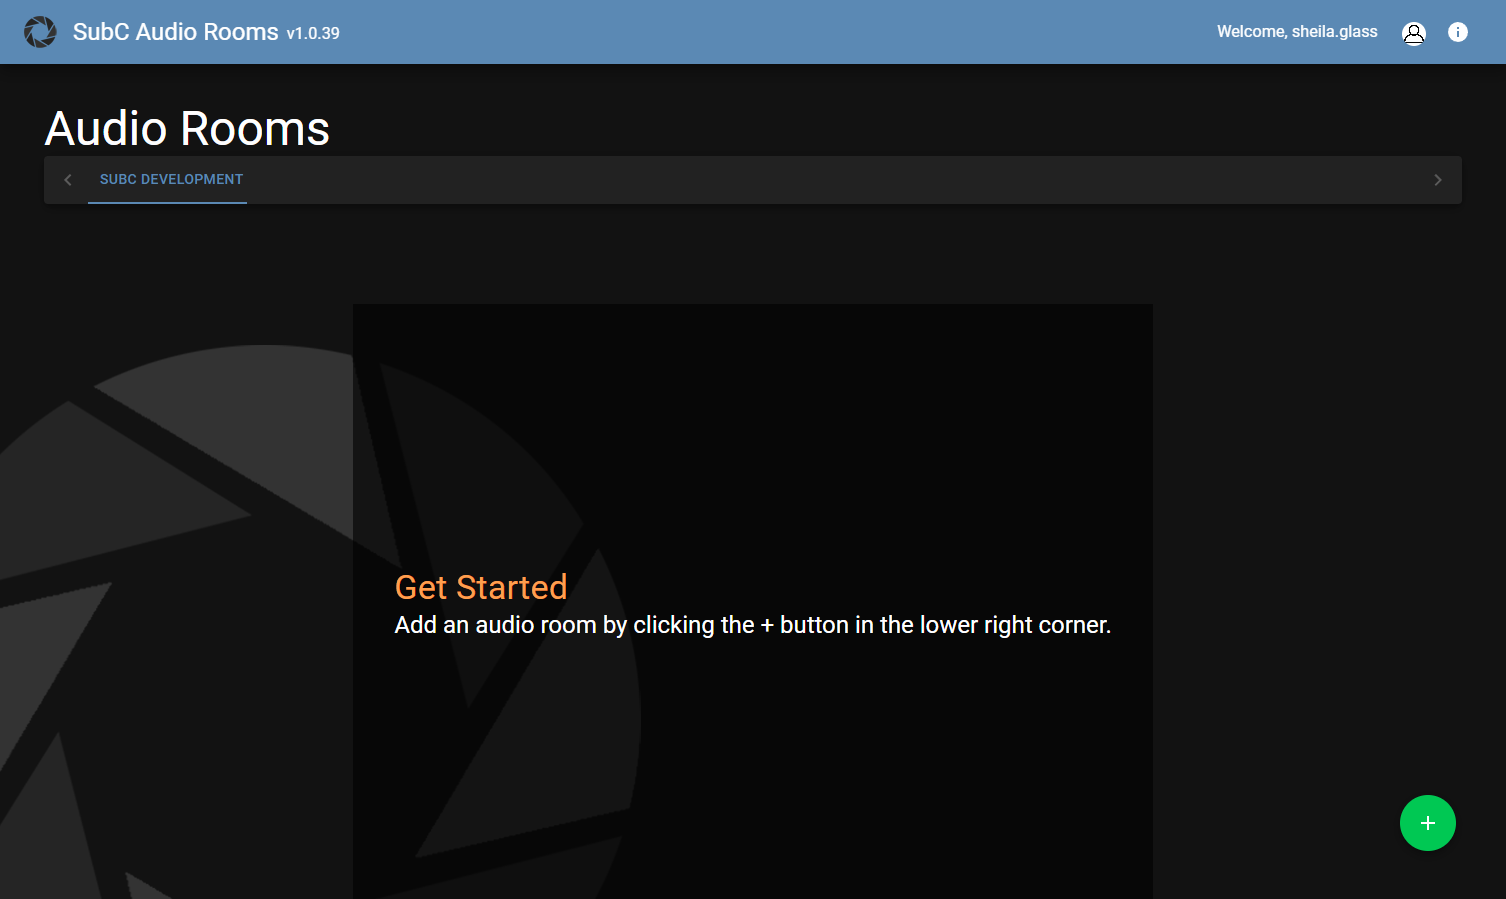
The first time you connect to Audio Rooms, or when you have a new SubC Streaming Service group added to your SubC Streaming Service account, you will see the screen below with “Getting Started” instructions.
If you have multiple groups, select the group in which you want to create an Audio Room.
(i.e., Group “SubC Development” is selected.)
Create an Audio Room

Click the +button to create an Audio Room.

Create a New Room window appears.
Room Name - Give the room an appropriate name, such as the name of your Company or Project.
In this example, we’ve created a room called “SubC Chat”.
CREATE - Click to create the new Audio Room.
CANCEL - Click to close the Create a New Room window and return to the previous screen.
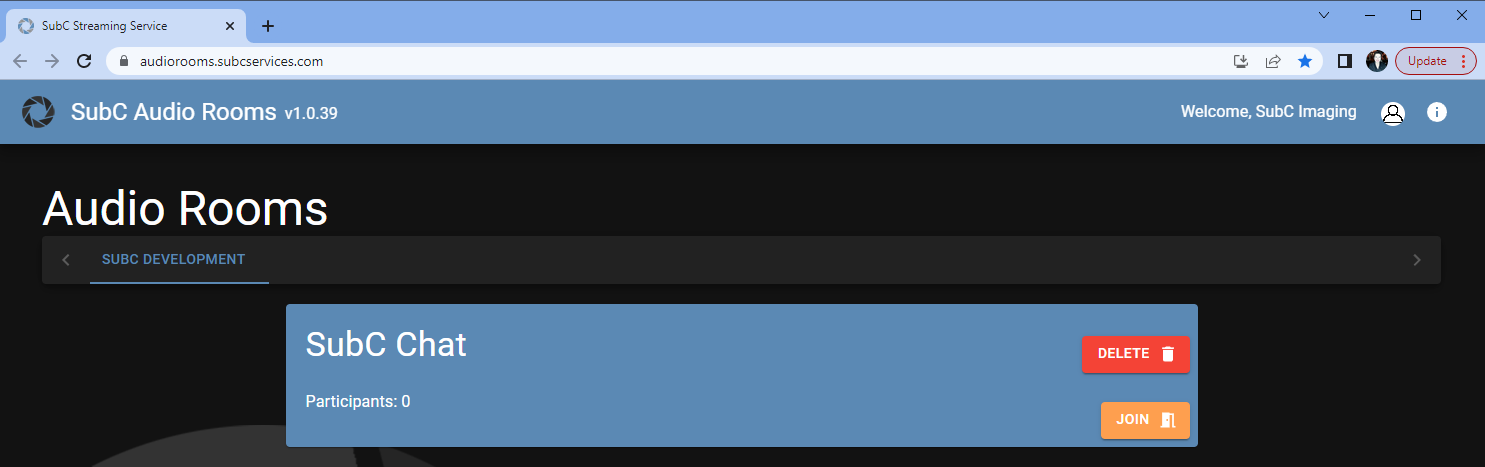
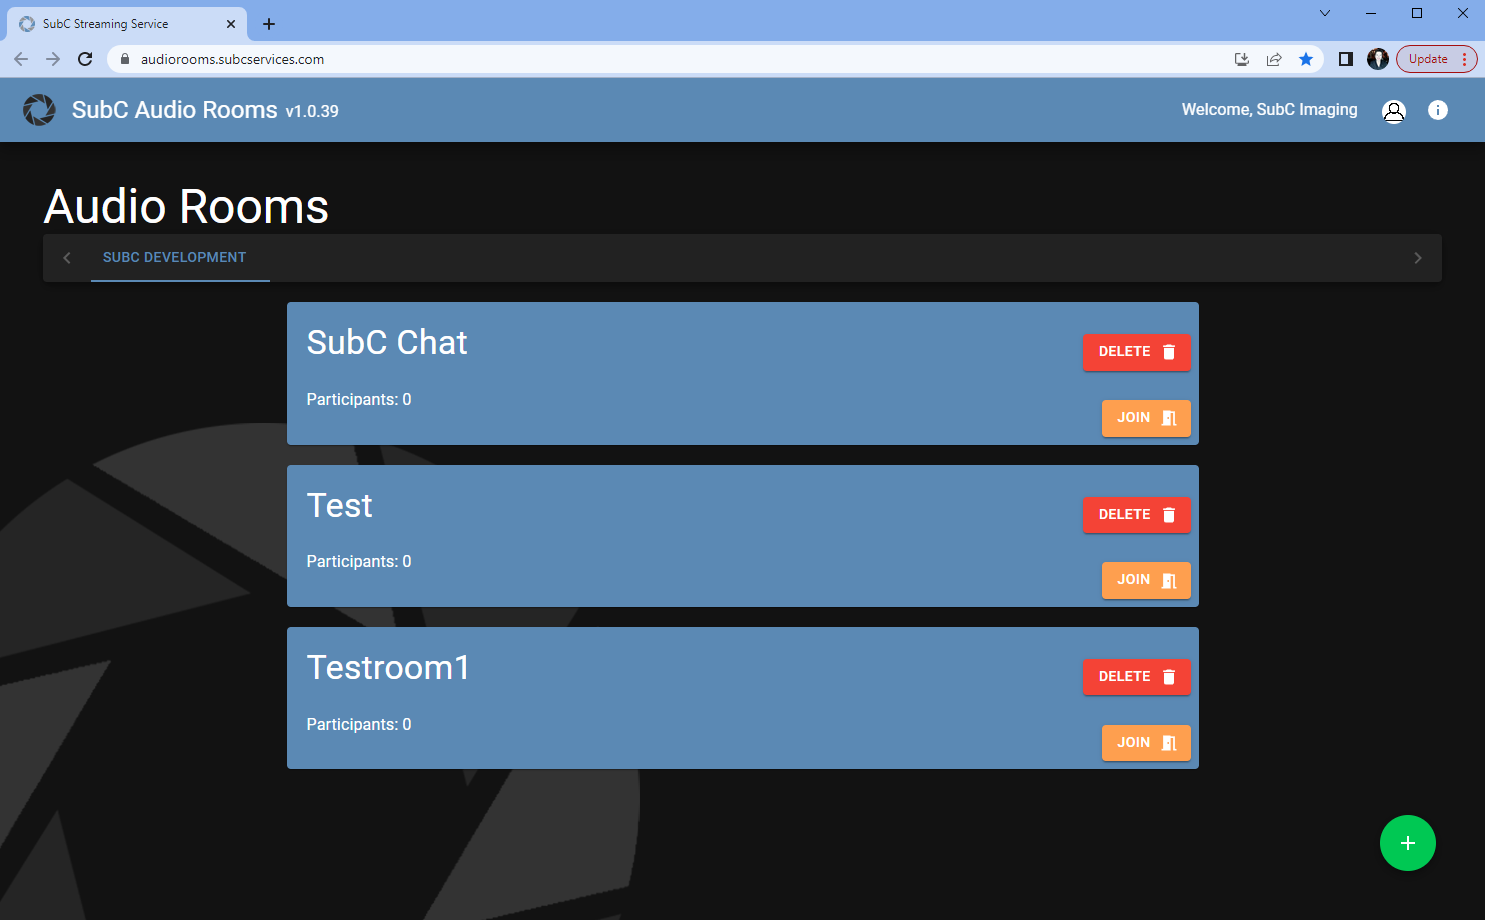
When you enter a Room Name and click Create, a new Audio Room appears under the current group.
Group - SubC Stream Service group (i.e., “SubC Development”).
Audio Room Name - (i.e., “SubC Chat”).
Participants - shows the number of people who have joined this Audio Room.
Will be “0” until you invite others to join
Delete - click to remove the Audio Room.
Join - click to join the Audio Room.
After clicking Join, the following prompt will appear, asking to allow Audio Rooms to use your system microphone.
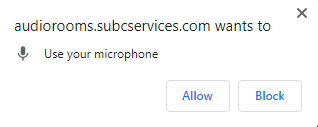
Click Allow.
The following screen will appear. You are now in the Audio Room.
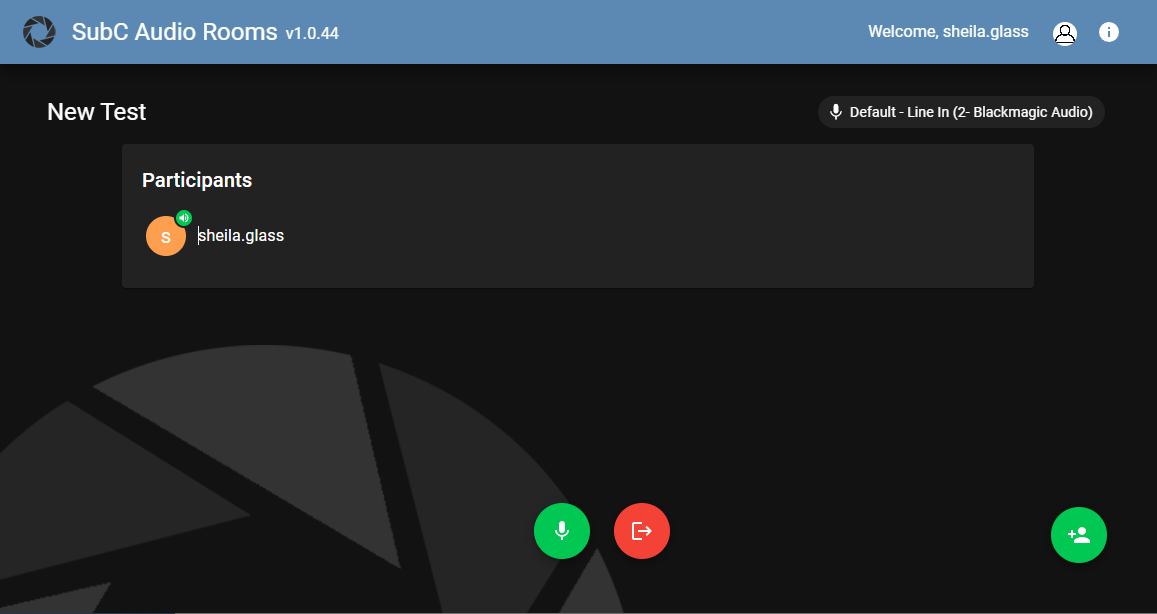
The Audio Room name is displayed in the top-left (i.e., “New Test”).
Your system microphone is displayed in the top-right.
Below shows the participants who joined the Audio Room.
Use the Microphone button, (bottom, center) to turn your microphone On/Off
Use the [ → ] Exit button to leave the Audio Room.
Use the Invite button, (bottom, right) to invite others to join the Audio Room
Invite Participants to an Audio Room

Click on the +Person icon to invite someone to this audio room.
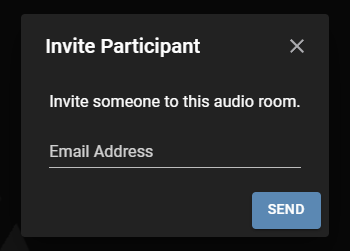
The person you’ve invited to join the Audio Chat will receive an email with a link to the SubC Audio room.
Invited participants do not require a SubC Streaming Service account to join an Audio Room.
Example Audio Room Email Invitation:
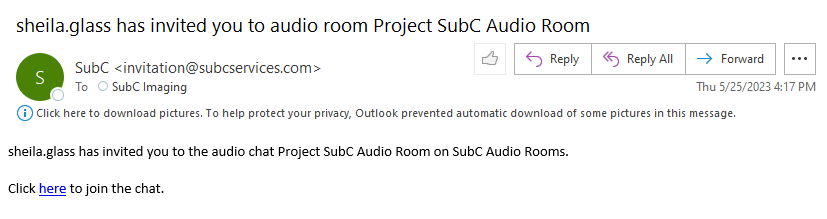
When the invited person clicks on the here link, the SubC Audio Rooms web application opens in their system browser.
They will get the following prompt asking to allow Audio Rooms to use their system microphone.
Click Allow.
Your invited participant will enter the specific Audio Room to which they have been invited.
Example “SubC Chat” Audio Room.
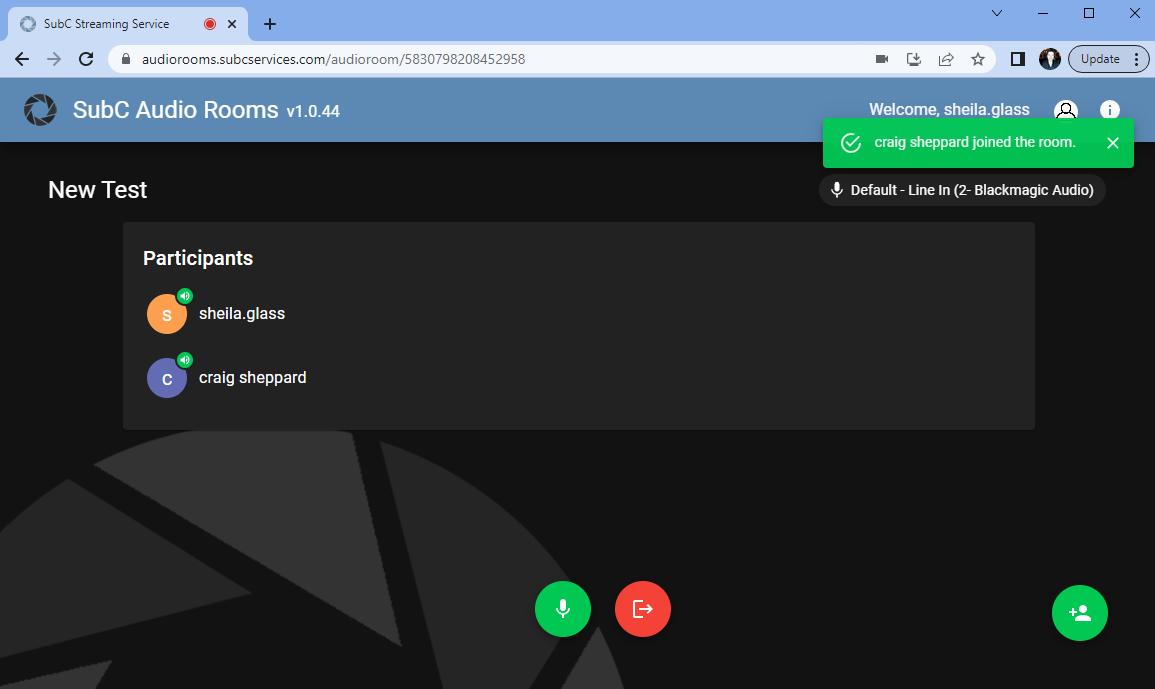
Name of the Audio Room - In this example “New Test”.
Microphone selection - on the top-right.
Participants - Listed in order of when each participant has joined the Audio Room.
Each participant also has a small microphone icon attached to their name indicating if they have their microphone on or off.
Microphone - Each participant can click the microphone button (bottom-center) on their screen to turn their own microphone on or off.
+Person - Each participant can also click on the +Person icon (bottom-right) to invite someone to this audio room.
Exit Audio Room

Click the Exit button the leave the Audio Room
Invited participants can close the Audio Room browser window to exit.
If you have logged in to Audio Rooms with your SubC Streaming Service account, you can also just close the browser to exit or log out.

Click on the Person icon (top-right) and the following Logout prompt appears.
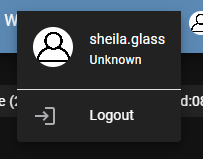
Click Logout.
All other participants remain in the Audio Room until they log out.
Saved Audio Rooms
When you log back into SubC Audio Rooms with your SubC Streaming Service account, you’ll see groups in which your account is a member and the Audio Rooms under each group that you or other members previously created.
Select the group in which you want to view Audio Rooms.
(i.e., Group “SubC Development” is selected.)Audio Rooms will be listed under the selected group.
Audio Rooms will remain until you choose to delete them.
Audio Rooms No Charge for Testing/Setup
Audio Rooms' billing algorithm is now set to only charge a daily rate when there are 2 or more participants in that room, allowing our clients to create & test Audio Rooms in preparation for live projects and not get billed during the testing/setup phase.
Contact sales@subcimaging.com if you have any questions about Audio Room billing & rates.
Please ensure that Audio Rooms &/or Participants that are no longer needed are removed/deleted.