Operation
This section provides an introduction to the SubC Blackbox User Interface (UI).
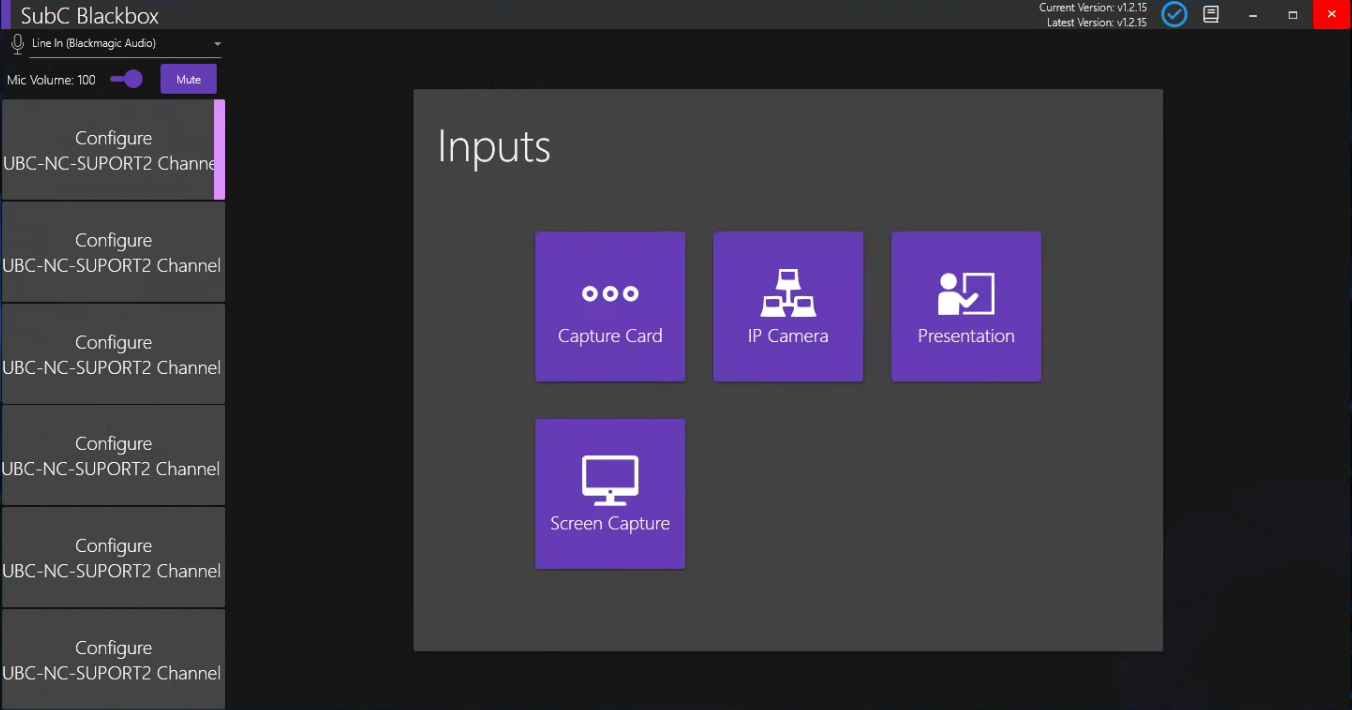
The Channels in the left column can be configured independently using one of the 4 Inputs displayed in the center of the Blackbox main window. Each of these Inputs are described in detail in the Inputs section.
Video Input Types
To configure a Channel with video input, select one of the 4 Inputs displayed in the center of the DVR+O / SCI Inputs window.
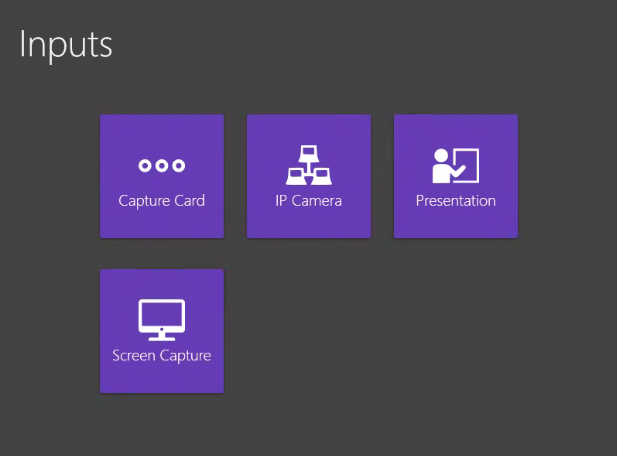
Capture Card to connect to a device that takes an HDMI video feed
IP Camera to connect to IP Cameras or RTSP videos.
RTSP URL syntax example rtsp://[username:password]@ip_address:[rtsp_port]/suffixPresentations to connect to a streaming SubC Presentation (requires SubC Streaming Service)
Screen Capture to connect to the PC’s Screen display or Windows Capture to connect to an open application or browser Window.
Each of the above Input types are reviewed in detail in Inputs.
Once a Channel is configured with Input Type, the following features appear.
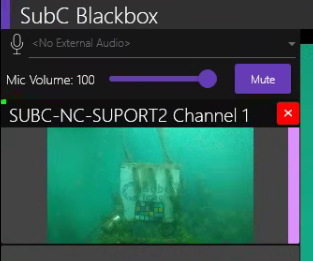
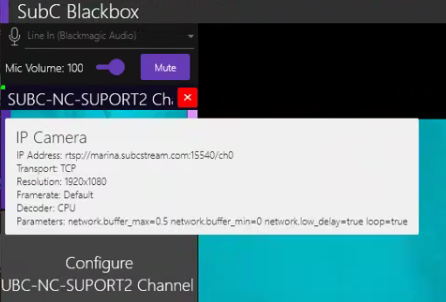
Channel Video Preview
This small video screen appears on each active Channel. It shows current activity information on a Channel at a glance, such as the recording status, recording duration, SubC Stream connection status, and data logging status.
Channel tooltip (info tab)
When you hold the mouse cursor over the Channel Video Preview window, the details of the Channel Input configuration will appear.
Click the red “x” (top-left of the small Preview window) if you wish to close the current Input to change or select a new Input type and settings.
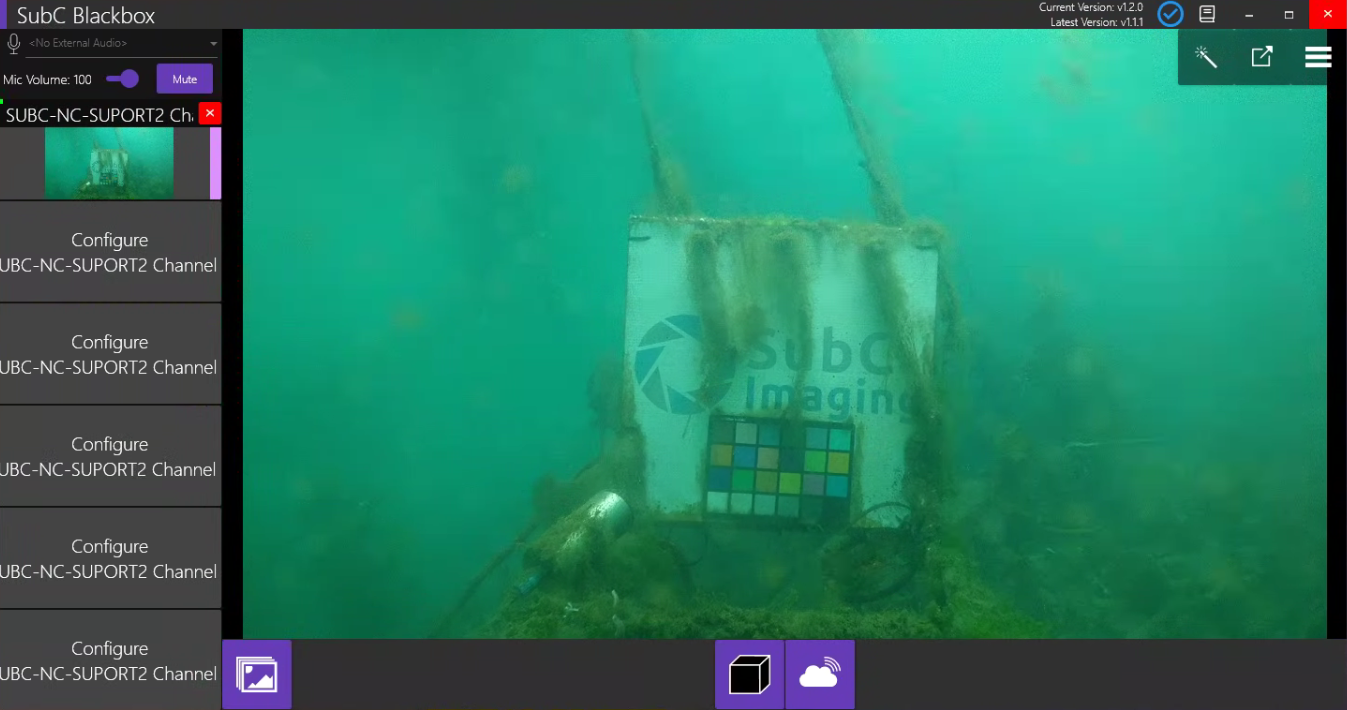
Video Main View
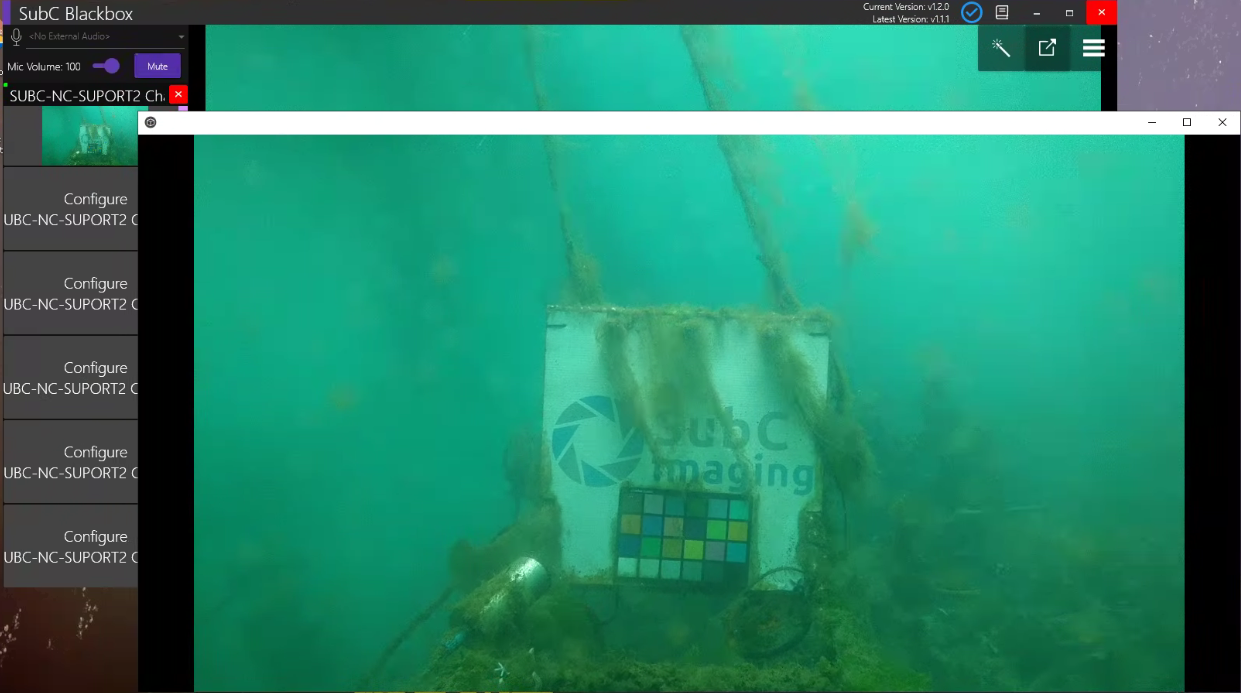
A larger view of the currently selected Channel’s video appears in the center.
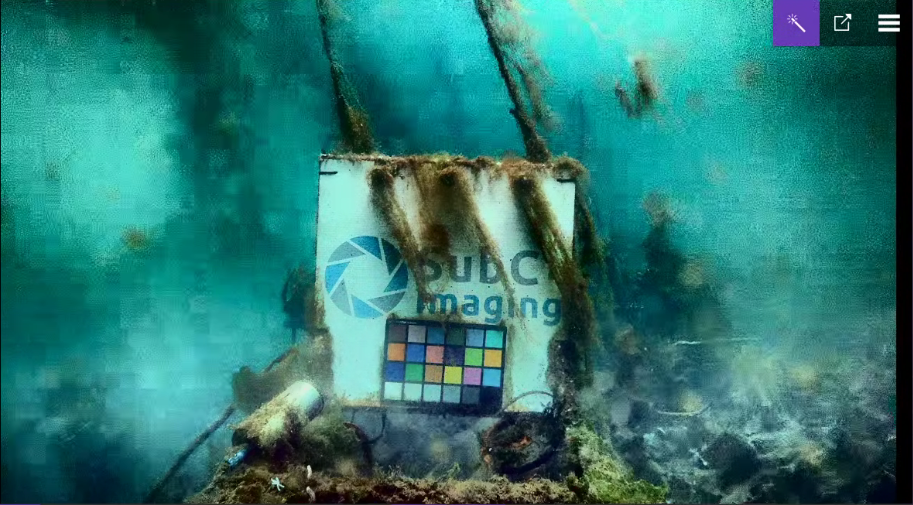
Image Enhancement - The images below illustrate how the image enhancement feature illuminates the video when turned on.
Image Enhancement = Off

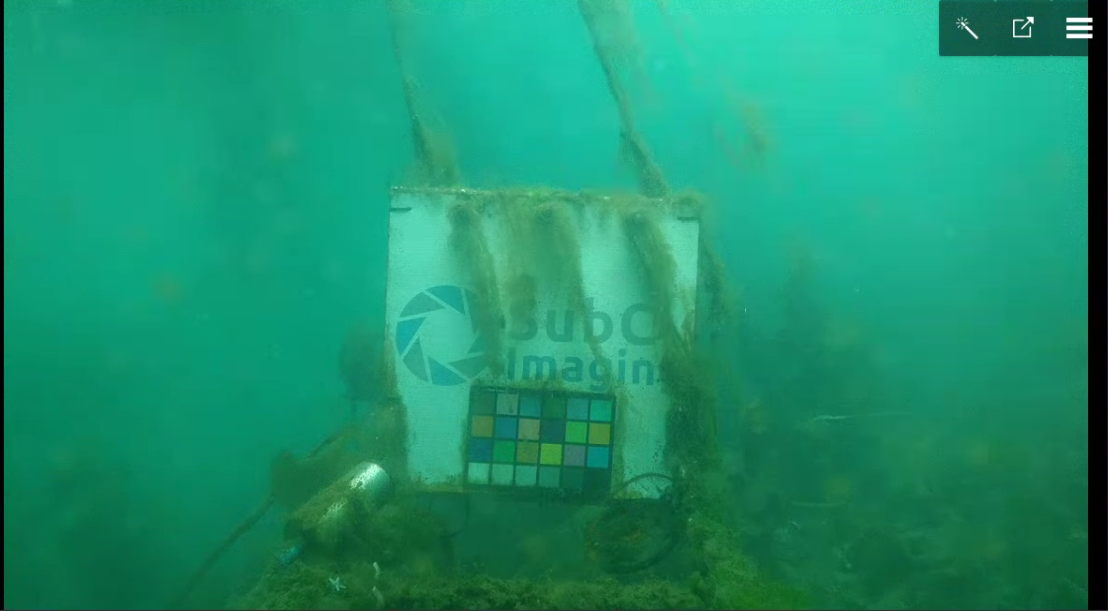
Image Enhancement = On


Video Full / Additional Screen - Click to open an additional window displaying the Channel video. Initially, the additional screen opens in full-screen mode. Click on the full-screen window to access controls to reduce the size and move this additional video window, for example, to display the video on another monitor.

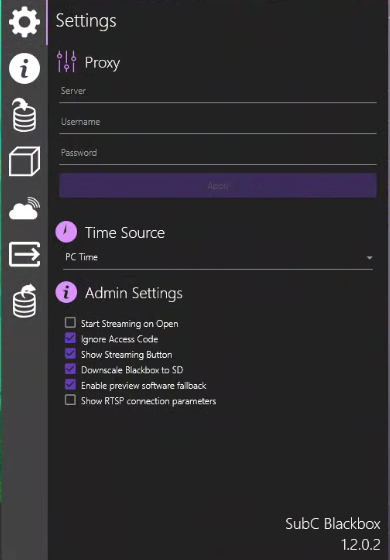
Menu contains many features. See the Menu section for details on Menu → Setting, Channel Info, Data Input, Blackbox Settings, Streaming, Output and Data Output.

Review Media - Click to open Windows File Explorer to access the folders you have selected to save video recording, framegrabs and still image files for this Channel.
If you click on the Review Media button but you have not yet selected a folder where you wish to save your videos & images, you’ll see the following message. In this case, click OK and select Menu → Blackbox Settings to select a folder to save Blackbox recordings.

Blackbox Start / Stop

Click to Start Blackbox Recording - Click the Recording toggle button to start and stop recording video on the current Channel.
Blackbox is Active

While recording, the Recording toggle button changes to include a red square and the Blackbox Recording check appears in the Channel Preview window.

Click the Blackbox (with red square) button again to stop Blackbox recording.
If you have also subscribed to SubC Streaming Services, the Stream Start / Stop button will also appear to the right of the Blackbox Start / Stop button.
Stream Start / Stop

Click the Stream button to Start Streaming
The Stream toggle button will only appear if the SubC Streaming Service is activated for the PC hosting the Blackbox application. See How do I activate a new PC in Streaming service.
Stream is Active

The Stream toggle changes to indicate that Streaming is active.
Click this button to Stop Streaming.
See the Streaming section in this manual for instruction on Streaming.

