Set Rayfin cameras Unique before entering Sync Mode
When you connect your DVR+O Channels to multiple Rayfin Cameras via Rayfin Input type and switch to Sync Mode, the settings that you apply via the Rayfin Camera Controls buttons will apply to all of the currently connected Rayfin cameras.
However, there may be cases where you may want to have your Rayfin cameras settings each configured differently, but you also want to:
interact (Start / Stop Recording, take Stills, Framegrab, Single or RDI) with those Rayfin cameras simultaneously using Sync Mode,
do not want to have the Rayfin Control buttons in the UI (to avoid risk of globally changing the Rayfin camera settings during operation)
Here are the steps to achieve this scenario.
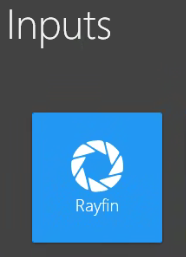
Connect your DVR+O Channels to Rayfin cameras using the Rayfin Input type.
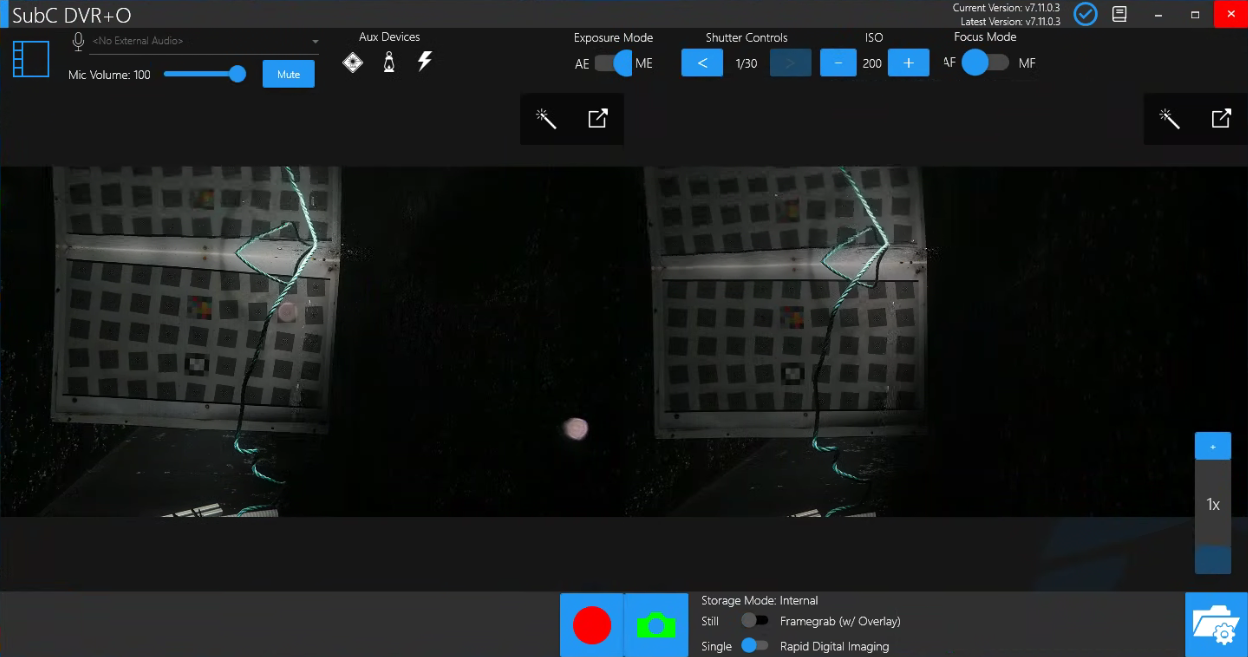
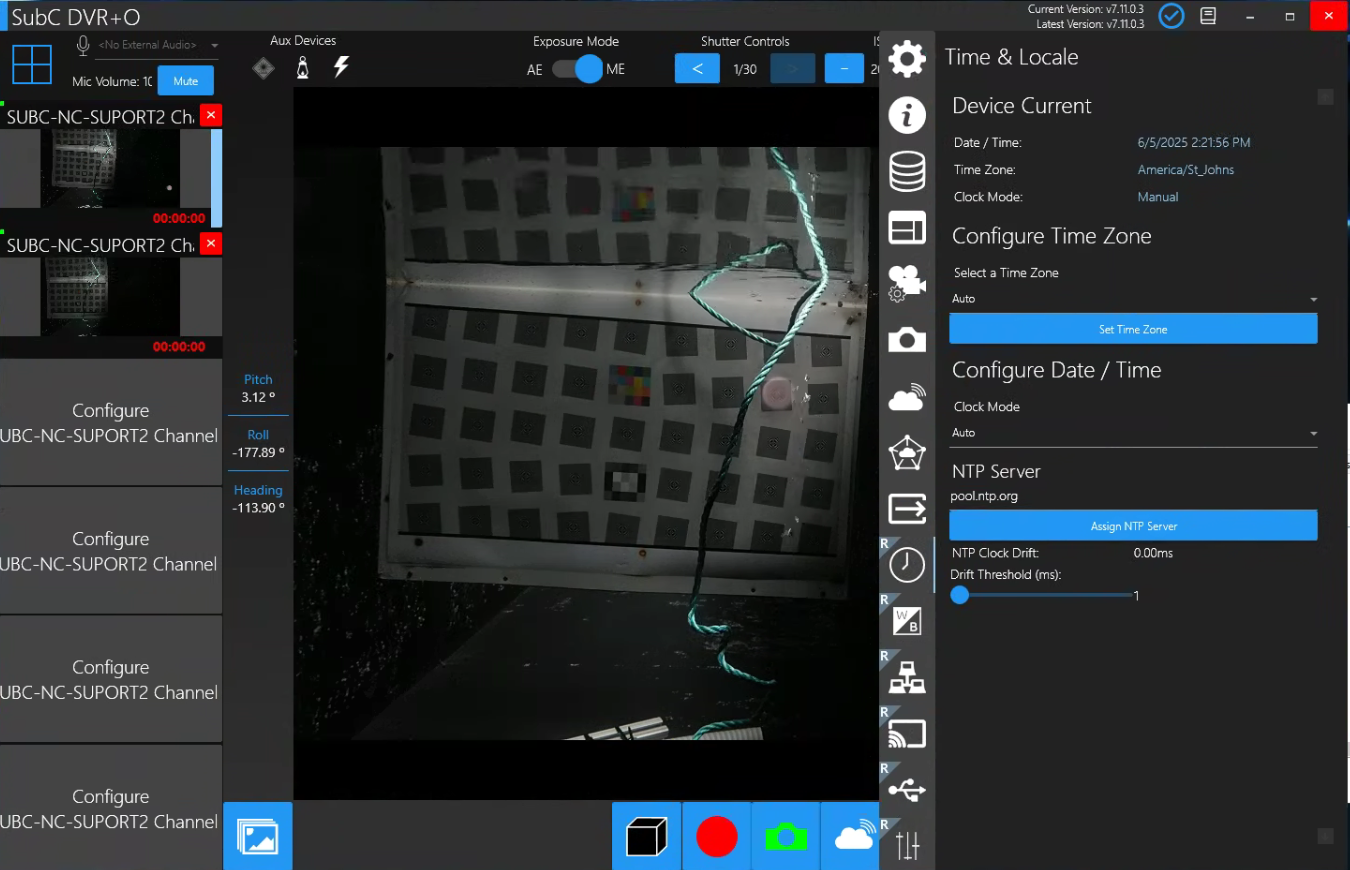
While in Priority Mode, select each Channel individually and using the Rayfin Camera Control buttons and Menu items, and specifically the Menu → Rayfin Menu items, configure each Rayfin camera settings individually.
Also, set each Rayfin camera’s Folder/Filename Setting
See Operations → Folder/Filename Settings
Make note of each Rayfin Camera IP Address in preparation for step 4 below.
Once you have each Rayfin camera uniquely configured as you wish, close each of the Channels and return to the Inputs UI.
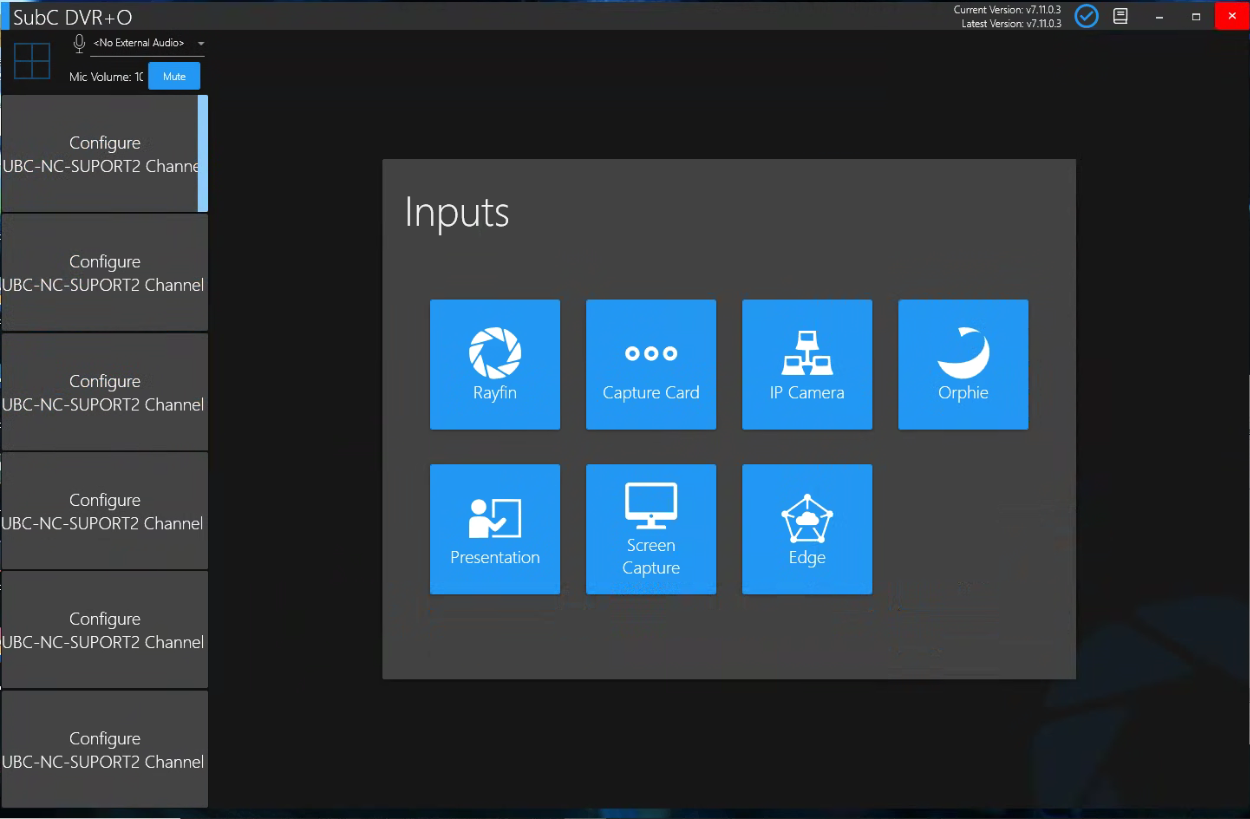
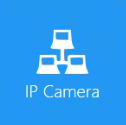
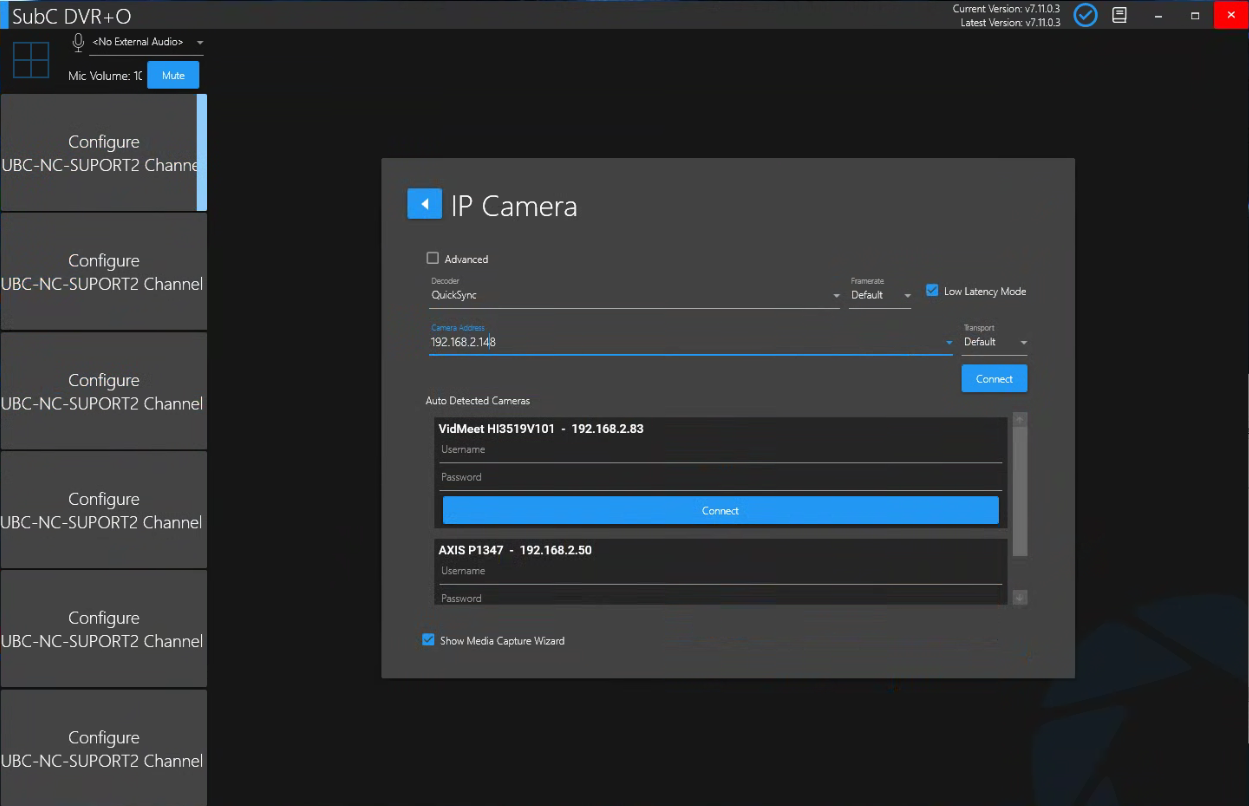
Using IP Camera Input type, connect to each Rayfin using its IP Address
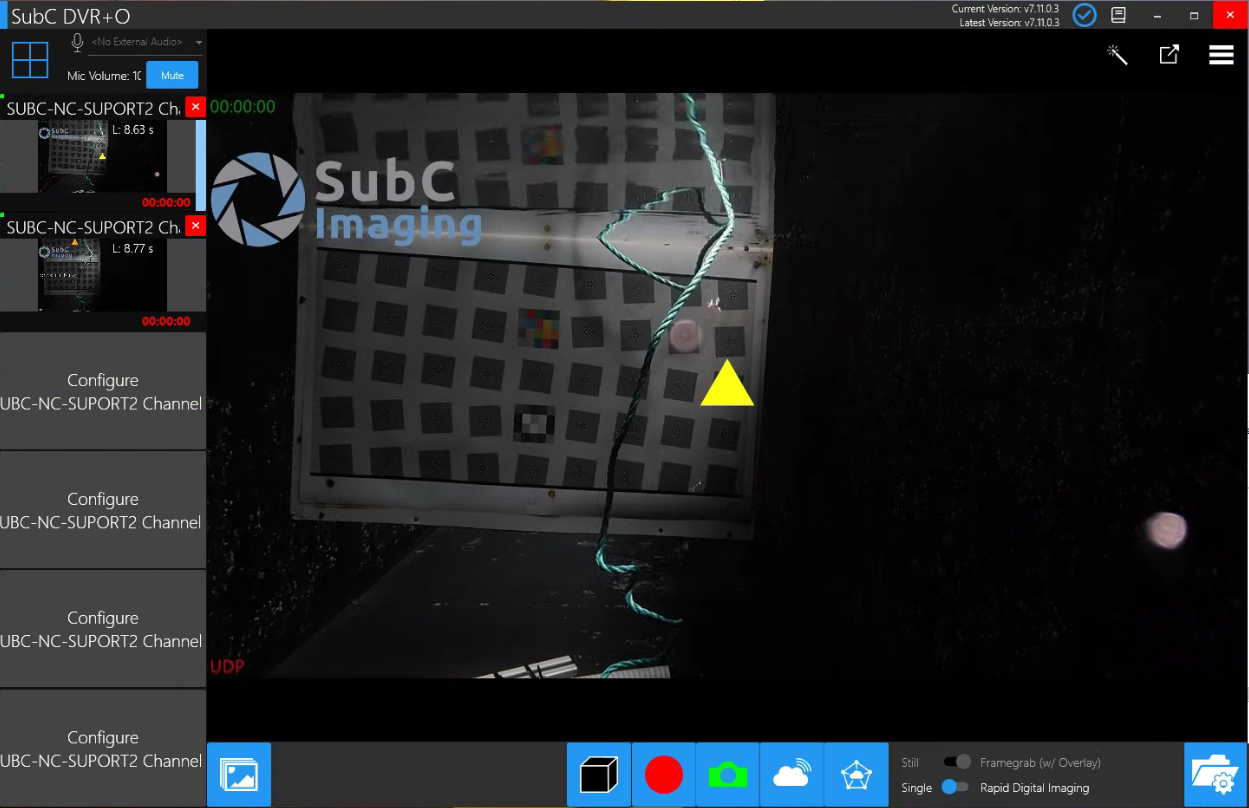
Now that you have the DVR+O Channels connected to Rayfin Cameras via IP Camera Input type - Switch from Priority Mode to Sync Mode.
Click this box to switch to Sync Mode
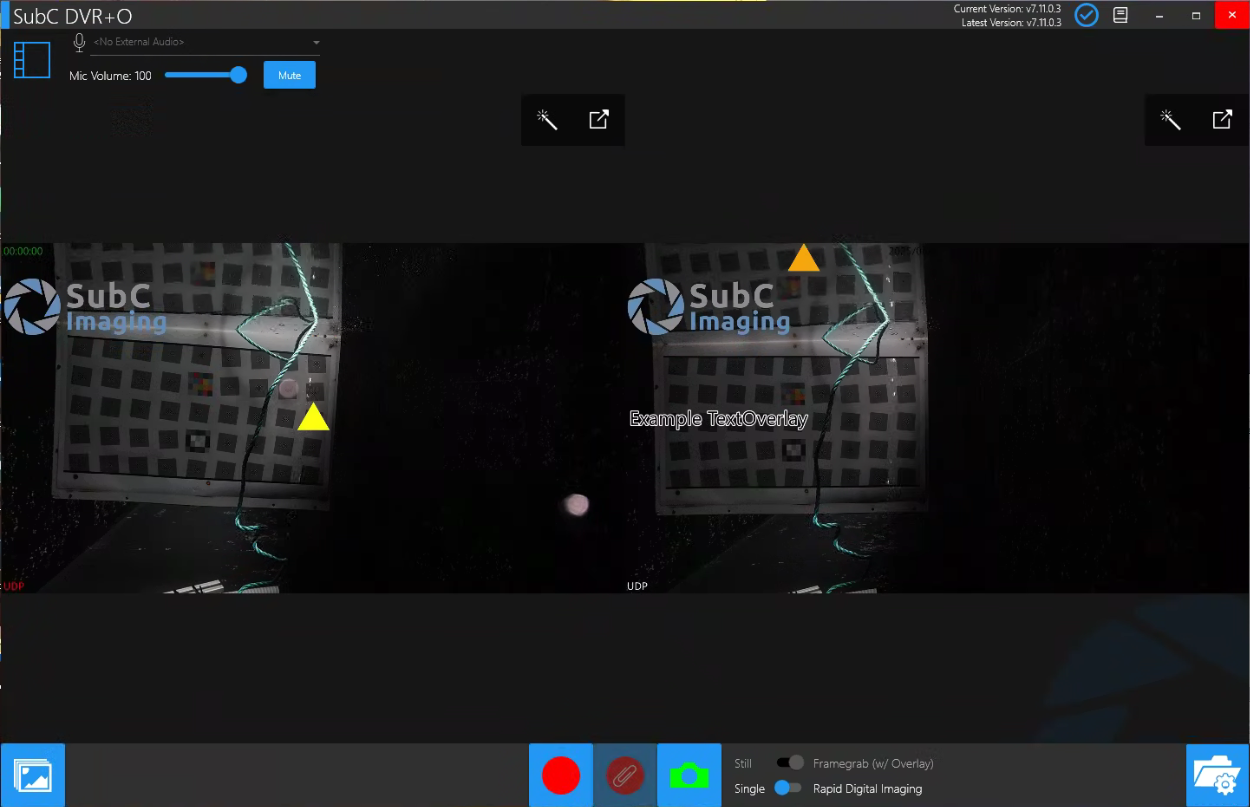
In Sync Mode, you can now interact with the Rayfin cameras (Start / Stop Recording, take Framegrab, Single or RDI) and because you are connected to Rayfin via IP Camera Input type, there are no Rayfin Camera Control buttons and no Menu available, to ensure that your Rayfin cameras configuration setting cannot be inadvertantantly changed during the operation.
Click this box
if you want to return to Priority Mode.