How to improve my Rayfin Video Quality
Condition
Solution
If the video looks blocky the bitrate may be too low on the camera.
Increase the bitrate.
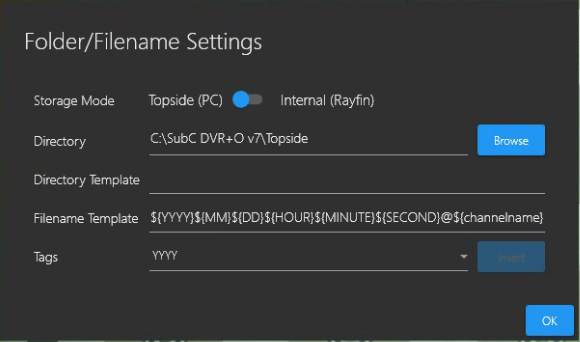
With Storage set to Topside (PC) - files saved on the SubC Software desktop application host system drive.
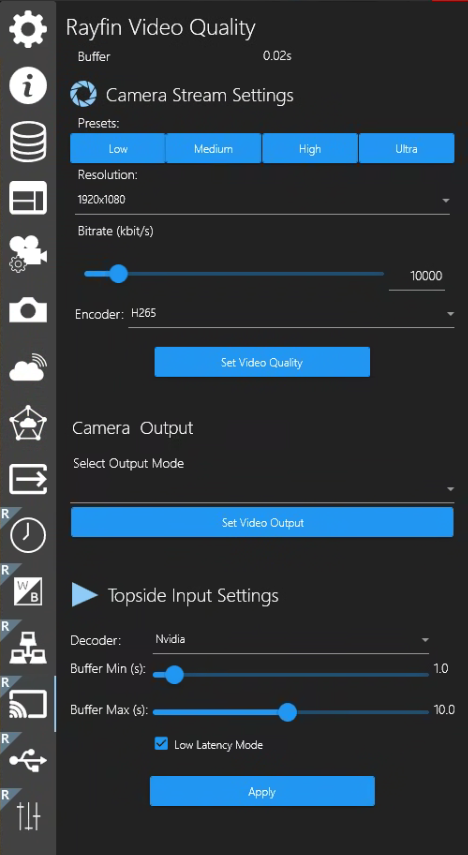
Select Menu → Rayfin Video Quality
Change the Bitrate by moving the slider button or enter the desired number in kbits/s in the bitrate field.
You can also select the Decoder and adjust the Buffer Min and Buffer Max values and select Low Latency Mode.
Poor connection can result in lost frames and video may appear garbled.

Ensure you have a good connection to the camera
Check physical cables connected to the camera, check Network comms to the camera
If the connection to the camera is all good but you are still seeing lost frames / garbled video, reduce resolution and bitrate.
Select Menu → Rayfin Video Quality
Click the Resolution dropdown button and select a lower resolution.
Move the Bitrate the slider button or enter the desired number in kbits/s in the bitrate field.
Computer CPU increases and can't keep up with the decoding, latency increases, and then the video glitches out.

Reduce Resolution and Bitrate, choose Decoder (Nvidia) for GPU decoding.
Select Menu → Rayfin Video Quality
Click the Resolution dropdown button and select a lower resolution.
Move the Bitrate the slider button or enter the desired number in kbits/s in the bitrate field.
Click the Decoder dropdown button and select Nvidia (GPU).
Decoder doesn't cope well with UDP packet loss
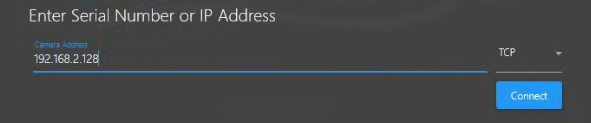
Change transport to TCP
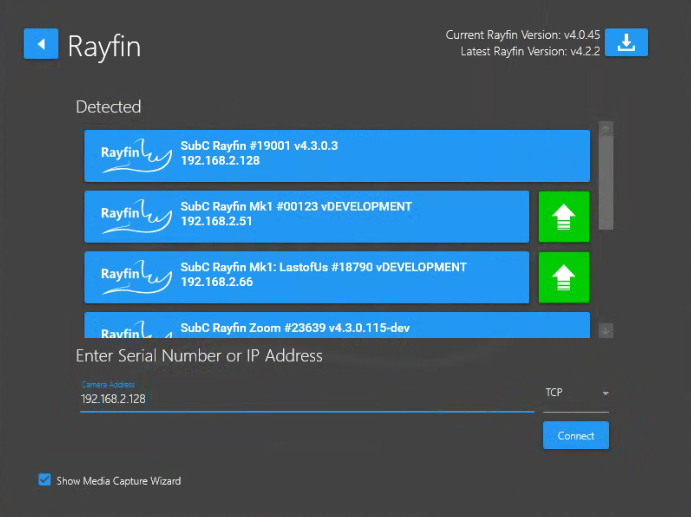
Instead of connecting to the Rayfin by clicking from the Detected (blue) list, use Enter Serial Number or IP Address field and select TCP from the dropdown field and click Connect.