Software Installation - SubC Rayfin Control (RCS)
Click SubC Rayfin Control to download the software.
Open your Windows File Explorer → Downloads folder…
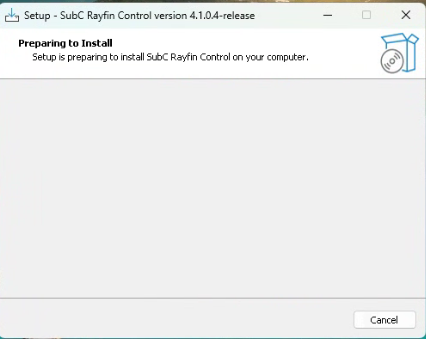
Click “SubCRayfinControl v4.1.exe” to run the RCS installer and follow the prompts through the installation process.
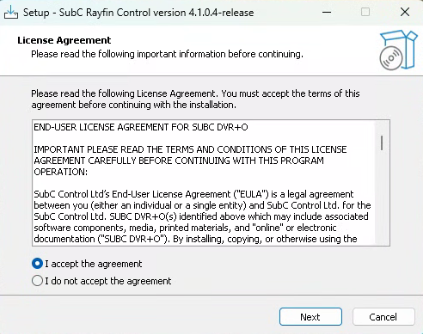
Select “I accept…” and click Next.
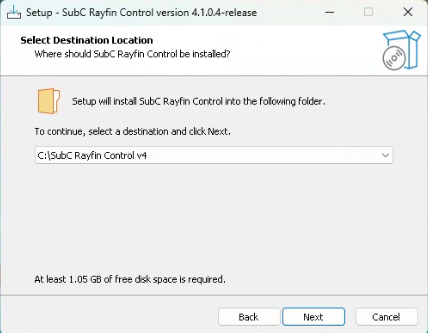
Select Destination Location - Where should SubC Rayfin Control be installed?
Default location is: C:\SubC Rayfin Control v4 but you can select a drive other than the default C: drive, but the folder name “SubC Rayfin Control v4” remains the same.
Also note, “At least 1.08 GB of free disk space is required”.
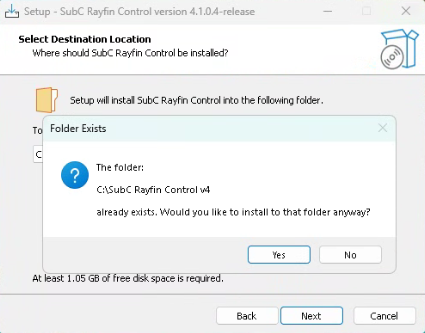
If you have a previous version of RCS already installed on the system, you will see this message:
“The folder: C:\SubC Rayfin Control v4
already exists. Would you like to install to that folder anyway?”
If you click No, the previous “Select Destination Location” window will appear again.
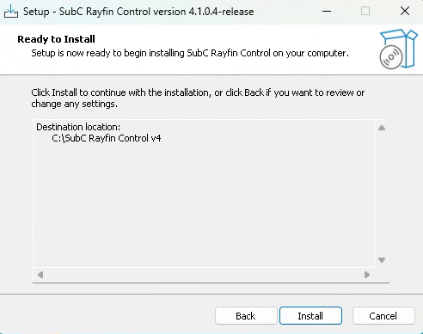
When you click Yes, “Ready to Install” window will appear.
Click Install to proceed.
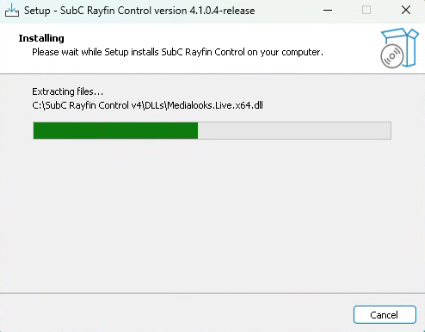
Installing
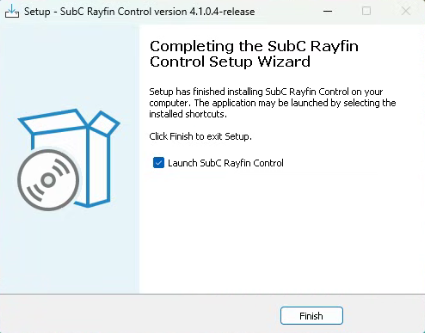
When the RCS installation is complete, click Finish.
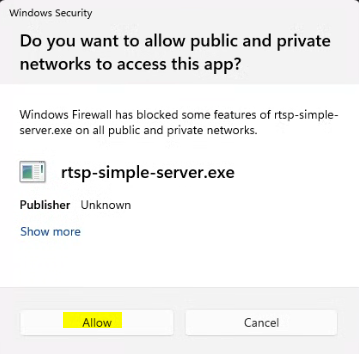
On RCS launch, if you get this message, click Allow to proceed.

The SubC Rayfin Control icon will appear on your computer desktop. Click this icon to start the RCS application.
If you had “Launch SubC Rayfin Control” selected, the RCS will automatically start once the installation finishes.
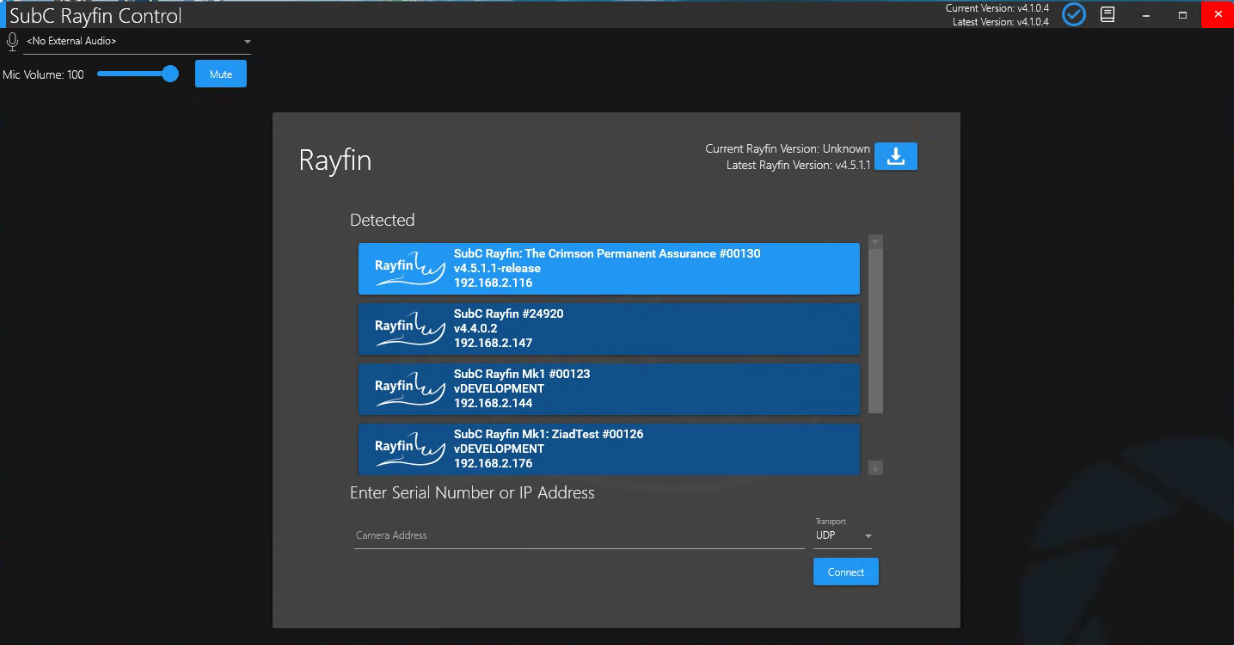
Rayfin cameras that are automatically detected on your Network will be displayed.
Select a Rayfin camera from Dectected list
Or enter the Rayfin Serial Number or IP Address in the Camera Address field below
select Transport and click Connect
See Operations