Conducting an Inspection
When you have created a new Inspection project or opened an existing or recent project, your Inspection project will open displaying the video Channel(s) that are currently connected to an Input on the DVR+O / SCI System.
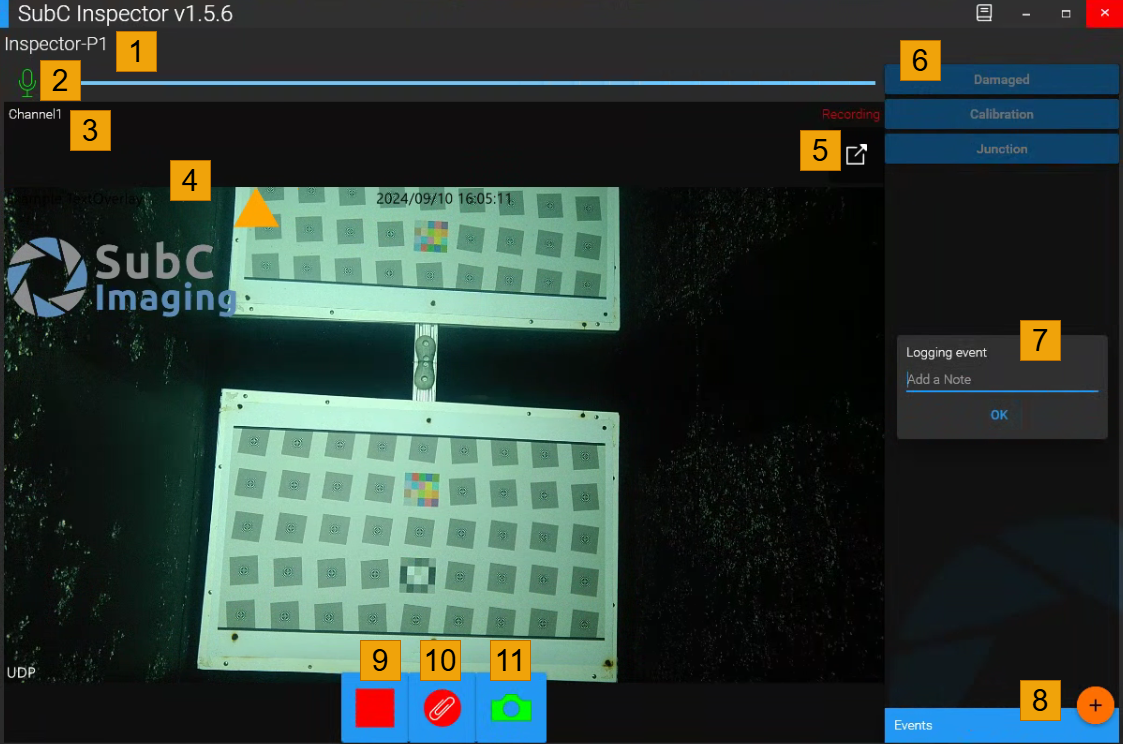
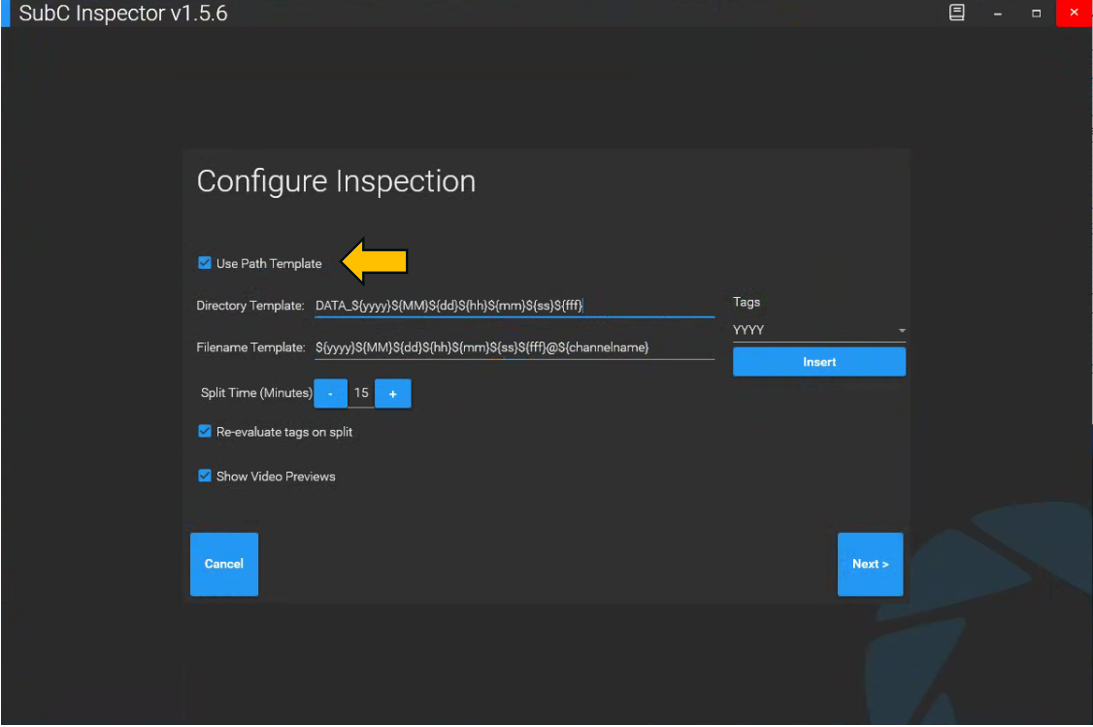
If you select the “Use Path Template” in the Configure Inspection step, your Inspection Project will appear without the Inspection Folder & Drive Plan on the left. See image above.
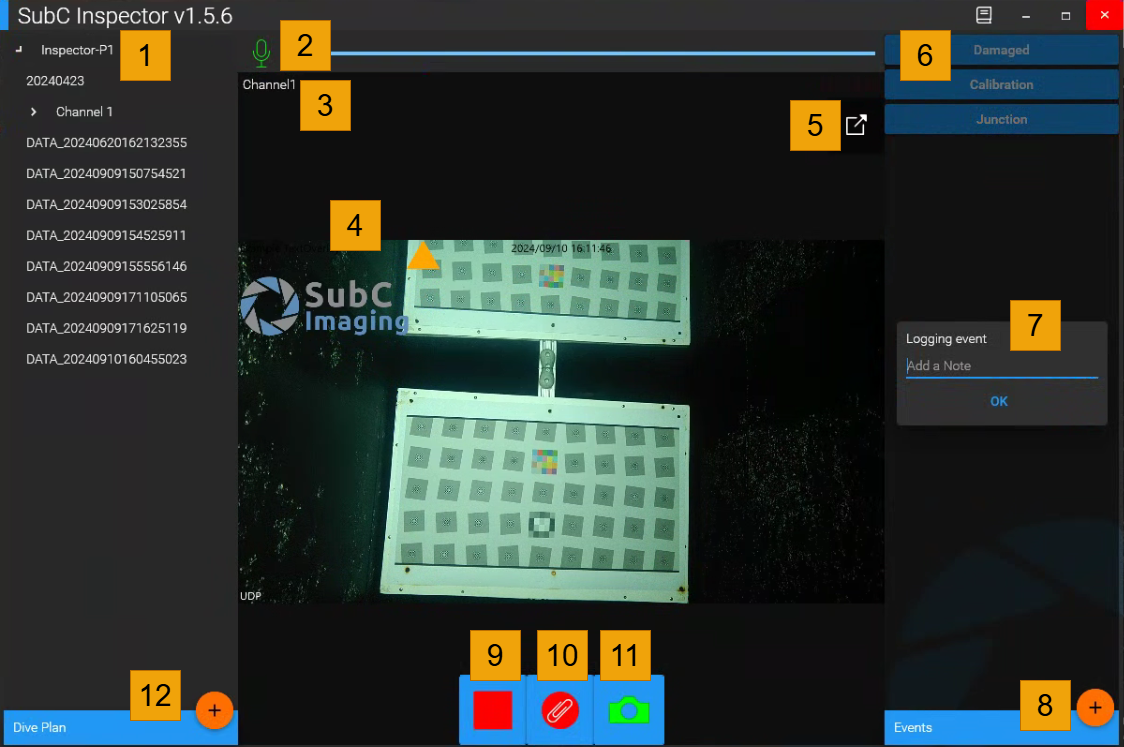
If you do not select the “Use Path Template” in the Configure Inspection step, your Inspection Project will appear with the Inspection Folder & Drive Plan on the left. See image below.
Name of your Inspection Project
Microphone - If your selected a microphone when you created the Inspection Project, you can control, volume and mute on/off
Name of the active Channel(s) will appear in the top, left of each Channel displayed.
Channel Video Preview (will appear if you selected “Show Video Preview” when you created your Inspection Project.
Pop-out window - You can pop-out a separate window for each active Channel displayed. (You may wish to do so, for example, to drag the pop-out window to another monitor)
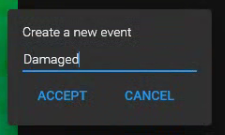
Events - After you have created Events (see # 8) and start recording, when you see an event appear during the inspection, click on the corresponding Event. Example, click “Damaged” to instruct the DVR+O to log that event. Note, Events will become active only when recording is active
Logging event Note - Optionally, you can include a text note with each Event. When you click on an Event, a Logging event note field will also appear, allowing you to optionally add more details pertaining to the Event. Click OK. An “Event taken: Event-Name” message will appear briefly at the top-center of the Inspector window. (i.e., Event taken: Damaged).
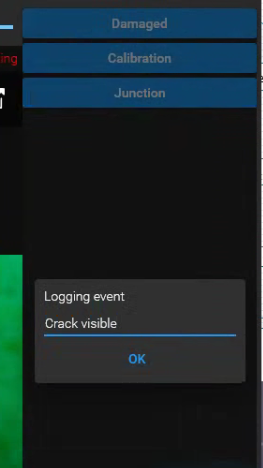
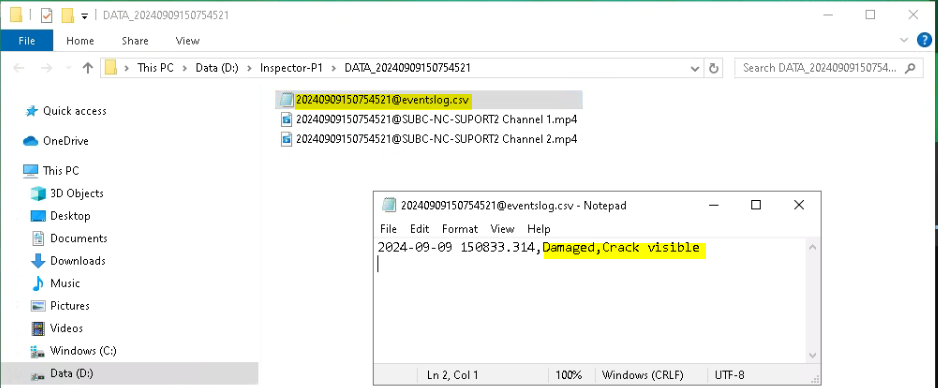
The Logging event note will be saved with the Event and its date and timestamp of when the Event occurred in the eventlog.csv file located in your specified Inspection project directory.
Create Events - Click the “+” button to create a new Event; Give each Event a name that represents the types of anomalies you are watching for during the Inspection.
Start Recording button - You’ll see a “Recording” message briefly appear at the top-center of the window. Recording creates .mp4 files in your selected Inspection folder.
Clip button appears in between the Recording & Camera stills button when recording is active. The Clip button allows you to take a separate recording clip file of something that is of particular interest you wish to capture. Click the Clip button to start recording, click again to stop recording the clip.

Camera button - Click to take still image / frame grabs (while recording - frame grab or not recording - still). These frame grab, still images are saved as .png files in your selected Inspection directory.
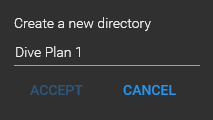
Dive Plan - Click the “Dive Plan +” button to create sub-folders inside your Inspection folder.
Note, Dive Plan will only appear if you did not select the “Use Path Template” in the Configure Inspection step.
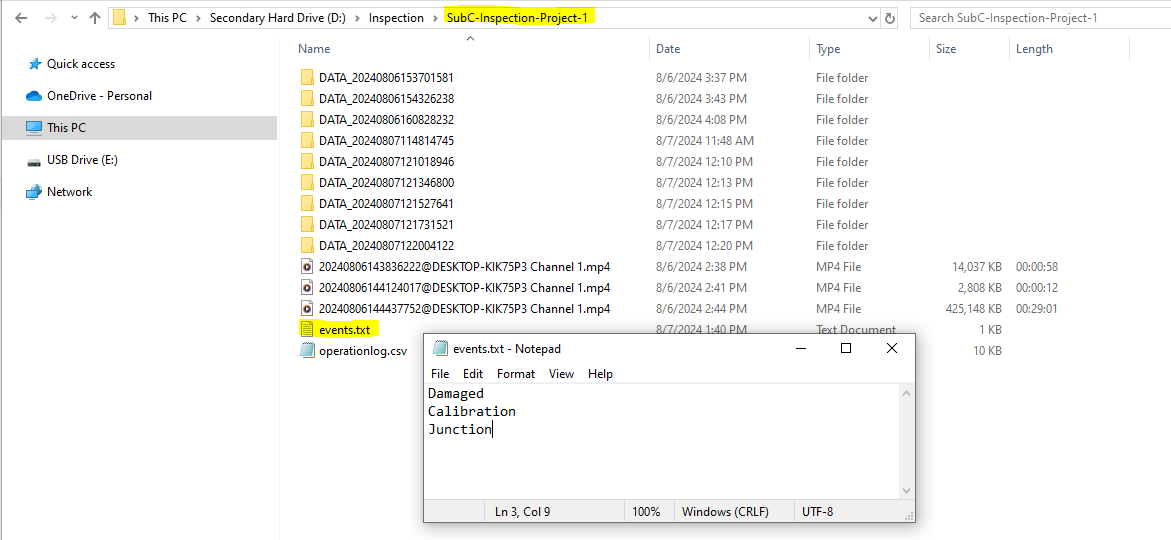
If you wish to remove, edit or add Events you can do so by opening Windows File Explorer, locate the Inspection project file, open the events.txt file.

Click the Stop Recording button when to pause or when your Inspection is finished.