Move a PC to Another Stream Group
There are occasions when you may want to move a computer from one SubC Stream Group to another Group.
For example, you may have multiple Vessels identified as distinct Groups in your SubC Stream configuration. You may have a team member onshore whose PC is currently in “Vessel A” Group but now needs to access Stream on another “Vessel B”. In this case, you need only remove this User PC Mac/Physical address from “Vessel A” and add it to “Vessel B” Group.
Only certain Users have the appropriate level of permissions to move a PC’s MAC / Physical Address from one Stream Group to another.
If you do not have the permission to perform this action, ask another member of your Team who has these necessary permissions.
If you require permission for this ability (to move a PC to another group) assigned to your SubC Stream Service account, please contact support@subcimaging.com to make your request.
Steps:
The first thing you need to do is find the MAC/Physical Address of the PC that you wish to move from one Stream Group to another. See Find Your PC's Physical/MAC Address
The PC that you intend to move to another group should not have the SubC Stream Desktop application opened while you are doing this next step.
Open SubC Streaming Service web application
Select your Group (In this example, we see SUBC DEVELOPMENT, SUBC GUEST and SubC TESTING Groups)
3.1 Make note of which Group you wish to move the PC (In this example, we will move 28B2BD5065FE to SUBC TESTING Group)
3.2 Select Menu → Settings
3.3 Select the Group where the PC you which to move is currently located. (In this example, 28B2BD5065FE is currently located in SUBC DEVELOPEMENT Group)
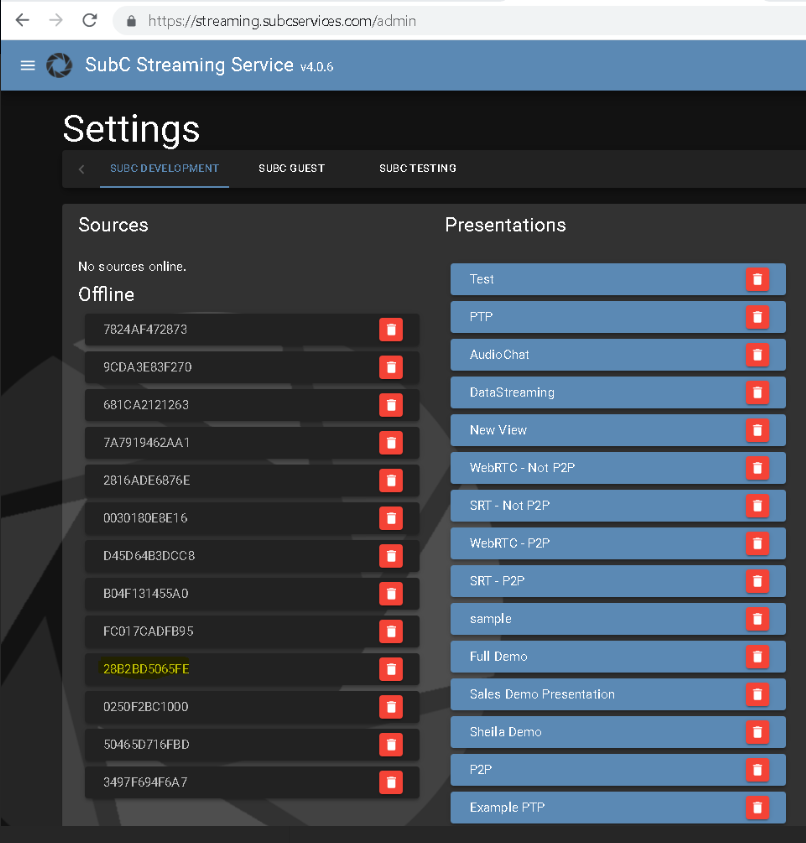
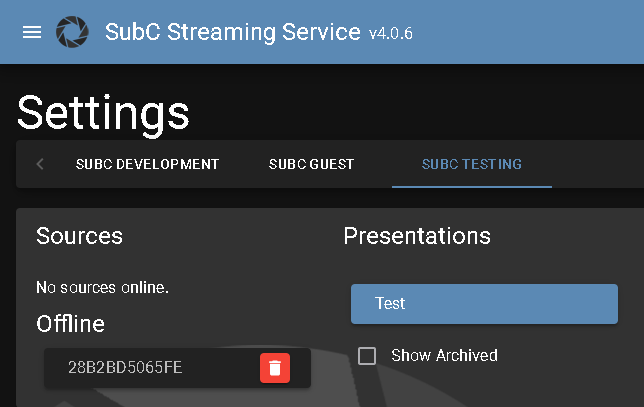
Under Sources (1st column), locate the Physical Address of the PC you wish to move (in this example, 28B2BD5065FE is highlighted in yellow).
Next to this PC’s Physical Address, Click the red trashcan icon to Deactivate Source (this action removes the PC from the current Group)

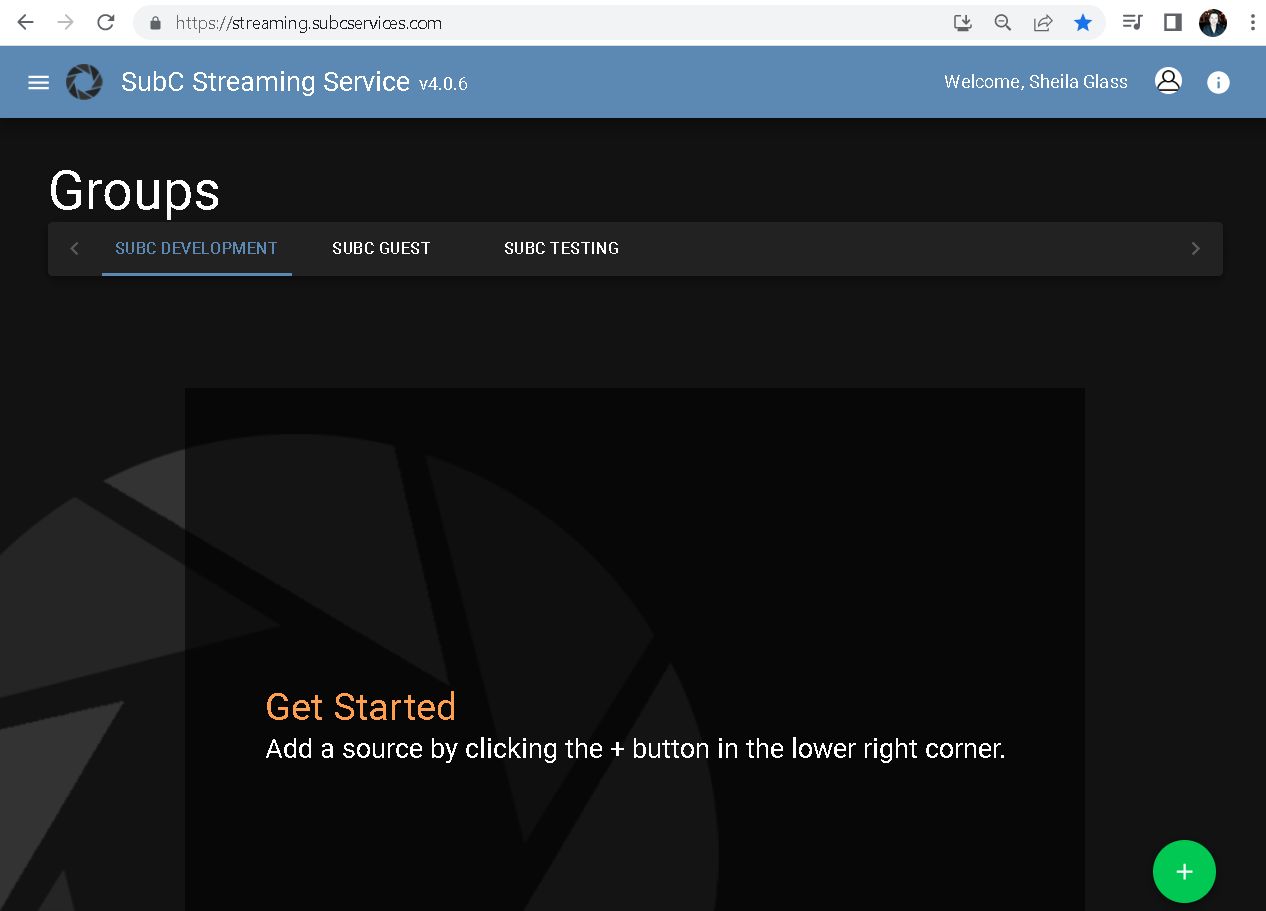
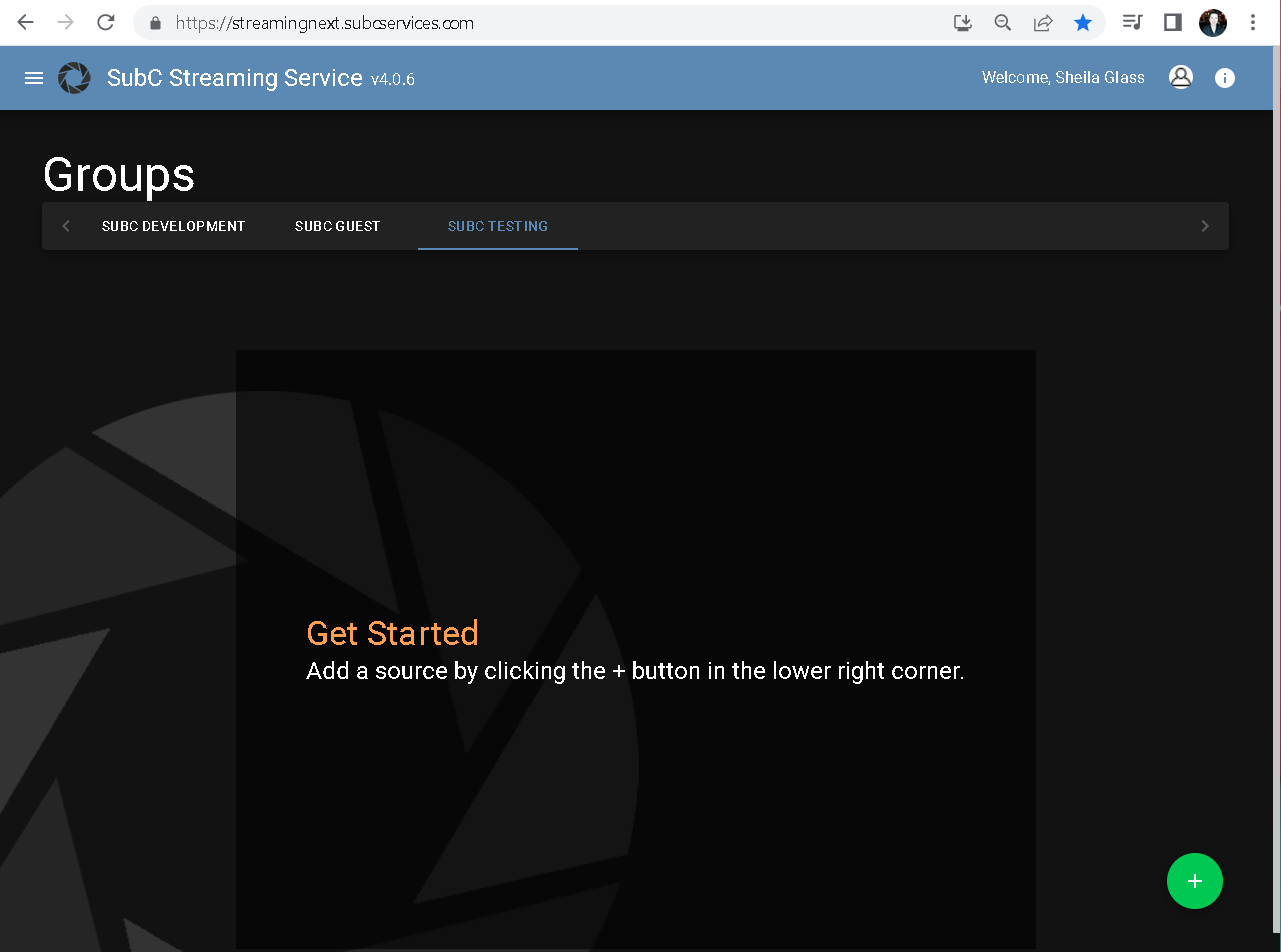
3.4 Click on the Menu again and Click Home to return to Groups view
Select the other Group you wish to add the PC (i.e. SUBC TESTING)
Click on the “+” in the green circle icon at the lower, right…
A random Code will be generated, Click Copy
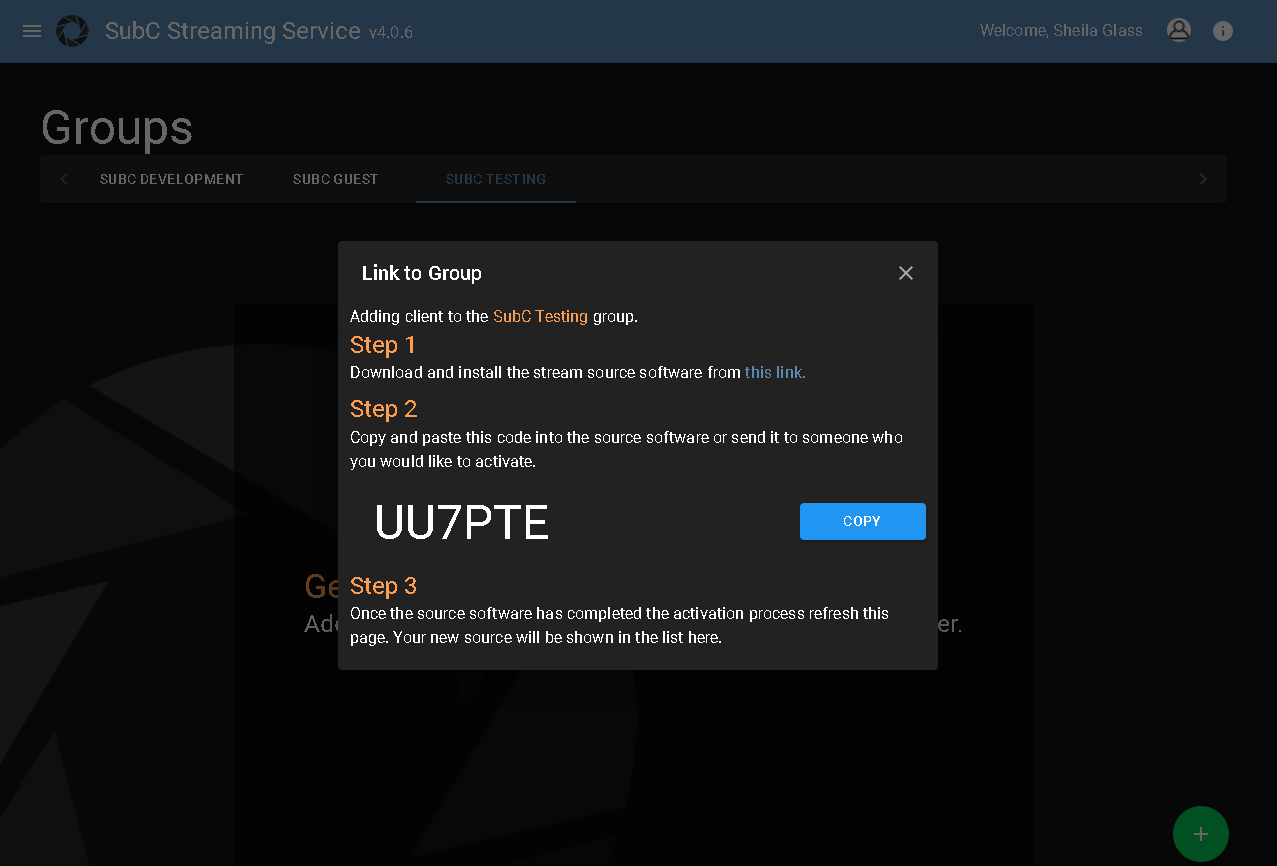
3.5 Send this Code (paste in email or text) to the User on the PC that you wish to move to this other Group.
Have the User
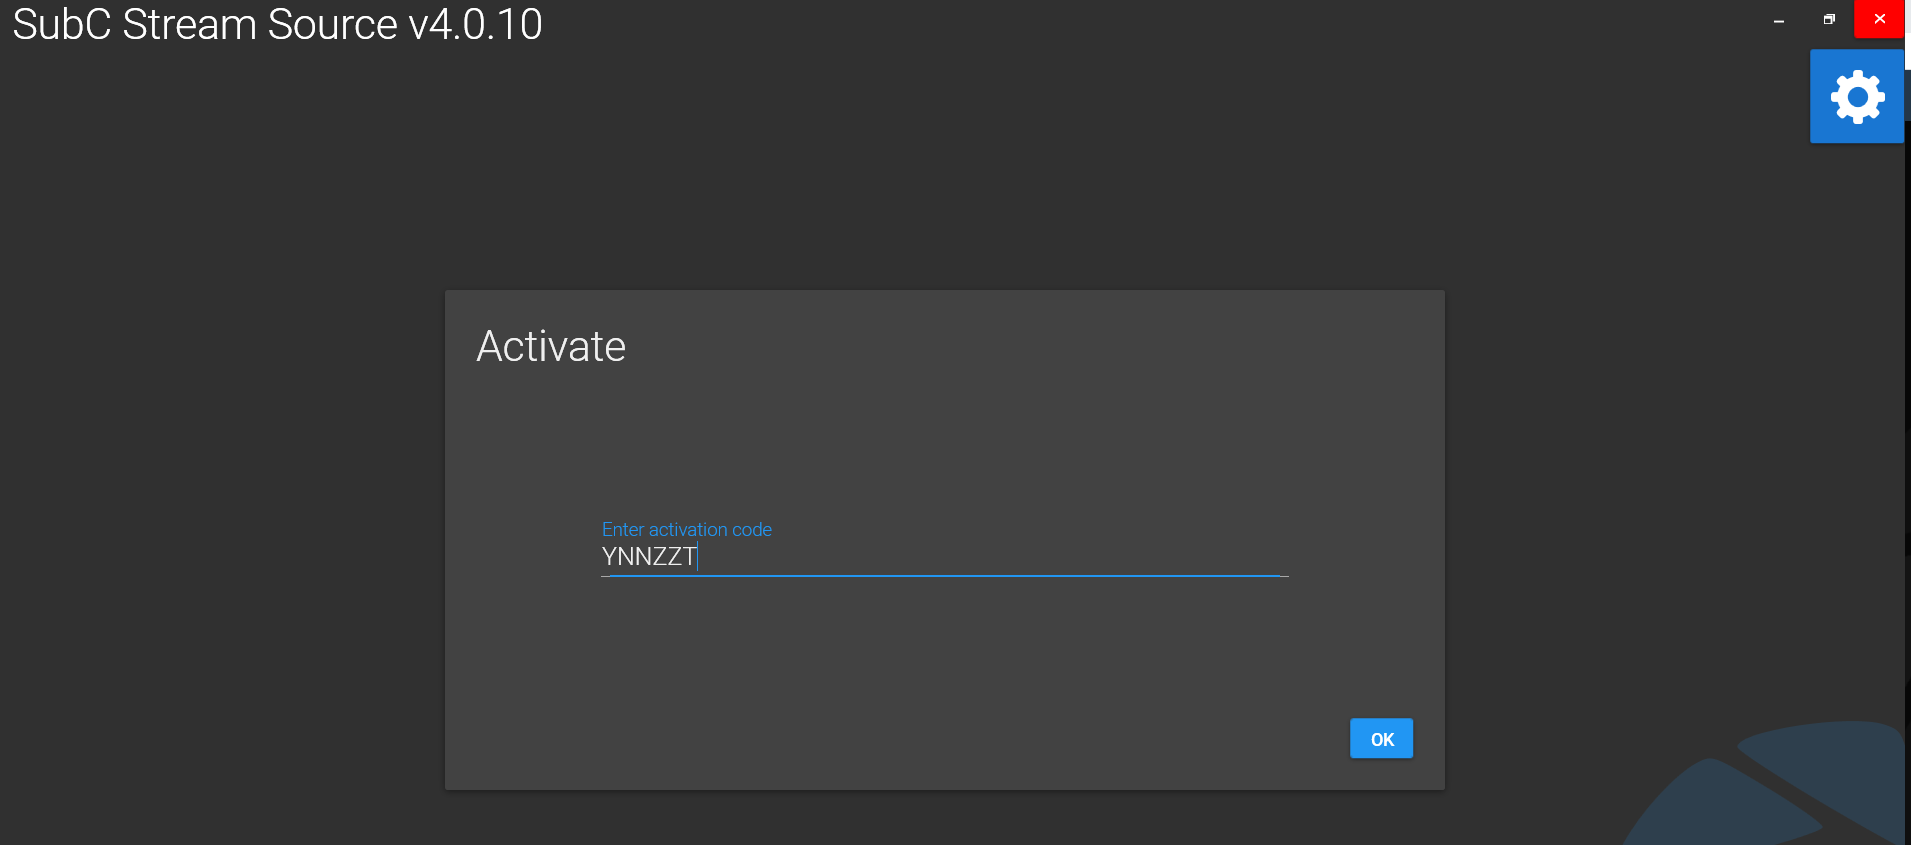
Open the SubC Stream Desktop Application on their PC.
The Activate view appears, and they must enter the Code you sent to them and Click OK
This action of the User entering the Activate Code will register the PC in the selected Group in the SubC Streaming Service Web App.
Back in the SubC Streaming Service web App…
Click the Menu again, Select Settings and Select the Group (to which you’ve just added the PC in this example SUBC TESTING).
Under Sources, you will see the User’s PC MAC/Physical address that was just activated in this Group.
In the image below we see our example PC 28B2BD5065FE now resides under the SUBC TESTING Group. The PC will show as “offline” until SubC Stream session is started and activated for this Group.