Streaming to SubC SecureEdge
SubC SecureEdge Server is a Stream Server that you install in your LAN and use to stream video within your LAN.
License - SubC SecureEdge Server requires a SecureEdge License added to your SubC Software License.
See Data Security and Streaming for more details.
SubC SecureEdge Server service differs from SubC’s Cloud Stream Servers service in that SecureEdge streaming remains within your LAN.
You do not need Internet access when you use a local SubC’s SecureEdge Server
You do not need to Activate your SubC Software desktop application host system with SubC Cloud Streaming Service Group (unless you also want to be able to stream your SubC Software Channels to SubC Cloud Stream Service)
If you wish to implement SubC Secure SecureEdge Server in your LAN, please contact sales@subcimaging.com for pricing and installation details.
Network Requirements
The follow Ports are required for SecureEdge Streaming
8080 - SignalR Application Comms - Streaming to your Secure EdgeServer (Sender)
44301 - Situational Awareness (WebRTC) Video - Taking in WebRTC type to a SubC Input Channel (Receiver)
1935 - Deliverable Quality (SRT) Video - Taking SRT type to a SubC Input Channel (Receiver)
Streaming to your SecureEdge Server
On one of your SubC Software application host system within your LAN, configure a Channel with video input and stream it to your SecureEdge Server.
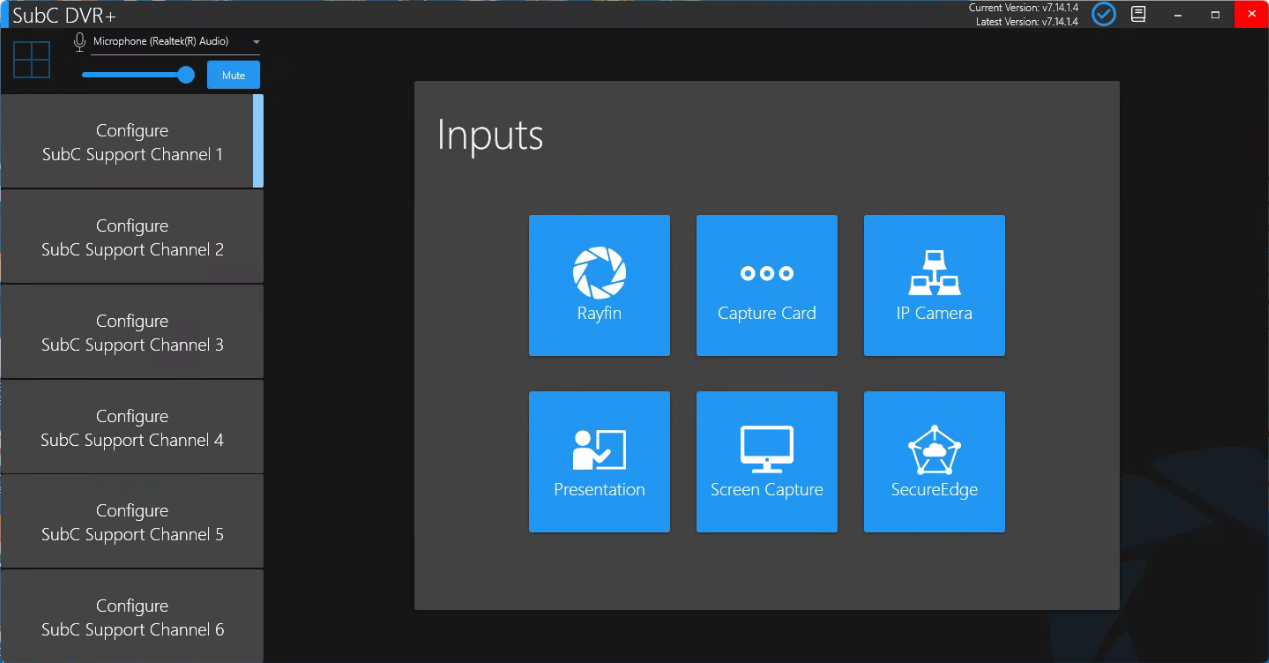
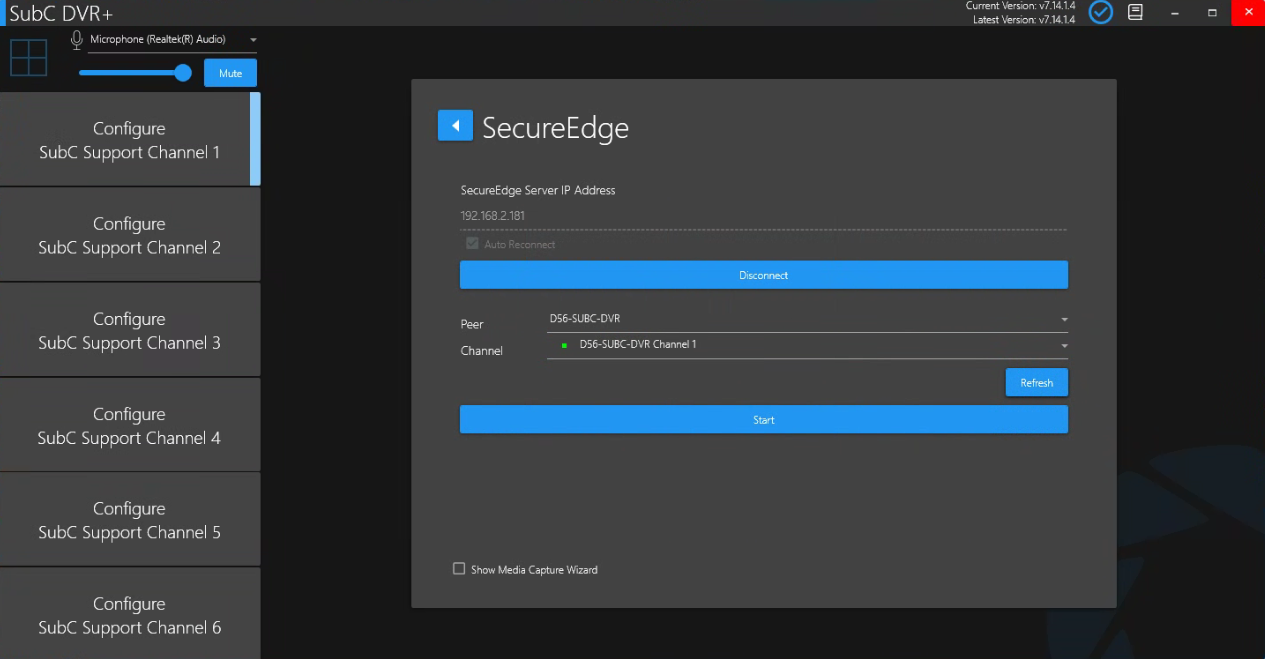
On a SubC DVR+ system within your LAN, configure a Channel with a video Input (Rayfin, Capture Card, IP Address, Presentation or Window/Screen Capture), select Menu → SecureEdge and connect to your SecureEdge Server.
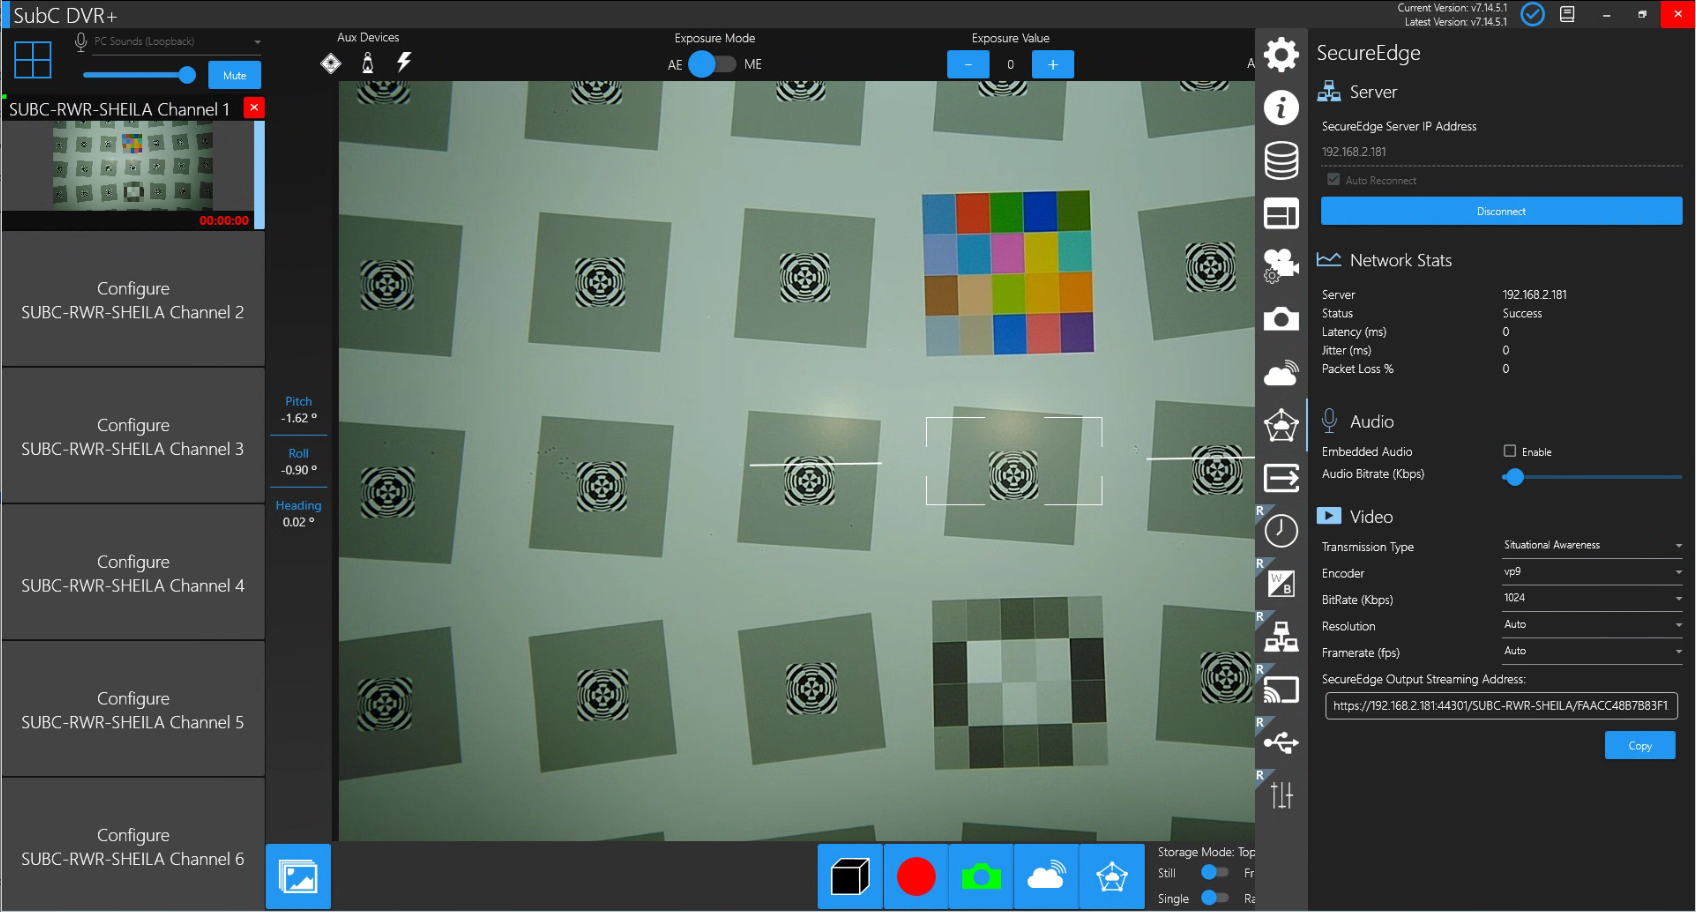


Click the Start SecureEdge Streaming button
The SecureEdge Streaming button will change to include a red square - indicating that the Channel is now actively streaming to the SecureEdge Server.
Click this button again when you wish to Stop the Channel streaming to the SecureEdge Server.
Open Menu → SecureEdge
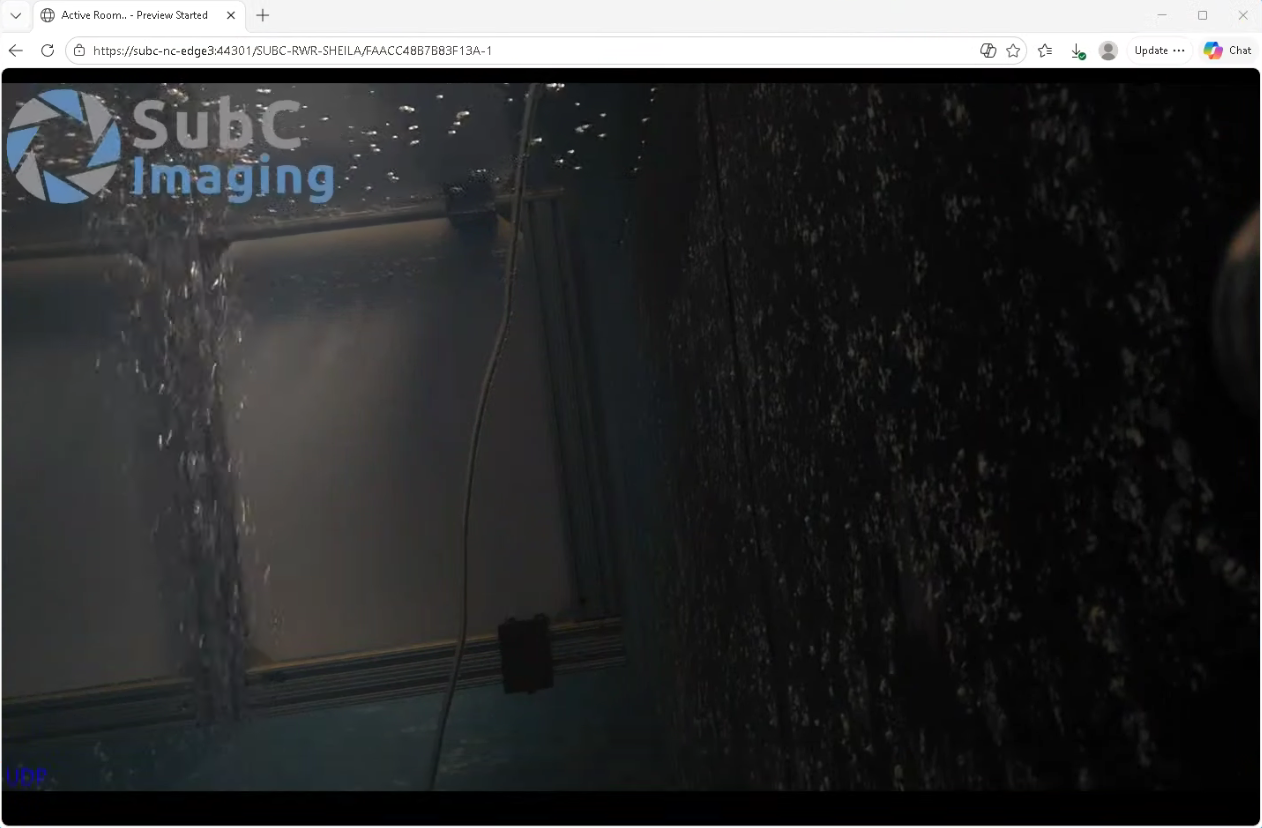
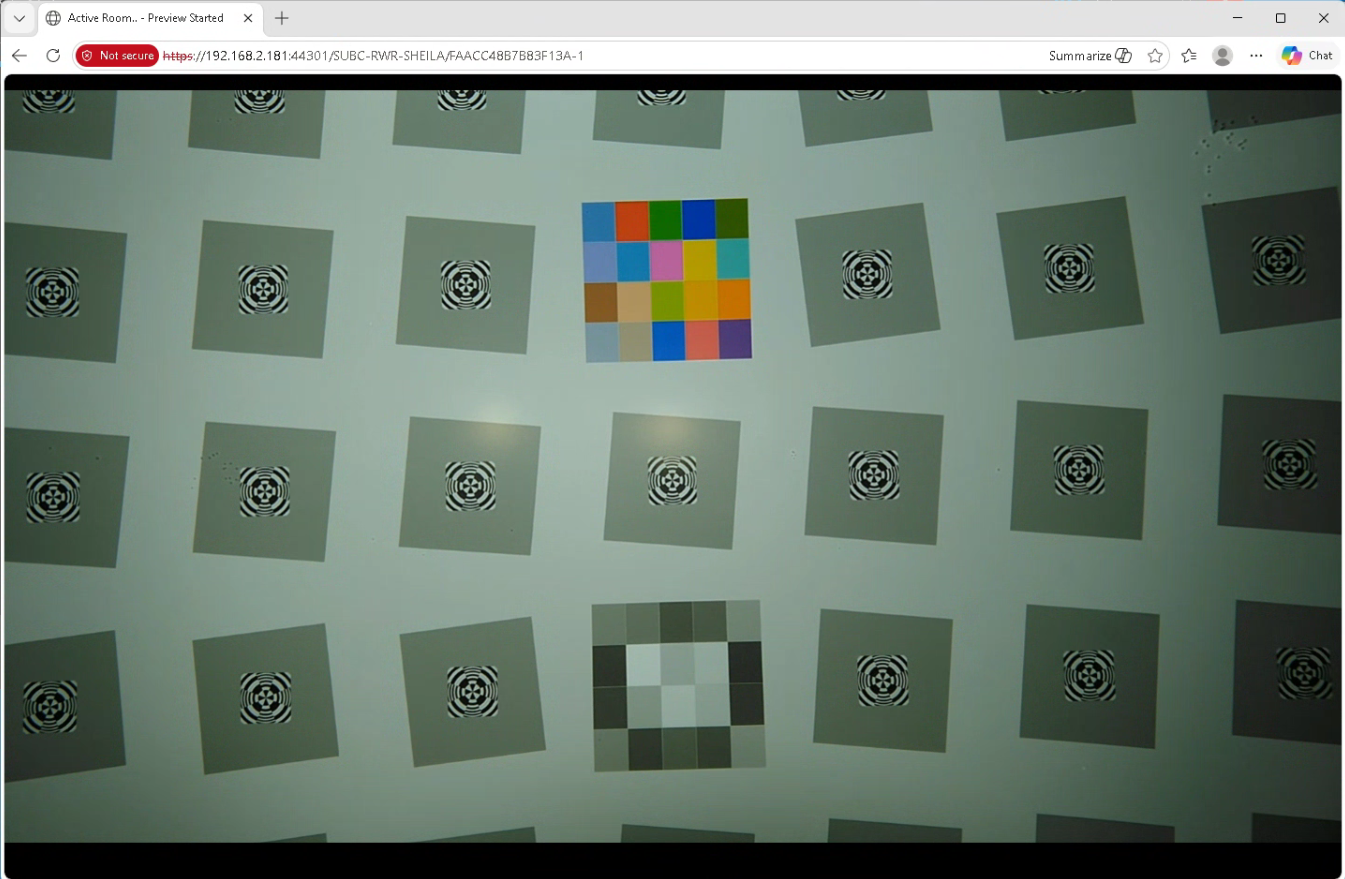
Copy the SecureEdge Output Streaming Address and share it with others on your LAN
Paste this URL address it into a web browser to view the Edge streaming video.
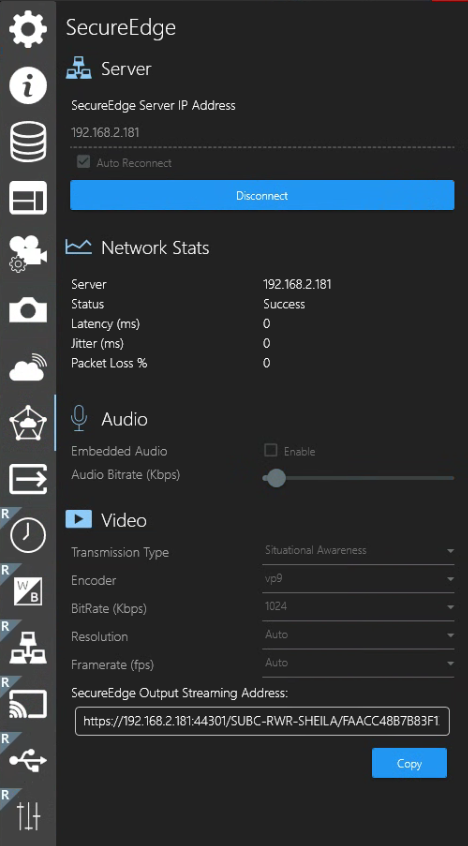
Menu → SecureEdge Overview
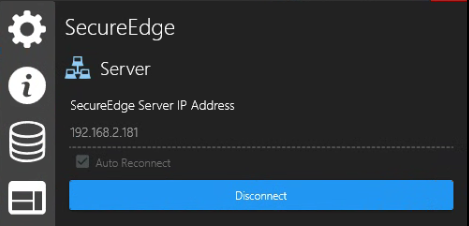
Server
SecureEdge Server IP Address - Enter your Edge Server IP address.
Auto Reconnect - select this checkbox if you want to automatically reconnect to this SecureEdge Server.
Connect - click to connect to the SecureEdge Server.
Disconnect - click to disconnect from the SecureEdge Server
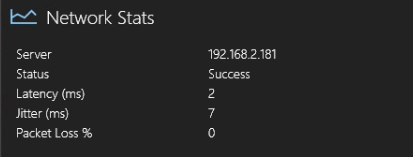
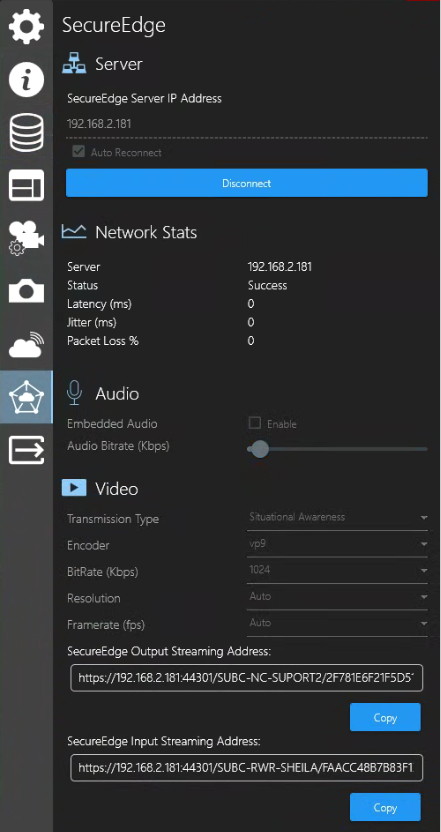
Network Stats
Server - shows the IP of the Edge Server
Status - Unknown will change to Success, once you’ve connected to the Edge Server.
Latency (ms) - Latency refers to the delay in network traffic between your PC and the Edge server.
Jitter (ms) - Jitter is when packets arrive at the destination in a different order than they were sent. (Typically caused by network congestion, route changes, etc.) The longer it takes for packets to arrive, the more jitter can negatively impact the video and audio quality.
Packet Loss % - Packet Loss happens when packets traveling across the network fail to reach the destination (usually caused by network instability and/or congestion).
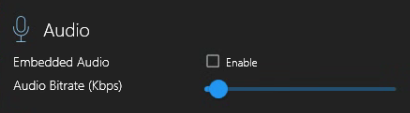
Audio
Embedded Audio - Enable
If you have a microphone connected to your system through which you would like to communicate/add narration during your video streaming transmission, select Enable checkbox.Audio Bitrate (Kbps) - Default is set to 64Kbps depending on your Network performance. You can adjust the audio bitrate to improve the audio quality.
Transmission Type: Situational Awareness
(formerly called “RealTime”)
Situational Awareness streaming is useful when you need very low latency video (such as for piloting a craft).
Typically, this type of stream has sub-second latency but minimizing latency means no buffering. Frames are delivered and displayed as soon as they become available. The lack of buffering may result in the video being jumpy on slower networks
Video
Change the values of the following Video fields before you start streaming the Channel to the Edge Server. (While Edge streaming is active, these fields are not editable).
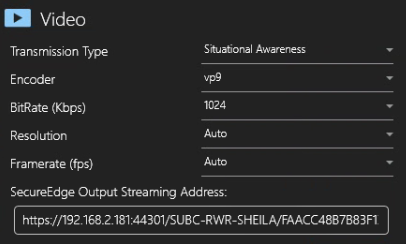
Video - Situational Awareness
Transmission Type: Situational Awareness
Encoder: vp9 | gpu_h264 | h264
vp9 - Default; vp9 is a higher compression codecs, allowing for better quality images at a lower bitrate/bandwidth requirement; Stream at 1bit/sec; requires higher CPU resources
gpu_h264 - Is a lower compression codecs; Streams at higher bitrate/bandwidth requirement; Stream at 4bit/sec; requires less CPU resources as the performance is video-card based.
h264 - Is similar to gpu_h264 in all aspects, except it utilizes the CPU resources; Select h264 if your system video card does not support gpu_h264 but you wish to use lower compression/stream at a high bitrate/bandwidth.
BitRate (Kbps) - Default = 256;
Selection Range: 16-5120.
Resolution - Default = Auto;
Selection Range: 1920x1080, 1280x720, 720x480, 320x240.
Framerate (fps) - Default = Auto;
Selection Range: 5, 15, 20, 29.97, 30.
Transmission Type: Deliverable Quality
(formerly called “Smooth”)
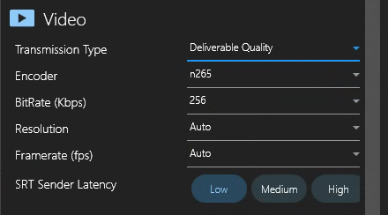
SRT Sender Latency: Low | Medium | High
These settings allow you to adapt to variations in your Network quality. You can select Low = 1s, Medium = 3s, High = 5s - whichever best suits your current Network conditions.
For example, if you have optimal Network conditions, low dropouts, less buffering required, select Low for 1 seconds of buffering. If you need more buffering, select Medium for 3 seconds or High for 5 seconds.
Video
Change the values of the following Video fields before you start streaming the Channel to the Edge Server. (While Edge streaming is active, these fields are not editable).
Video - Deliverable Quality
Transmission Type: Deliverable Quality
Encoder options: mpeg4 | n264
mpeg4 - Moving Pictures Expert Group 4 is a standard for the coding compression of audio and video files. MPEG4 efficiently reduces video and audio size while keeping quality and fidelity.
n264 - provides better video quality at smaller file sizes compared to its predecessors.
BitRate (Kbps) - Default = 256
Selection Range: 16-5120, 320x240
Resolution - Default = Auto
Selection Range: 1920x1080, 1280x720, 720x480, 320x240.
Framerate (fps) - Default = Auto
Selection Range: 5, 15, 20, 29.97, 30.
SRT Sender Latency: Low | Medium | High
Low = 1s, Medium = 3s, High = 5s
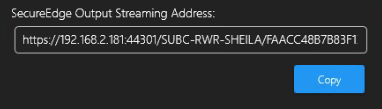
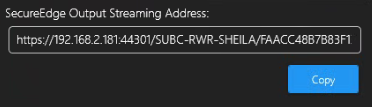
SecureEdge Output Streaming Address
Copy & paste the SecureEdge Output Streaming Address into a web browser for viewing the Edge streaming video Channel in another window / on another monitor / on another system within your LAN.
SecureEdge Stream as Channel Input
You can also take in another SubC Software system’s Channel within your LAN that is streaming to a SecureEdge Server as SecureEdge Channel Input on your SubC Software system.
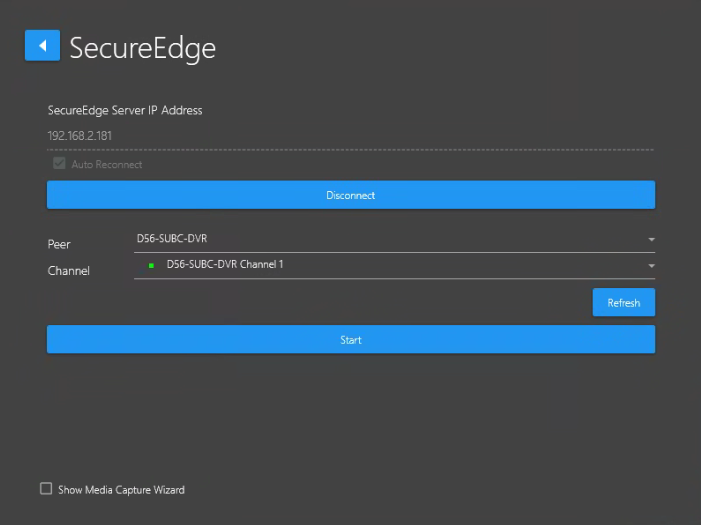
Select a Channel and click Input type SecureEdge
Enter the EDGE Server IP Address and click Connect
Once connected to the SecureEdge Server, the Peer and Channel fields appear. If there are multiple SecureEdge Channels streaming on your network, you can select the specific SecureEdge streaming channel you want.
Peer (SubC Software system hostname that is SecureEdge streaming its Channel) and
Channel (hostname & channel #)
Refresh if you do not see the expected Peer / Channels appear in these list fields.
Once the Channel is configured with video SecureEdge Server Input, if you wish, you can also stream your Channel to your SecureEdge Server.
Click the Start SecureEdge Streaming button in the bottom
The SecureEdge Streaming button will change to include a red square - indicating that the Channel is now actively streaming to the SecureEdge Server.
Click this button again to Stop the Channel streaming to the SecureEdge Server.
In SecureEdge Output Streaming Address you will see your system Channel SecureEdge Output Streaming Address. (Again, you can copy & paste this SecureEdge Output Streaming Address URL into a web browser to view the SecureEdge streaming video Channel in another window.)
And below, in SecureEdge Input Streaming Address the details of the source system channel that is streaming is the Input your Channel.
