Operation
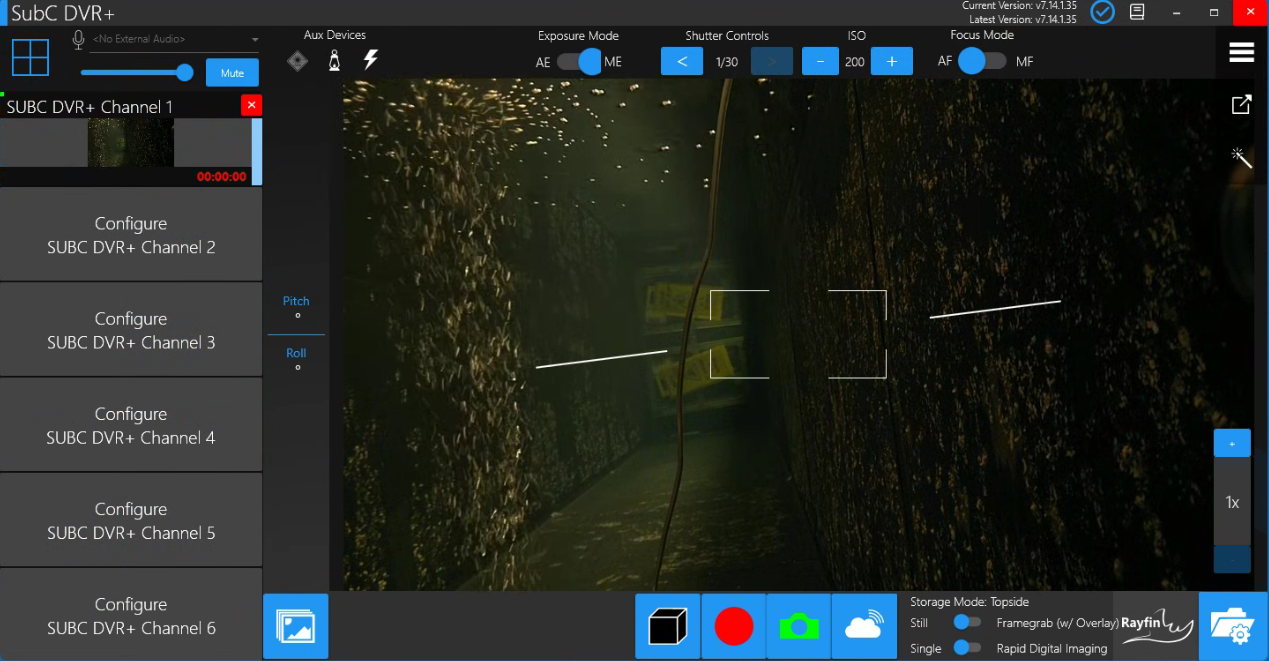
This section provides an introduction to the SubC DVR+ User Interface (UI).
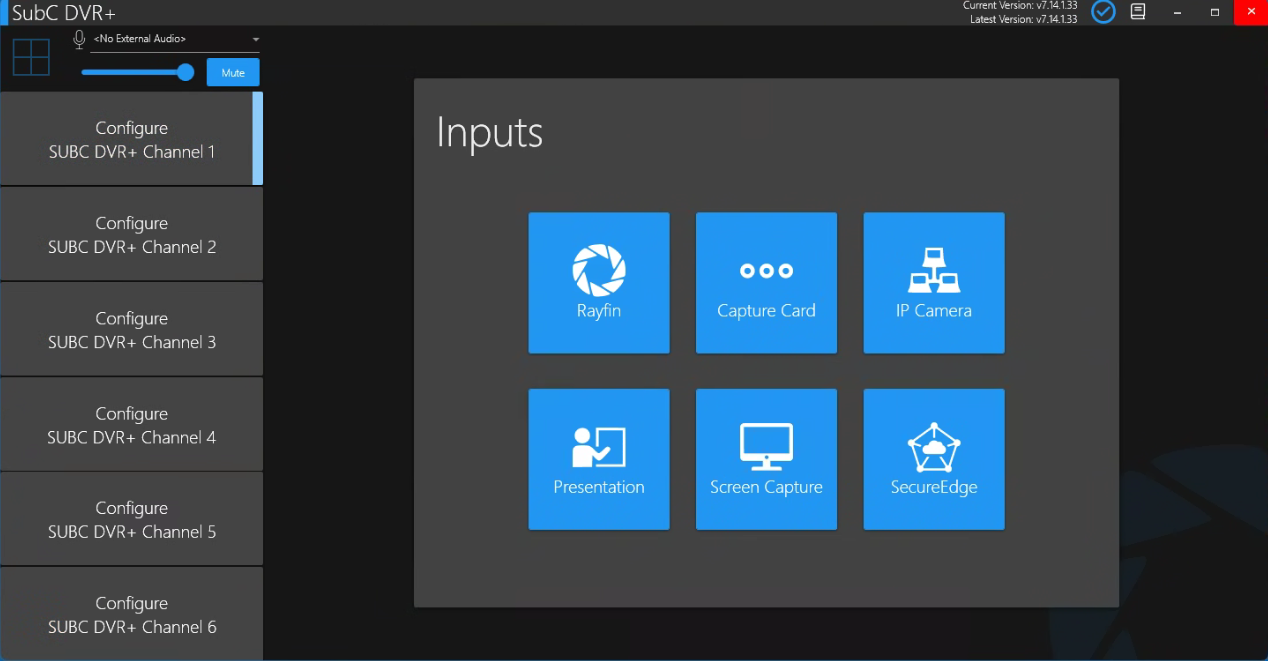
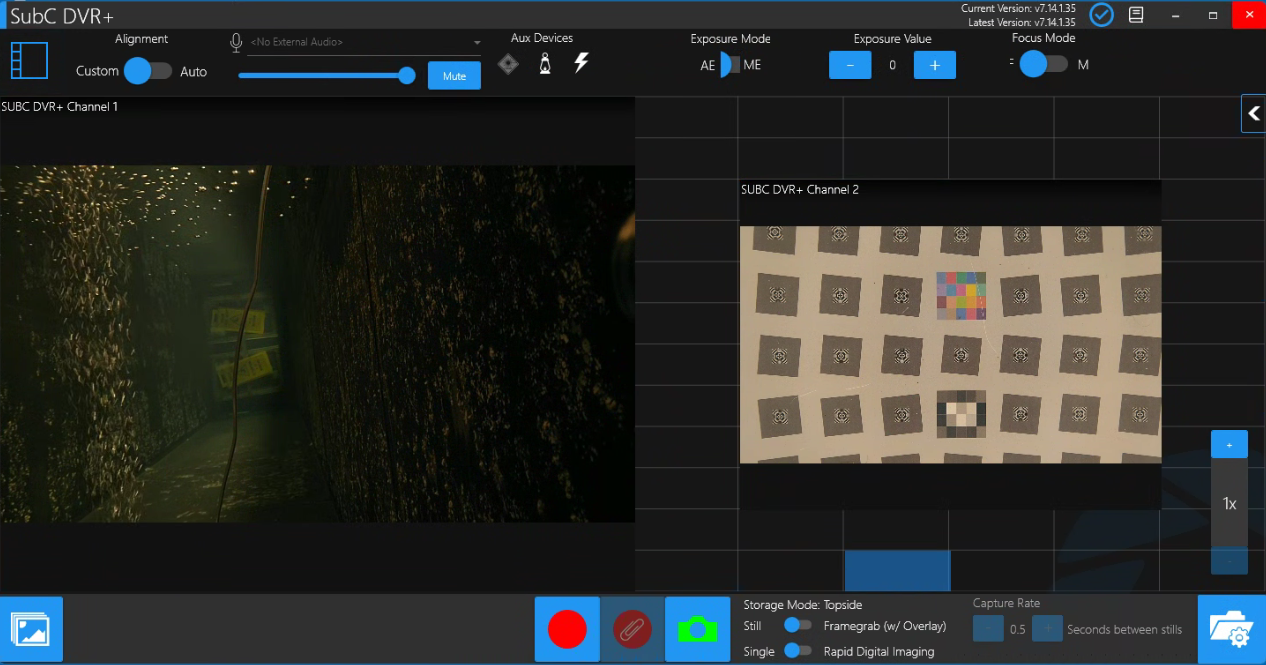
Each of the Channels in the left column can be configured independently using one of the Inputs displayed in the center of the DVR+ main window.
Grid/Sync/Eventing Mode & Priority Mode
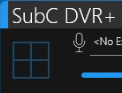 Click this box to switch from Priority Mode to Grid/Sync/Eventing Mode for global video controls & Eventing. 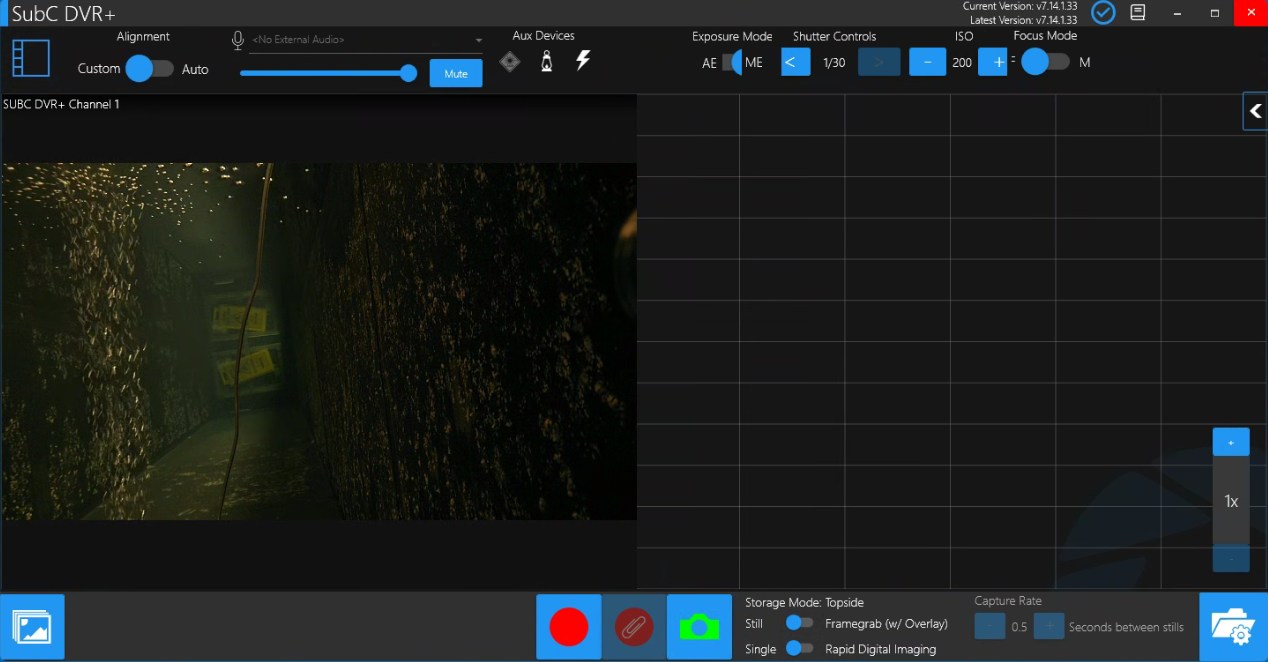 | 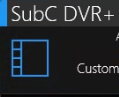 Click this box when you want to switch back to Priority Mode for individual video controls. 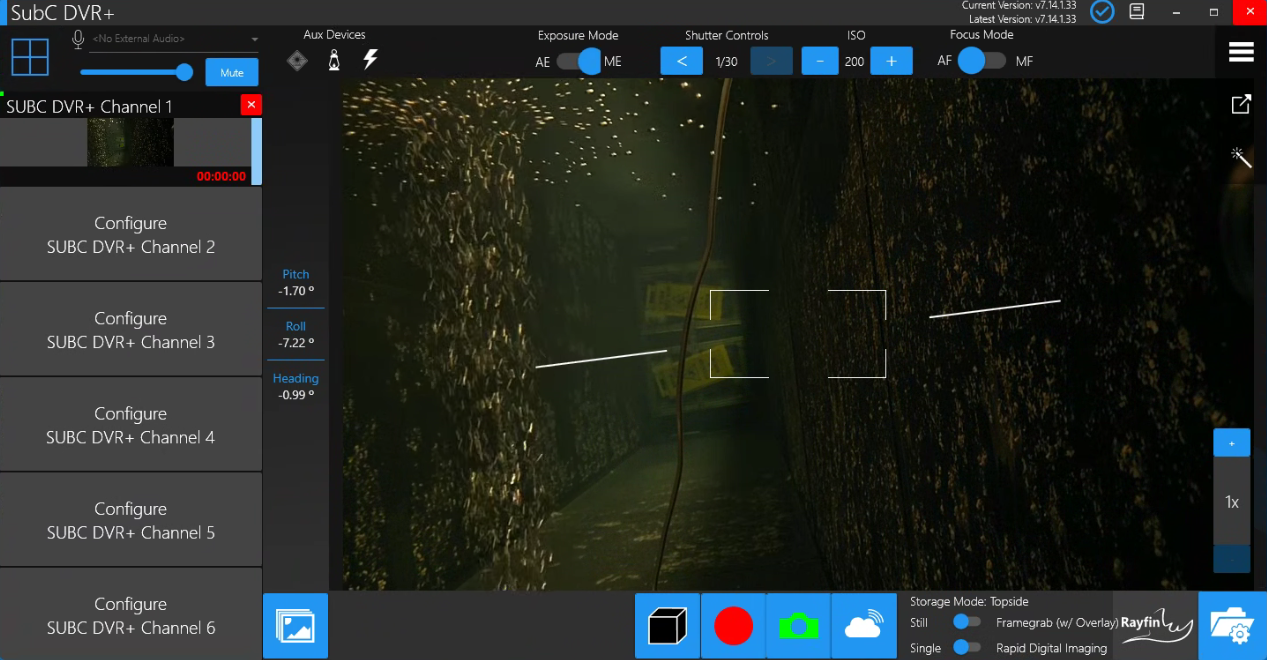 |
|---|
In DVR+ or SCI, you must also switch to Grid/Sync Mode to access the Eventing UI
See Eventing for details.
When in Grid/Sync Mode, click the Record button to start Recording all active Channels. Recordings for each Channel will be saved as individual MP4 files.
When all active Channel Inputs are Rayfin Input Type, in Grid/Sync Mode the Rayfin Controls will be available and interactions with Rayfin Controls will apply simultaneously to each of the Rayfin cameras.
Also, all the active Channels Recording Settings will adhere to the settings as defined on the first active Rayfin Input Channel. (First active Channel may not necessarily be Channel 1; For example, if you have Channels 2, 3 & 4 active, the first active Channel is Channel 2)
If some or all of the Active Channels are not Rayfin Input type, in Grid/Sync Mode the Rayfin Controls are not displayed. Also, each of the active Channels will adhere to the individual Recording Settings as they have been set in Priority Mode.
While recording, you can then also click the Camera button to capture an image (a Still image when its Rayfin and a Framegrab when other Input Type) of all active Channels. Images for each Channel will be saved as individual JPG files.
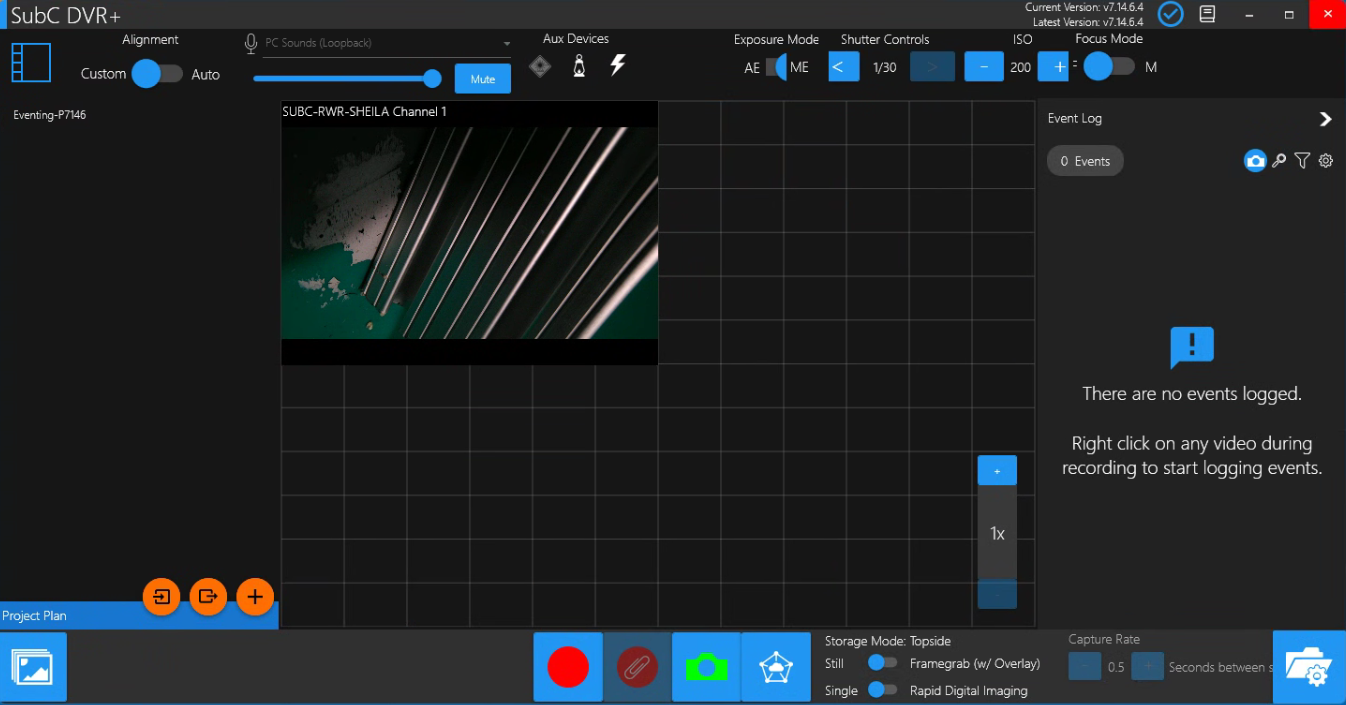
The Grid in Grid/Sync Mode - “Snap Grid”
 | When in Grid/Sync Mode, “Snap Grid” allows you to have more control over how you display your Channel video views. You can resize and change position of each channel video displayed in this view. |
|---|---|
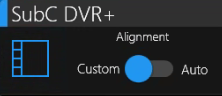 | Alignment - Custom / Auto Use this slider selection button to switch between your Custom Snap Grid layout to the Default Auto layout. |
Snap Grid - Custom 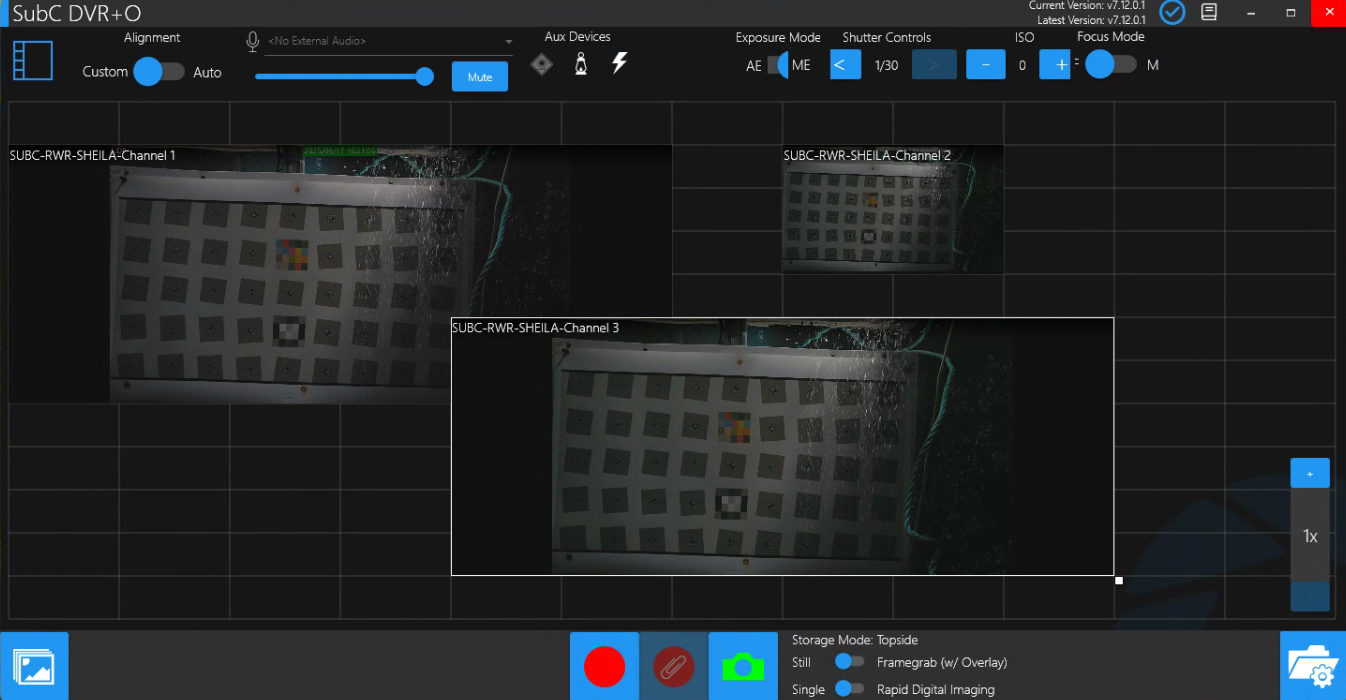 | Snap Grid - Auto 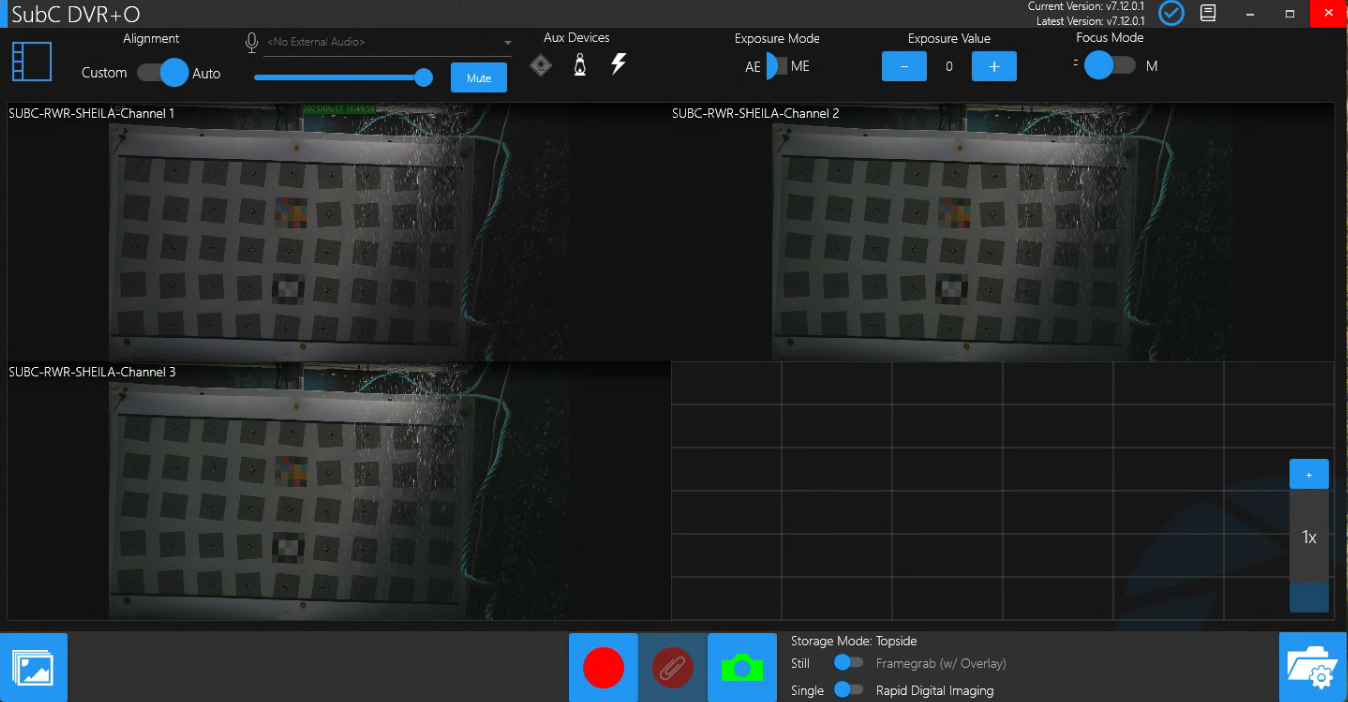 Note: If you start to resize or reposition your Channel video frames when in Auto mode, it will switch back to Custom Mode |
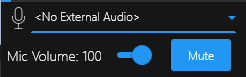
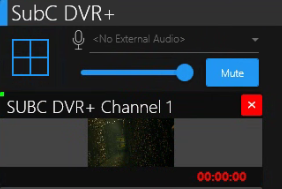
Microphone
At the top, left of the screen you have the option to select a microphone to record narration audio. Below the microphone selection field are the Mic Volume slider and Mute button.
If you do wish to use a microphone it must be selected before your connect a video Input type to Channels. The microphone applies to all enabled Channels.


Current Version / Latest Version
If you see a blue download button, it means there is a newer version of DVR+O available. Click this button to download the latest version and install at your earliest convenience.
If you see a blue check mark, it means that you have the most current version of the application installed.
If you see yellow question mark ( ? ), it means that internet connectivity issues have prevented the DVR+O from retrieving the latest version. Current Version will be displayed but Latest Version: Unknown.
If you see a yellow exclamation point ( ! ), it means an update is available, but it will require a license renewal. Please contact team@subcimaging.com

SubC Product User Manual
This SubC Product User Manual is also installed with the application locally on the computer. Click the “book” icon at the top right of the screen to open.
This embedded manual is a convenient reference if you happened to be using the SubC application while not connected to the Internet. SubC Product Manuals are also available online in the SubC Client Help Center.
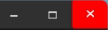
Window Controls
Minimize
Maximize/Restore
Close
Initializing a Video Input
Once you have connected a Channel to video Input, the Black Box configuration window will appear. Black Box setup is explained in the Media Capture Wizard section.
Once a DVR+ Channel is configured, the following features appear.
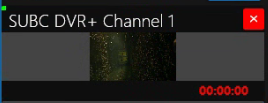
 | Channel Video Preview This small Preview video screen appears on each active Channel. It shows current activity information on a Channel at a glance, such as the recording status, recording duration, SubC Stream connection status, and data logging status. |
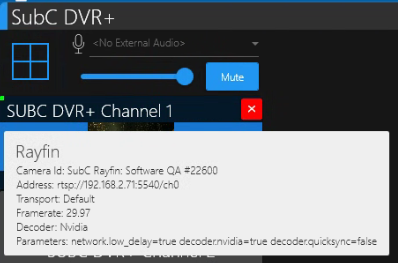 | Channel tooltip (info tab) |
 | Close Channel Input |
Video Main View
A larger view of the currently selected Channel’s video appears in the center.
See Rayfin Camera Controls for additional features when Input Type Rayfin Camera is selected.
Image Enhancement
The real-time image enhancement feature is ideal for water conditions with poor visibility. This built-in tool helps bring out details in the enhanced video that are normally obscured.
https://www.youtube.com/watch?v=-918C4hnT0I
Image enhancement is a feature of SubC Software and operates in real-time. This feature can be applied to your video Channels with Rayfin camera input and IP Camera input. Image enhancement uses your computer's CPU to process live frames, so the framerate is processor dependent.
Note: The enhanced video is not recorded within the Rayfin camera (Internal storage) or the SubC desktop applications host system (local or NAS drive - Topside).
This feature is intended to be used while watching the video coming into the SubC application in Real-Time
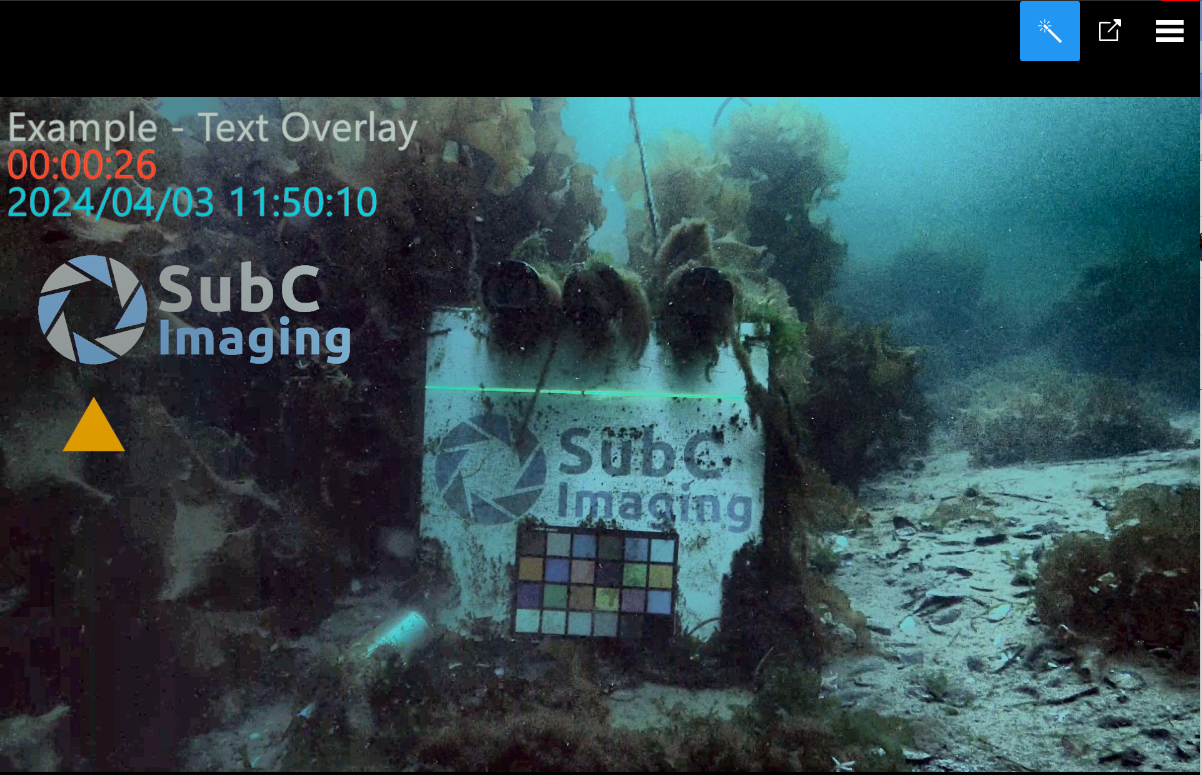
The images below illustrate how the image enhancement feature illuminates the video when turned on.
Image Enhancement = Off

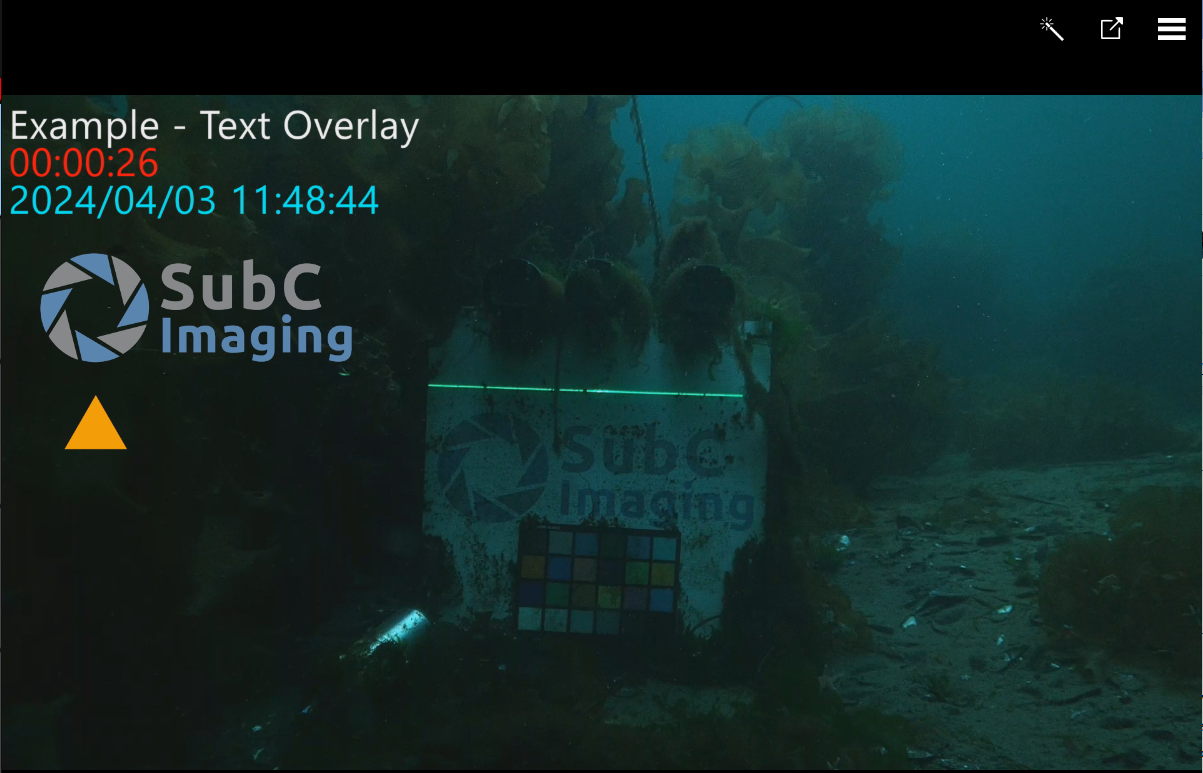
Image Enhancement = On


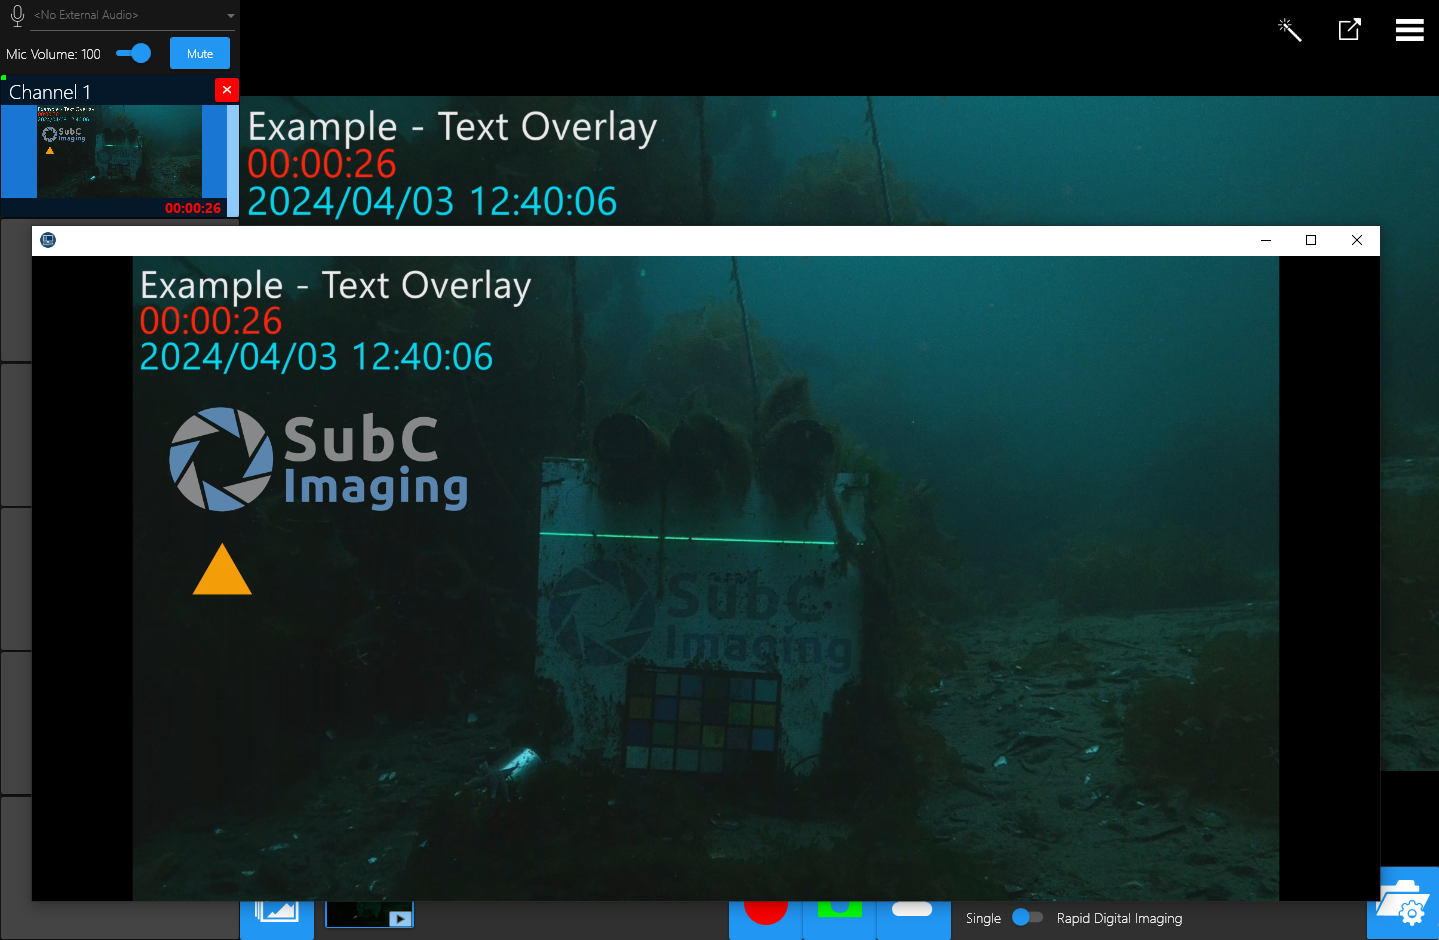
Video Full / Additional Screen - Click to open an additional window displaying the Channel video. Initially, the additional screen opens in full-screen mode. Click on the full-screen window to access controls to reduce the size and move this additional video window, for example, to display the video on another monitor.
 | See Menu for details on each menu item.  |
|---|
Folder/Filename Settings

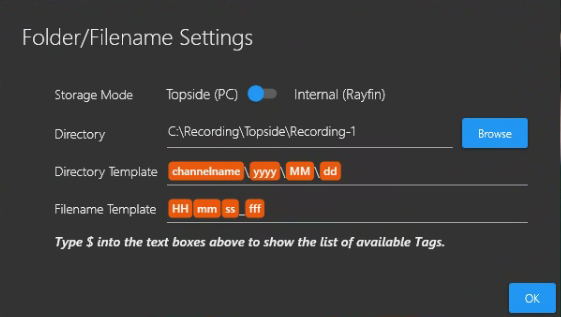
Folder/Filename Settings - Click to open the Folder/Filename Settings. Here you can browse to a File Explorer window and select a Directory path in which to save your recordings, stills, and data and format your Directory Template, Filename Template and apply Tags.
Topside (PC) Storage
Local Drive: If you are setting a directory path to a local drive on the system, you can use the drive letter. Example: D:\folder
NAS Drive: If you wish to set a directory path to a networked drive, you must provide the UNC Path. Example: \\ipaddress\folder
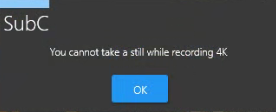
If you get this error message “You cannot take a still while recording 4K” Go to Menu → Recording Settings → Internal Recording and change Quality from 4K to HD
Topside (PC) - Videos and Stills will be stored in the selected directory on DVR+ host system.
Internal (Rayfin) - Videos and Stills will be stored in the selected directory on the Rayfin camera. Be sure to Click the “Set” button when selecting Internal (Rayfin) storage.
Directory - Displays the directory path you specify to store your recording, data and still image files. Click the Browse button if you wish to change the directory path.
Directory Template - Default is ${channelname}\${yyyy}\${MM}\${dd} however, you can modify this directory template as you wish.
Filename Template - Default is ${HH}${mm}${ss}_${fff} however, you can modify this filename template as you wish.
Tags - Type $ into the template text boxes above to show the list of available Tags.
Tags allow users to have better control over their directory structure to keep like files together. This can speed up post processing time to get results more quickly.

Overlays can only be included in Stills and Videos when storage is Topside (PC).
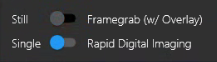
When Storage Mode: Topside (PC) is selected, you can select to include Still Framegrab (w/ Overlay).
When Storage Mode: Internal (Rayfin), Stills and Video will be saved to the Rayfin Internal storage drive.
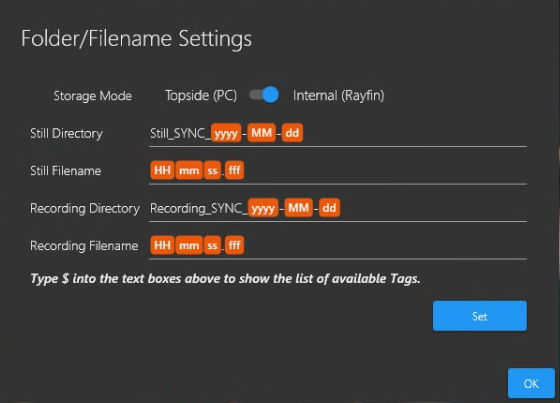
Enter your Directory and Filename settings
Examples:
Still Directory Still_SYNC_${yyyy}-${MM}-${dd}
Still Filename
${HH}${mm}${ss}.${fff}
Recording Directory Recording_SYNC_${yyyy}-${MM}-${dd}
Recording Filename
${HH}${mm}${ss}.${fff}
Tags - Type $ into the template text boxes above to show the list of available Tags.
Tags allow users to have better control over their directory structure to keep like files together. This can speed up post processing time to get results more quickly.
Overlays are not included in Stills and Videos when storage is Internal (Rayfin).
When Storage Mode: Internal (Rayfin) is selected, Still / Framegrab (w/ Overlay) button is inactive.
If the Rayfin Internal Folder/Filename Settings are changed using API command / Rayfin Visual Script Builder, the DVR+ / SCI will detect that these changes were made and send this notification message.

The camera reports that the directory and/or filenames have changed. Update | Discard
Click Update button to accept these settings that were set via API
Click Discard button to dismiss and apply your preferred Rayfin Internal Folder/Filename Settings in this UI.
Review Media

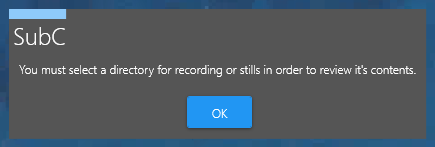
If you click on the Review Media button but you have not yet selected a folder where you wish to save your videos & images, you’ll see the following message.
In this case, click OK and select the Folder / Filenames Settings icon on the right to identify your folders
Click Review Media button to open Windows File Explorer to access the folder you have selected to save video recording, framegrabs and still image files for this Channel.
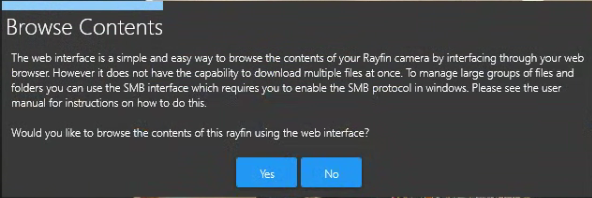
When Storage Mode: Internal (Rayfin) is selected and you click Review Media, the Browser Contents message appears.
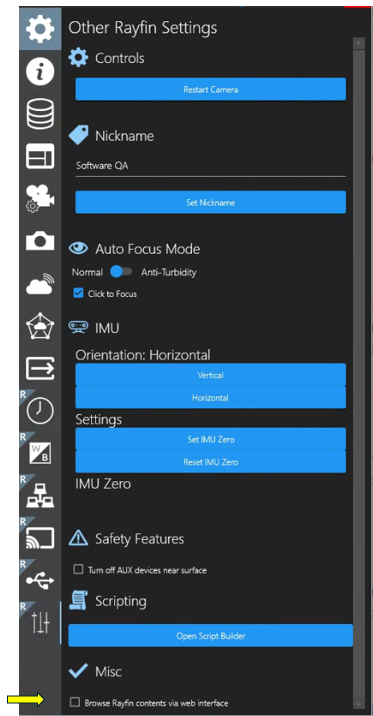
Also see Menu → Other Rayfin Settings → Browse Rayfin contents via web interface.
The web interface is a simple and easy way to browse the contents of your Rayfin camera by interfacing through your web browser.
However, it does not have the capability to download multiple files at once.
To manage large groups of files and folders you can use the SMB interface which requires you to enable the SMB1 protocol in Windows.
Would you like to browse the contents of this Rayfin using the web interface?
Click Yes or No button.
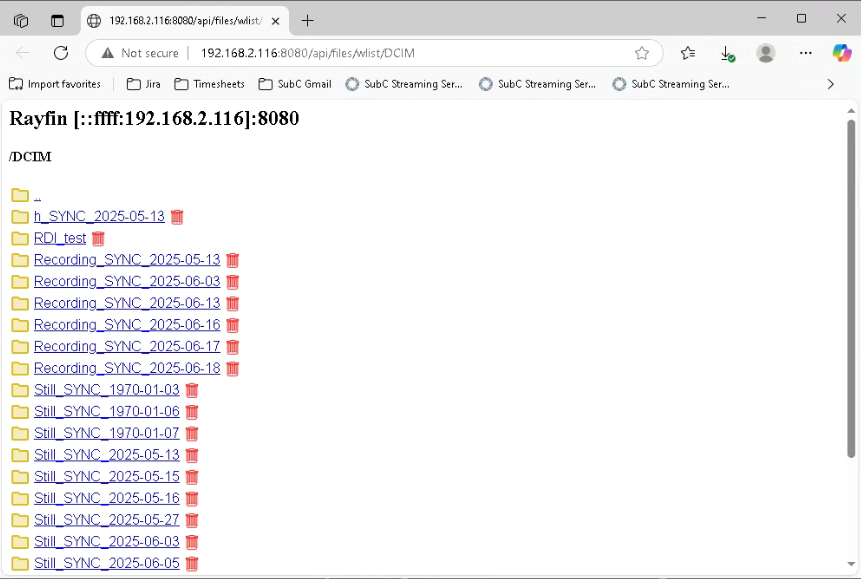
If Yes - the web browser UI will open.
If No - You may see this message if you do not have SMB1 protocol installed.
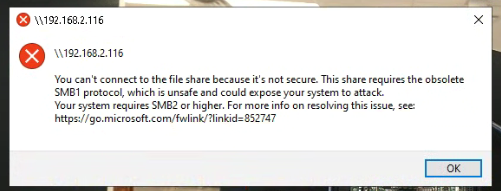
Please see the user manual for instructions on how to do this: Troubleshooting - File share not secure - SMB1

Blackbox Start / Stop  Click to Start Blackbox Recording - Click the Recording toggle button to start and stop recording video on the current Channel. | Blackbox is Active  While recording, the Recording toggle button changes to a square and the Recording timer is presented. Click to stop Blackbox Recording. |
|---|
Recording Start / Stop

Click to Start Recording - Click the Recording toggle button to start and stop recording video on the current Channel.
Recording is Active

While recording, the Recording toggle button changes to a square and the Recording timer is presented. Click to Stop Recording.
Recording DVR+ Channels individually (Priority Mode) or simultaneously (Grod/Sync Mode).
 | In Priority Mode, click the Recording toggle button on each Channel to start recording. If Overlays are applied on the Channel(s), the overlays will also be included in the video recording file(s) when recording is set to Topside (PC). |
 | In Grid/Sync Mode, click on the Recording toggle button to simultaneously start Recording all active Channels. Overlays are not included when recording to Rayfin Internal storage. |
If you click on the Recording button, but you have not yet selected your video recording destination folder, a File Explorer window will open prompting you to select a folder.
Take Still / Framegrab

Click the Camera button to take a Still image or Framegrab (while video recording) of the current Channel video.
If overlays are applied on the Channel(s), the overlays will also be included in the Still / Framegrab image file.

When the Input Type is Rayfin camera, you have the option to exclude Overlay (Still) or include Framegrab (w/Overlay) on the images. See Stills Settings - Rayfin.
Also note, you can trigger taking framegrabs on all Channels simultaneously from SubC Inspector
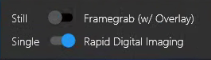
Take Still / Framegrab with RDI


When RDI is on and you click the Camera with RDI button, Stills will be continuously be taken until you stop by clicking the Camera with RDI button again.
Note: When Storage is set to Internal, Still / Framegrab (w/ Overlay) selection is inactive.
Streaming to SubC Cloud
SubC Streaming is an additional feature that is available by subscription. If you have a SubC Streaming subscription, the Stream button will appear after you Activate your DVR+ / SCI desktop application host system with your Streaming Service Group. See Streaming
Stream Start  Click the Stream button to Start Streaming to a SubC Stream Server in the Cloud The Stream toggle button will only appear if the SubC Streaming Service is activated for the PC hosting the DVR+ application. | Stream is Active  The Stream toggle changes to indicate that Streaming is active. Click this button to Stop Streaming. See the Streaming section in this manual for instruction on Streaming. |
|---|
Streaming to SubC SecureEdge
SubC SecureEdge is an additional feature that requires a license. If you have a SecureEdge license, and you have your SecureEdge Server configured within your LAN, you can stream your SubC DVR+ / SCI / RCS Channel video to your LAN SubC SecureEdge Server. See Operations → Menu → Streaming to SubC Edge Server
 | Select Menu → Edge and connect to your Edge Server 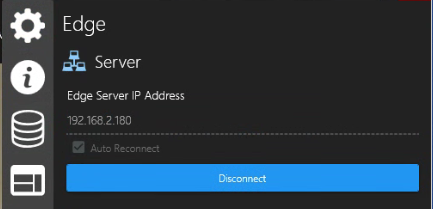 |
|---|
 | Select Menu → Settings and select Show Edge Streaming Button 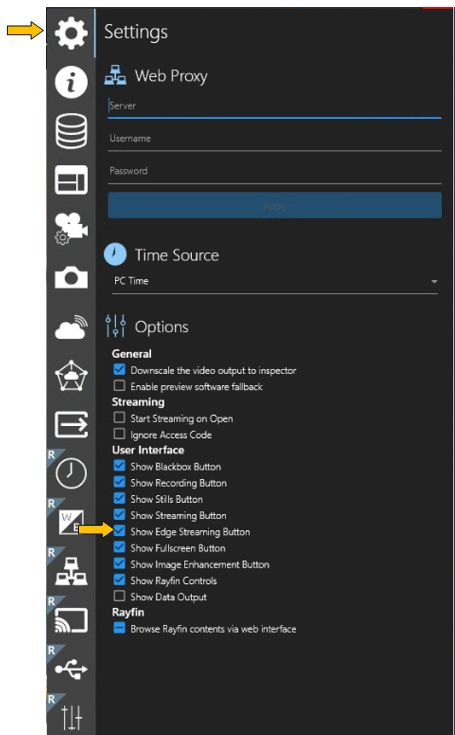 |
|---|
Stream to Edge  Click the Edge button to stream the current DVR+ Channel to the SecureEdge Server. The Edge toggle button will only appear if the DVR+ License on this host PC includes the Secure Edge license. | Streaming to Edge  The Edge button changes to indicate that Channel is actively streaming to SecureEdge Server. Click this button to Stop streaming the Channel to SecureEdge Server. See the SecureEdge section in this manual for instruction on configuring and using SubC Secure Edge. |
|---|
The pages that follow explain each of these features in more detail.