
Images captured with the Rayfin camera can be combined to created a timelapse video.
You can make a Timelapse video using Rayfin camera Still images and DaVinci Resolve 19.
Free Download: DaVinci Resolve 19 – Studio | Blackmagic Design

-
Open DaVinci Resolve
-
Create a New Project
-
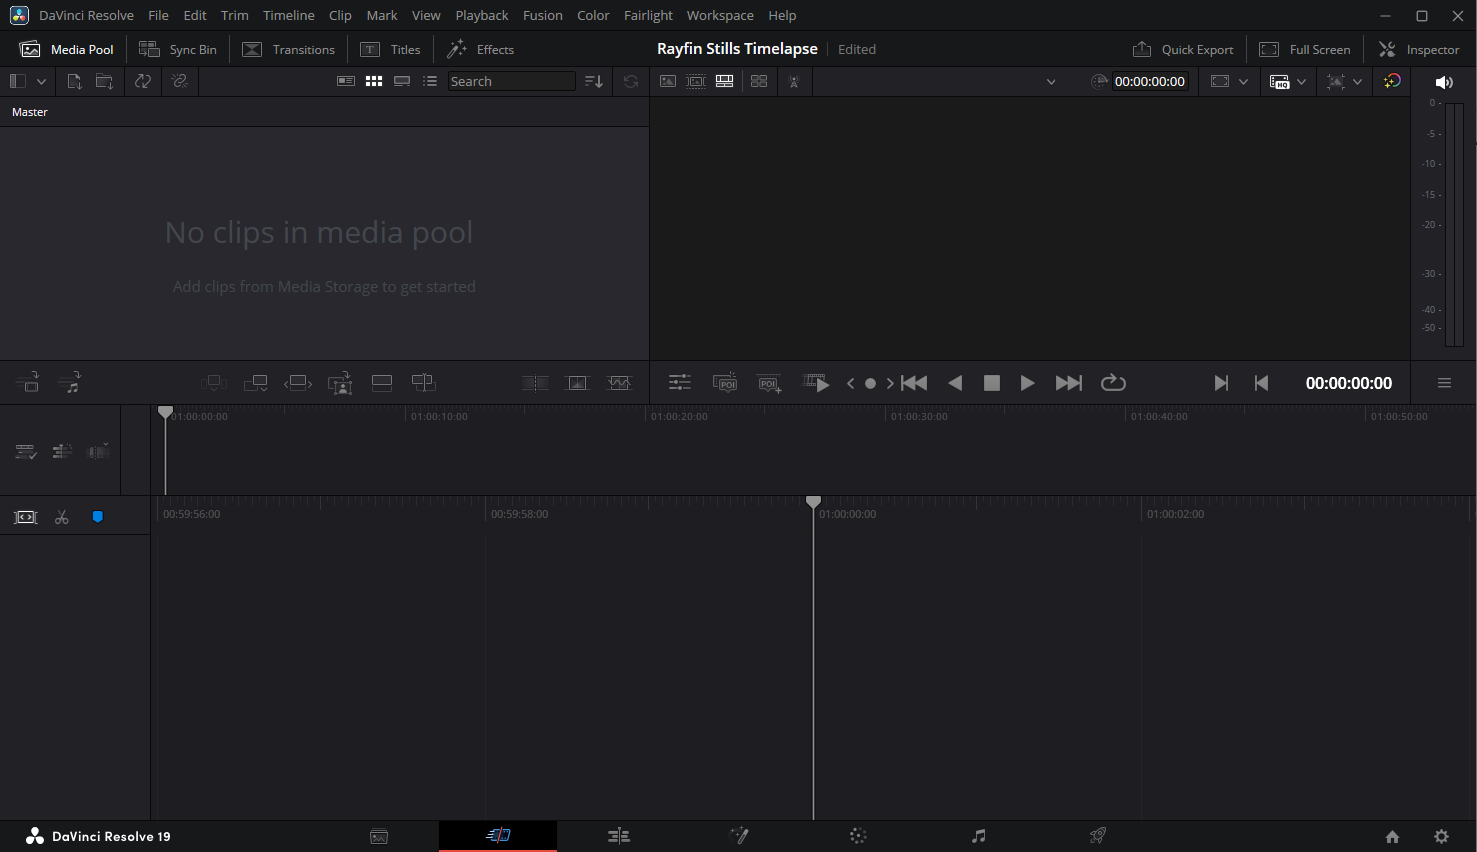
Example: Our new project name “Rayfin Stills Timelapse” appears in top center of the next window.
-
-
Hold the cursor over the “No clips in media pool” area and Right Click → Import Media
If you have not already done so, open DVR+O / SCI, connect to a Rayfin camera and take several Still images, then Import those Still images to DaVinci Resolve.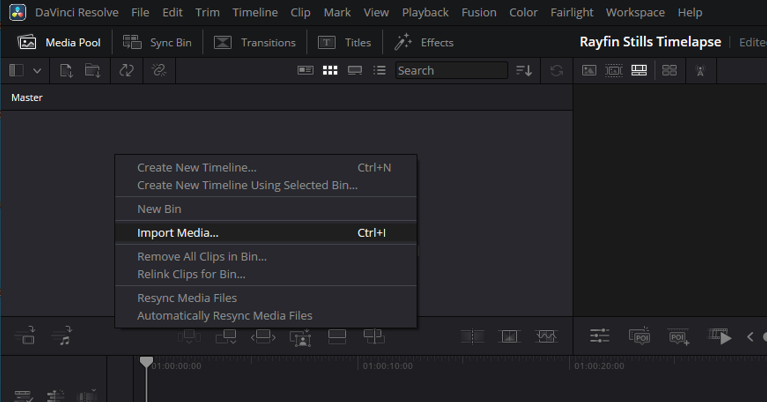
-
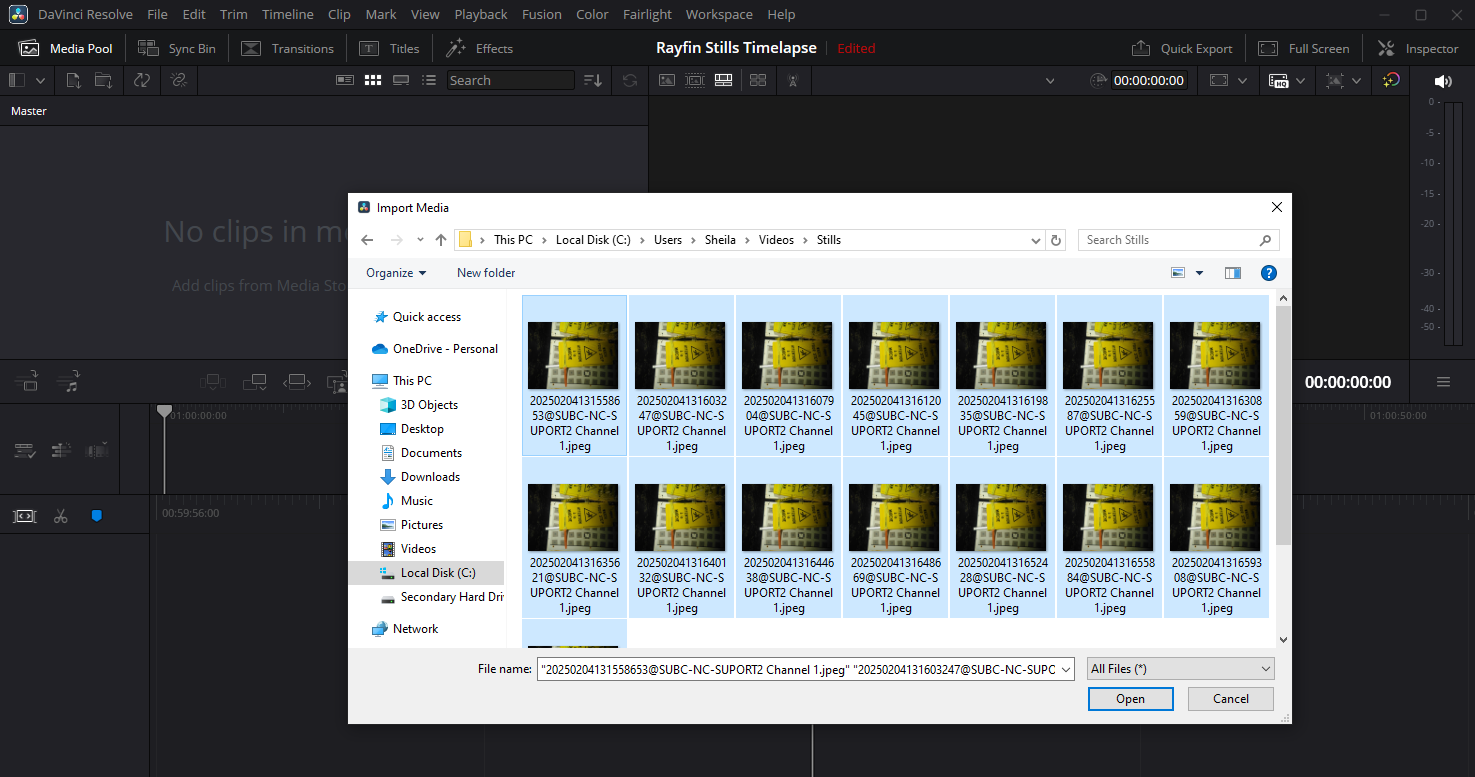
Browse to the folder where you’ve saved your Still images. Select all .jpeg files you wish to import and click Open.
-
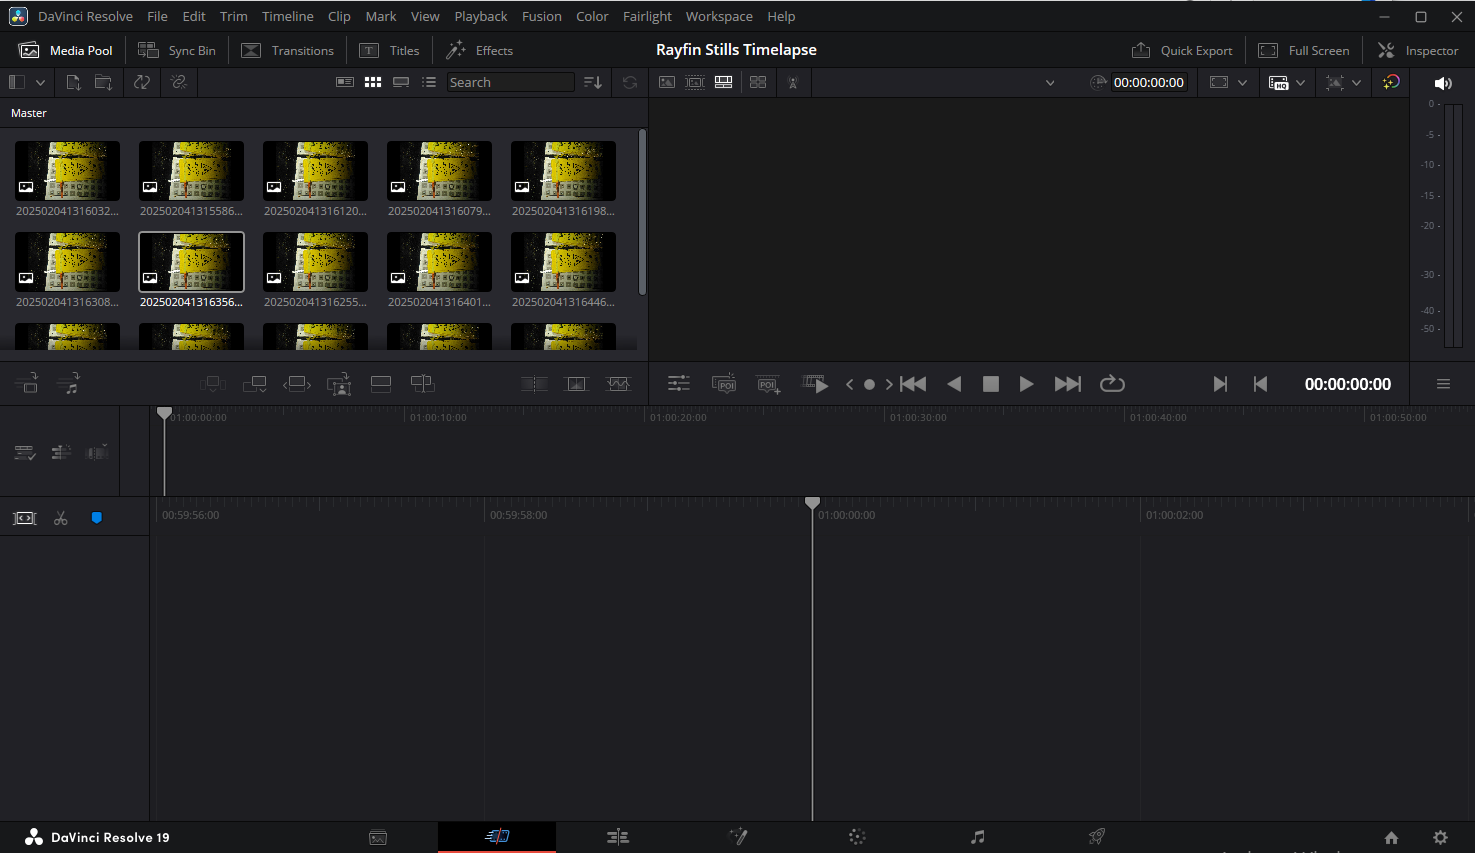
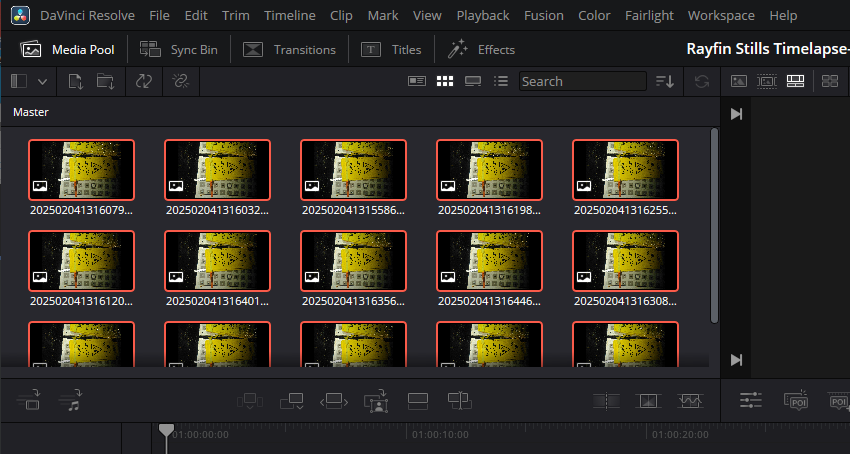
The Still images will appear in the DaVinci Resolve “Master” frame (top, left).
-
Select an image and Ctrl-a to select all
-
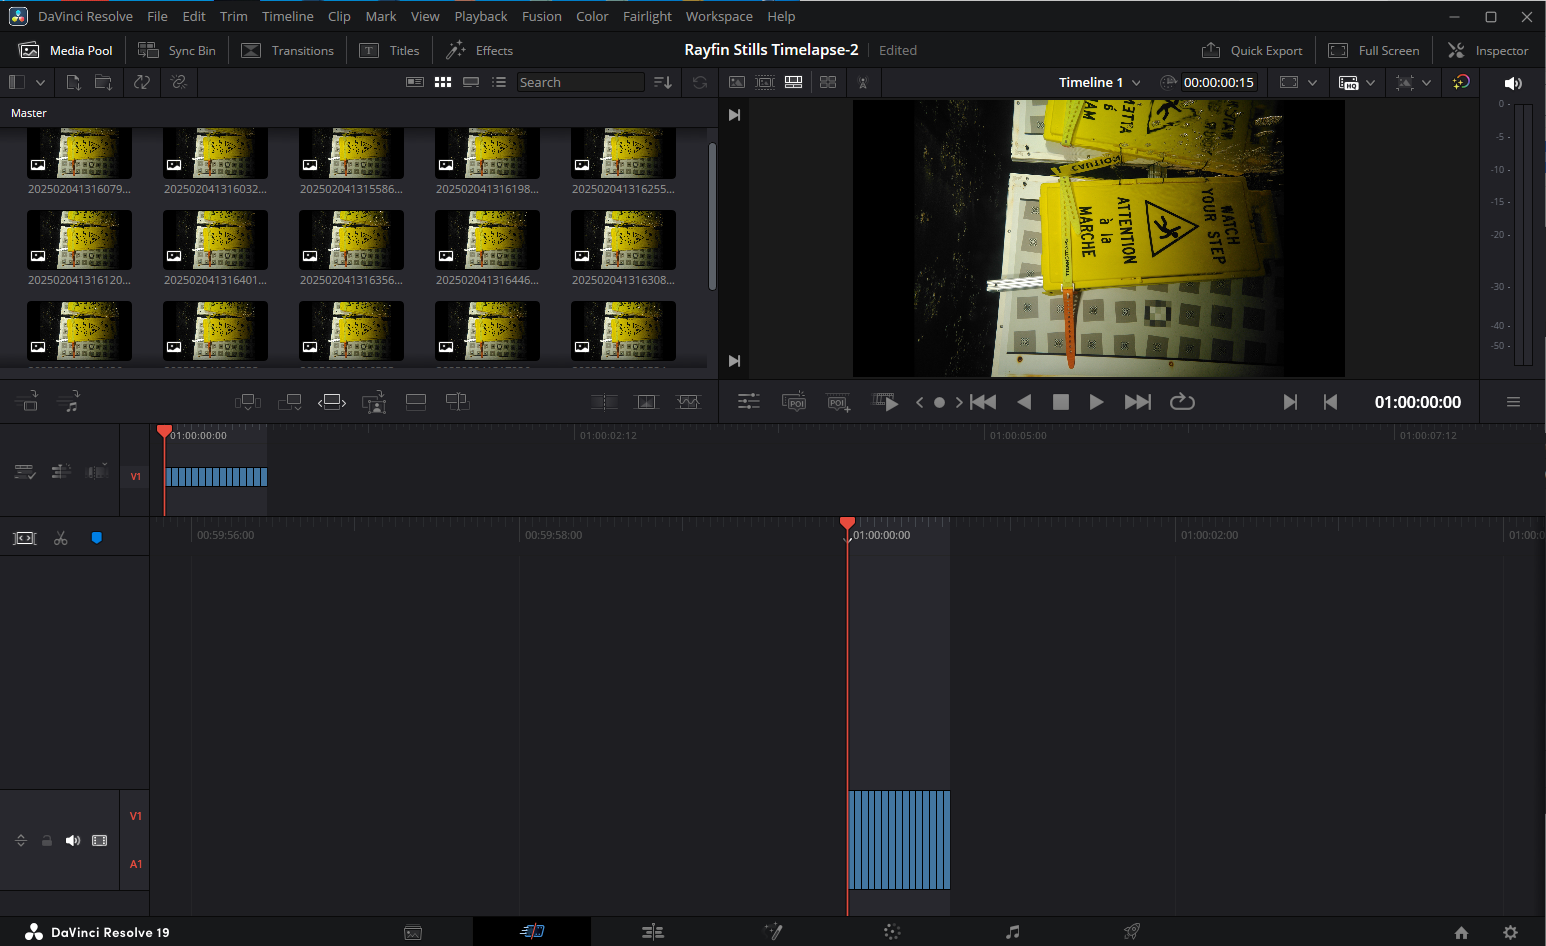
Hold cursor on the selected images and drag & drop the images into the section below
-
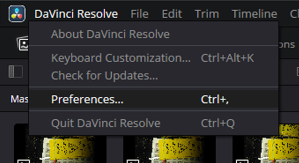
Open DaVinci Resolve → Preferences…
-
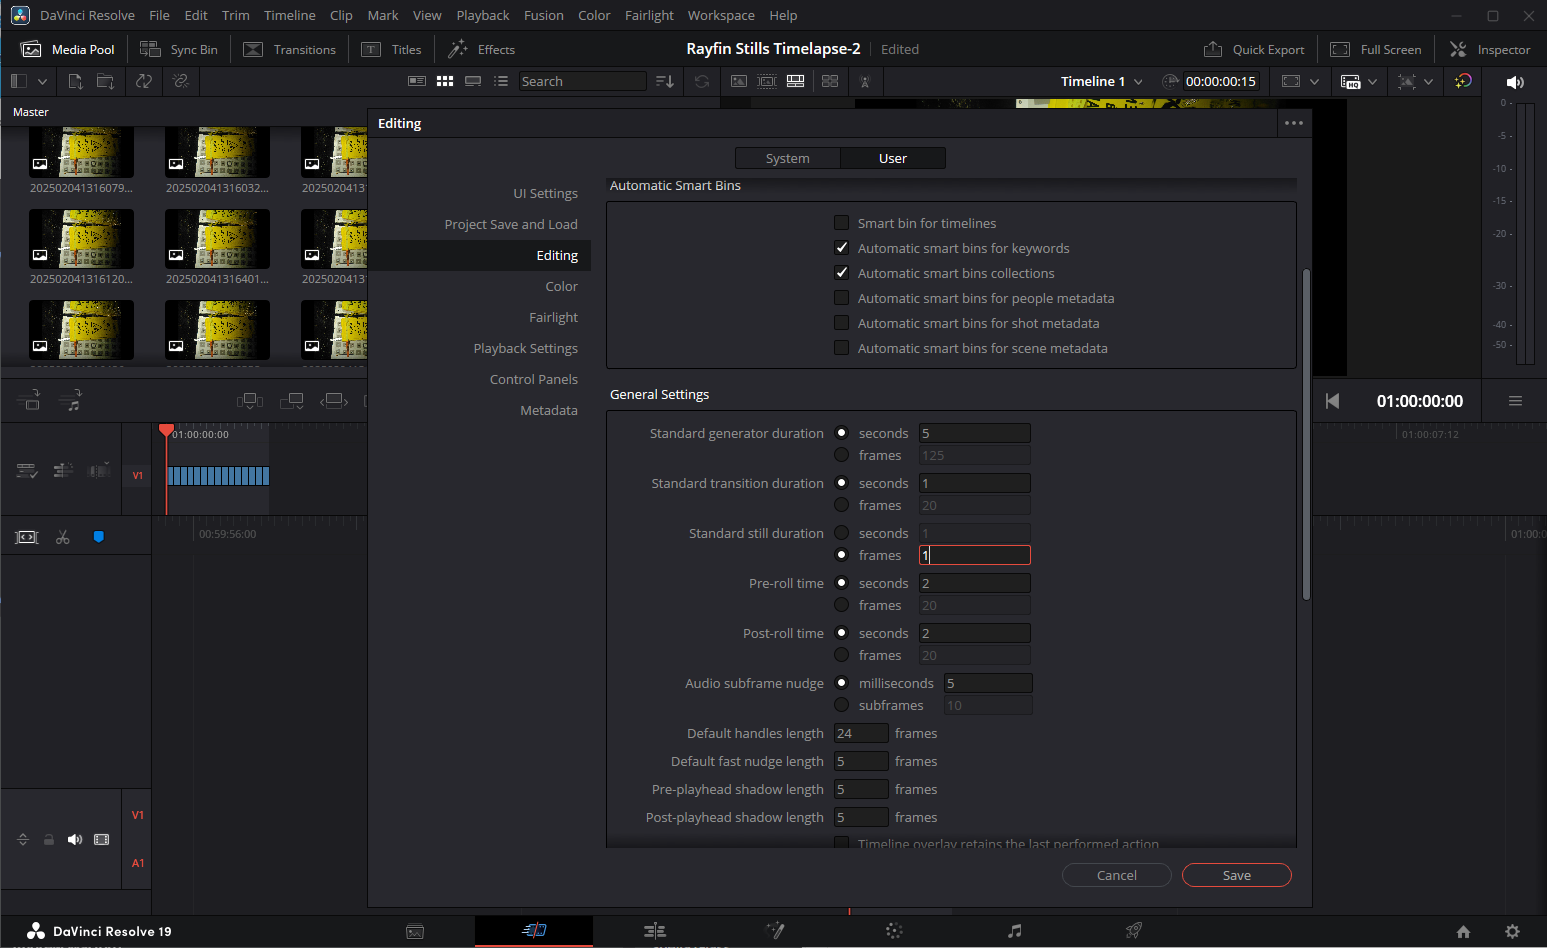
Select the User tab, select Editing, scroll down to Standard still duration - change to 1 second, and click Save.
-
Click the Deliver button on the right of the tool tray at the bottom

Enter a File Name for the DaVinci video you are about to make.
Click on Browse and select a folder location to save the video
Under Export Video → Format → Select MP4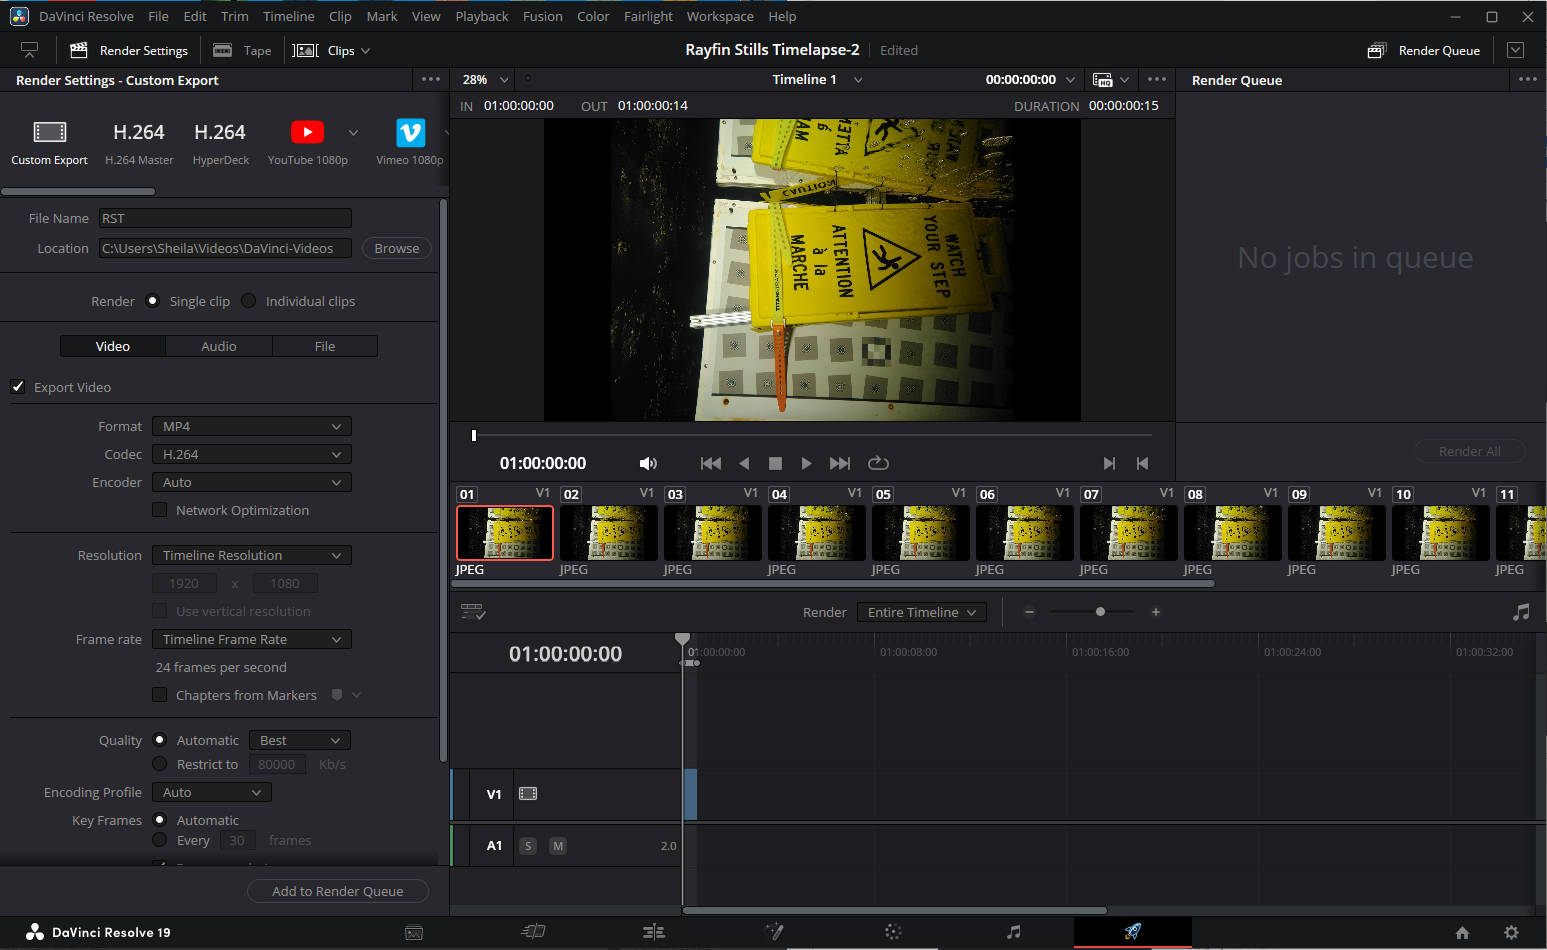
-
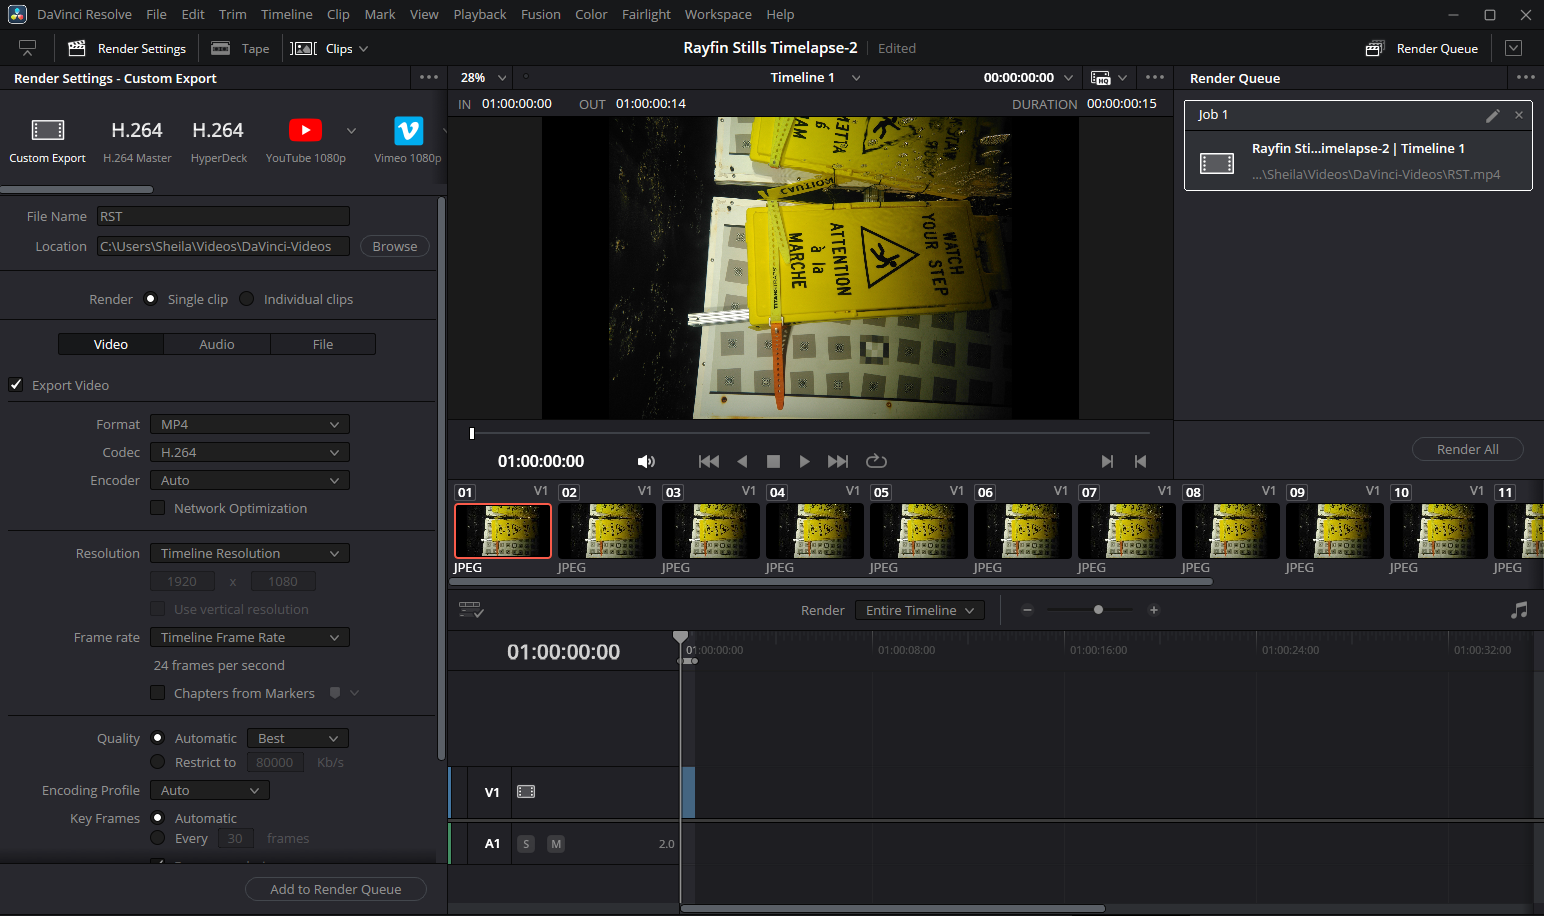
Click Add to Render Queue button (bottom, left) and you will see the “Job #” appear in the top, right panel. Click Render All button.
-
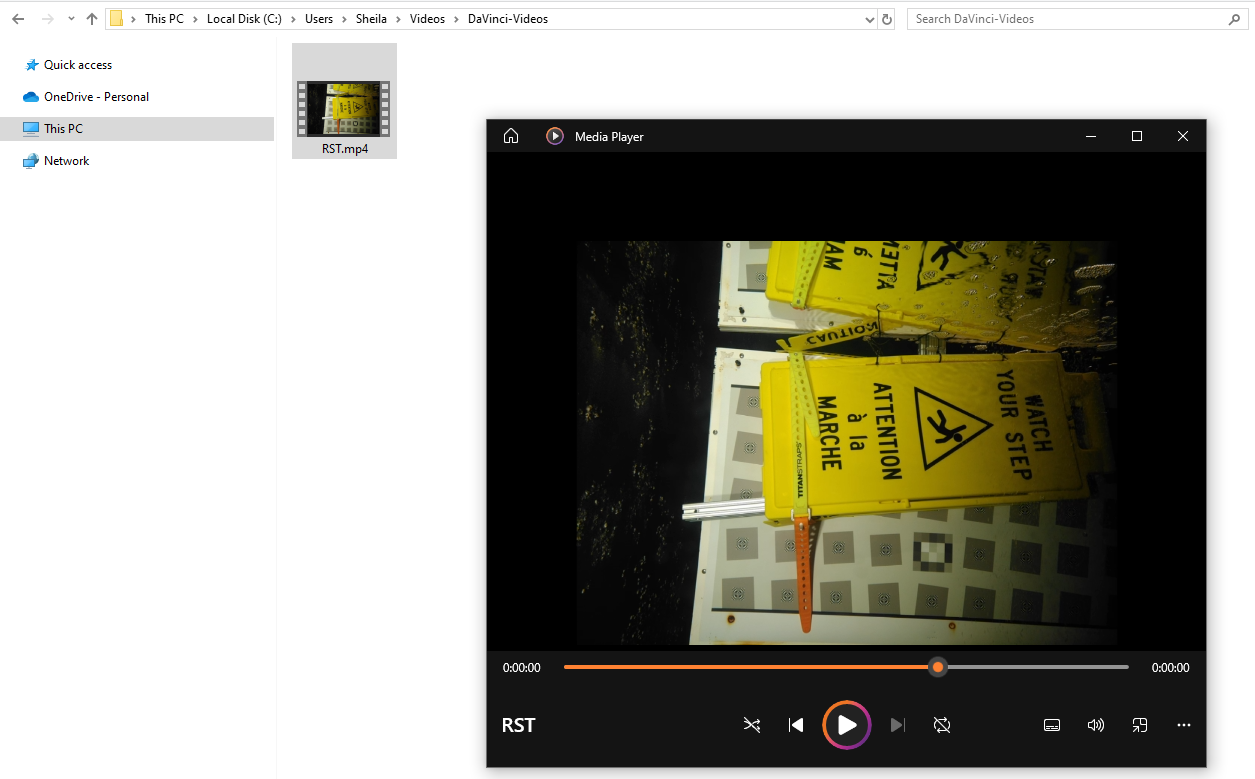
Now you can open the folder where you saved your video files and watch the timelapse video you’ve just created using Rayfin Still images.
-