Operation
This section provides an overview of the SubC Stream Desktop application UI and how it works in conjunction with the SubC Streaming Service Web application and SubC Presentations.
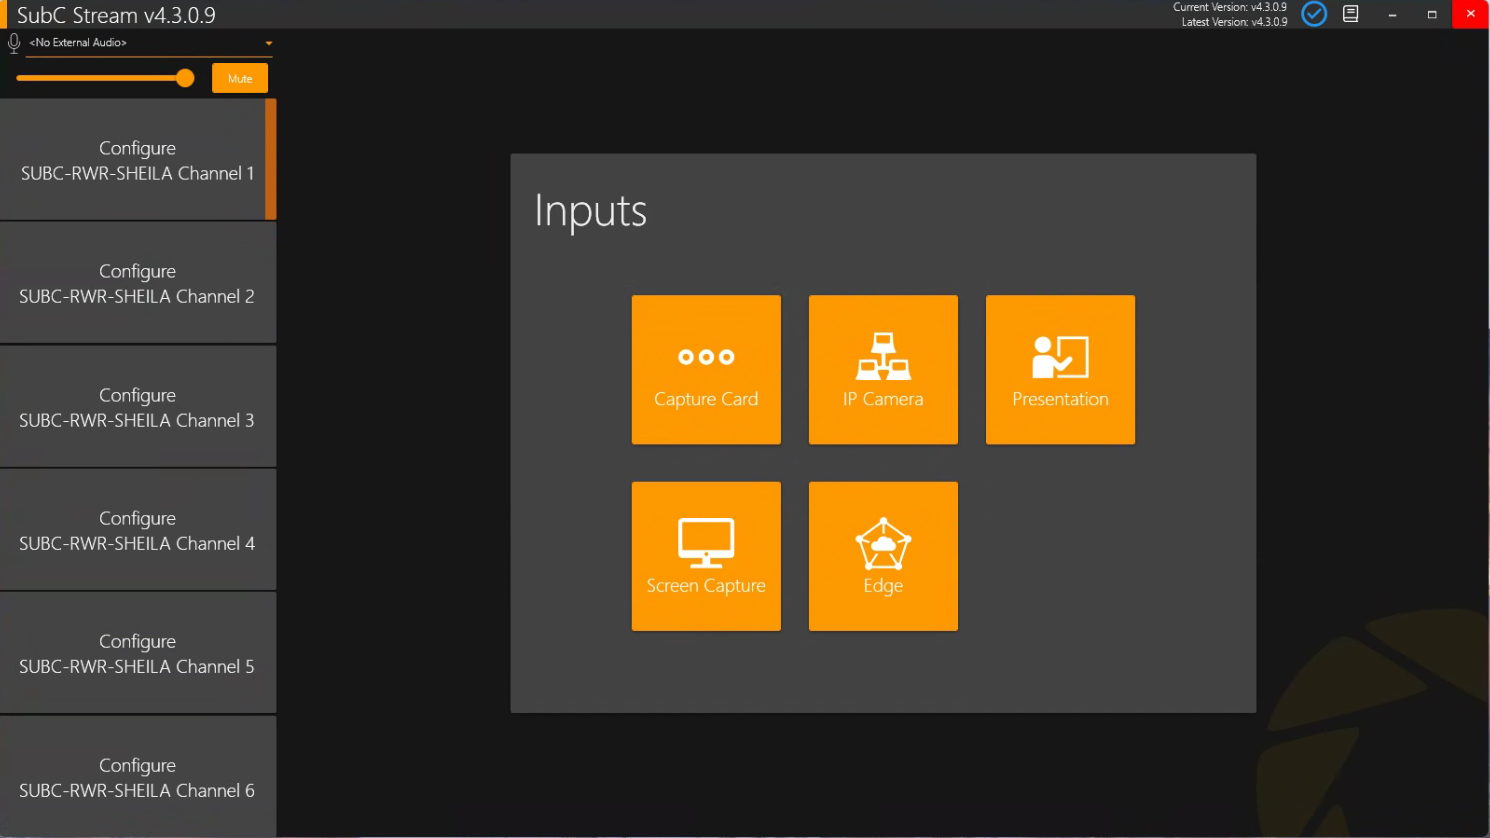
The Channels in the left column can be configured independently using one of the 4 Input types displayed in the center of the SubC Stream main window.
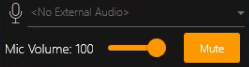
Microphone
At the top, left of the screen you have the option to select a microphone to record narration audio. Below the microphone selection field are the Mic Volume slider and Mute button.
If you wish to use a microphone it must be selected before you connect a video Input type to Channels. The microphone applies to all enabled Channels.


The “eye” button, located next to the microphone on the top, left of the Stream application UI is used to pause the video that is flowing into the configured Channel(s) small Channel Preview window(s) and the video displayed in the Main (center) viewer.
This is very useful if you need to conserve bandwidth utilization on your Network. However, this “eye” video pause button does pause the Streaming of the Channels to SubC Cloud Stream Servers.
When in pause video mode, the “eye” button appears with a line through it. Click this button again to allow video to flow to the Preview & Main video viewers once again.

Current Version / Latest Version
If you see a blue check mark inside a circle, it means that you have the most up to date / latest version of the Stream Desktop application installed.

If you see a blue download button, it means there is a newer version of the Stream Desktop application available. Click this button to download the latest version and install at your earliest convenience.

If you see yellow question mark ( ? ), it means that Internet connectivity issues have prevented the Stream Desktop application from retrieving the latest version. Current Version will be displayed but Latest Version: Unknown will appear.

If you see a yellow exclamation point ( ! ), it means an update is available, but it will require a license renewal. Please contact team@subcimaging.com

SubC Product User Manual
Click the “book” icon at the top right of the screen to open the Desktop application User Manual. This .pdf copy of the SubC Desktop application User Manual is installed with the application locally on the computer (C:\SubC [Product]\Documentation).
This embedded manual is a convenient reference if you happened to be using the SubC application while not connected to the Internet. SubC Product Manuals are also available online in the SubC Client Help Center.

Window Controls
Minimize
Maximize/Restore
Close application
Inputs
To configure a Channel with video input, select a Channel and select one of the Input types displayed in the center of the Stream Desktop UI.
Capture Card - connect to a device that takes an HDMI video feed
IP Camera - connect to IP Cameras or RTSP videos.
Presentations - connect to a streaming SubC Presentation
Screen Capture - connect to the PC’s Screen Capture (full screen) or Windows Capture (an open application or browser window).
Edge to connect the Stream Desktop application Channel to a video that is streaming from a SubC SecureEdge Server.
You are likely already familiar with SubC Streaming through SubC Cloud Stream Servers; SubC SecureEdge Server is a local Streaming Server that you install within your LAN. You do not require Internet to access your local SecureEdge server. See Internal Network: SecureEdge for overview.
Each of the above Input types are reviewed in detail in Inputs.
Once a Channel is configured with Input, the following features appear.
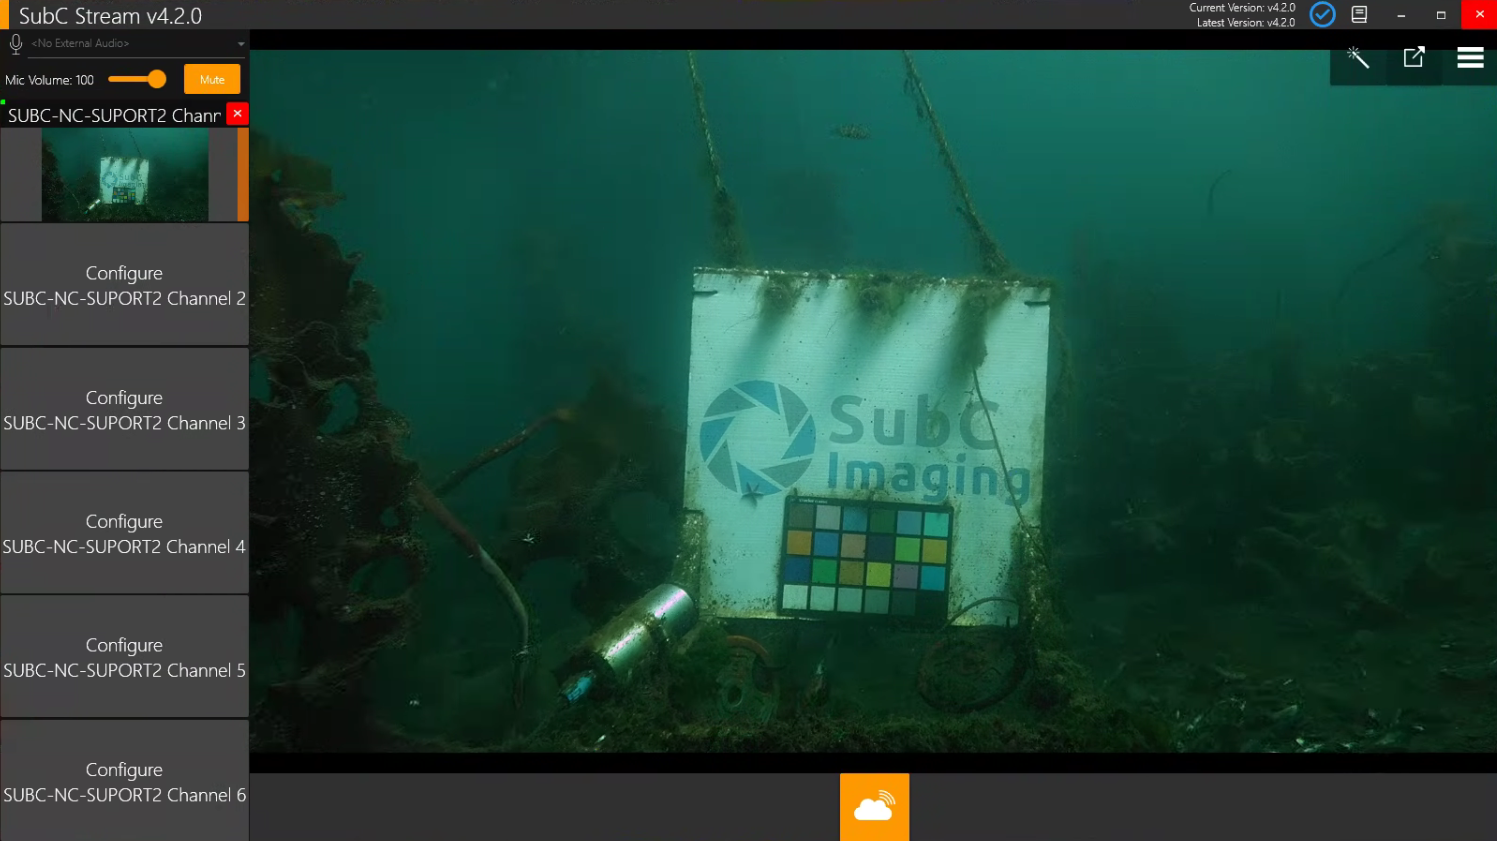
Video Main View
A larger view of the currently selected Channel’s video appears in the center.

Channel Video Preview
This small video screen appears on each active Channel. It shows current activity information on a Channel at a glance, such as the recording status, recording duration, SubC Stream connection status, and data logging status.
Click the red “x” (top-left of the small Preview window) if you wish to close the current Input to change or select a new Input type and settings.
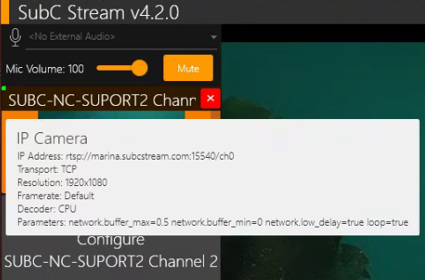
When you hold the cursor over the Channel Video Preview window, the details of the Channel Input configuration will appear.
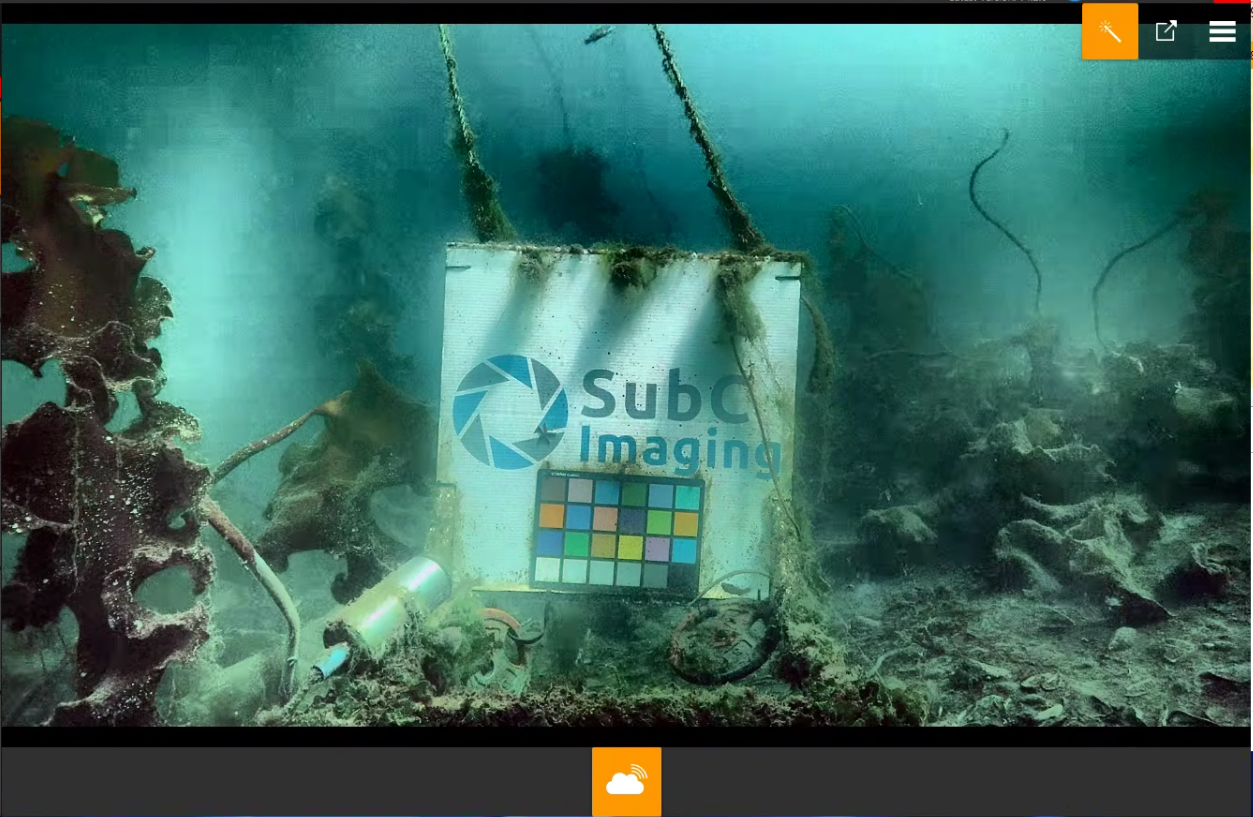
Image Enhancement - The images below illustrate how the image enhancement feature illuminates the video when turned on.
Image Enhancement = Off

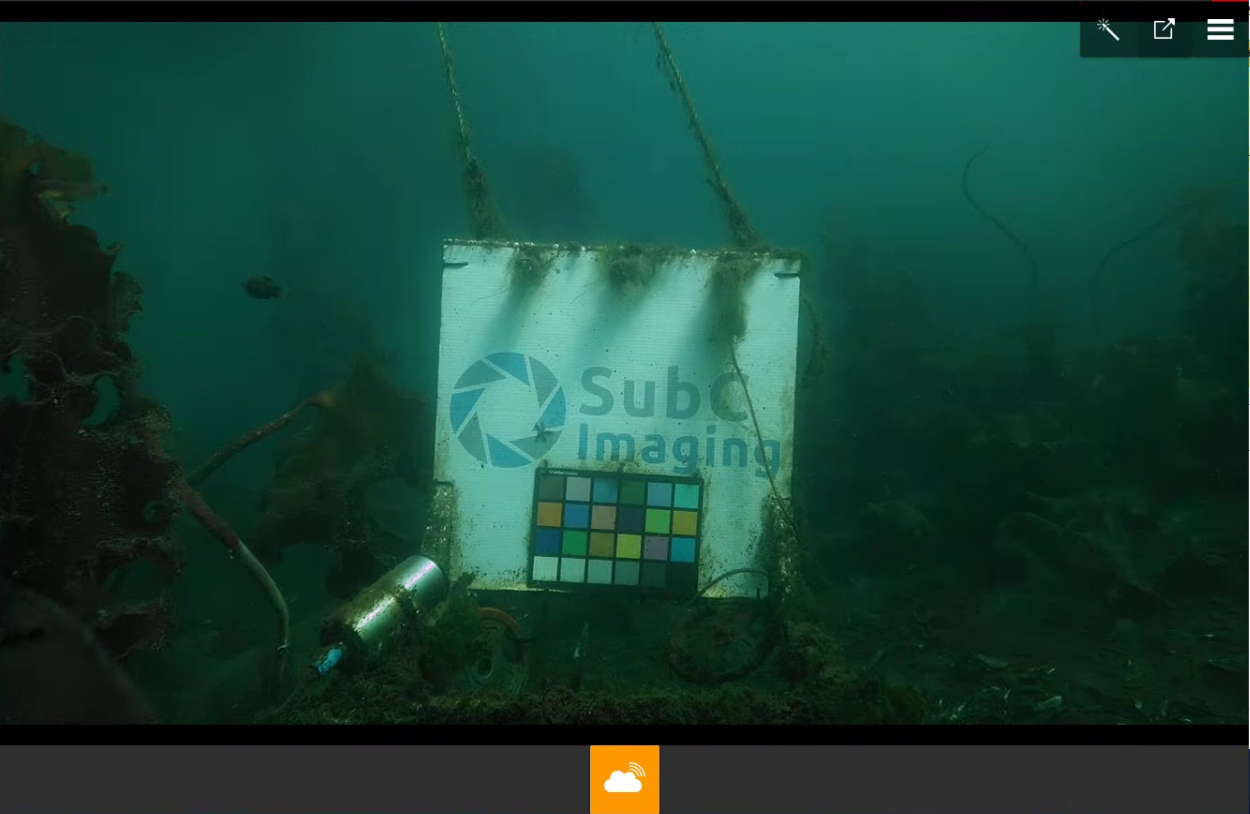
Image Enhancement = On


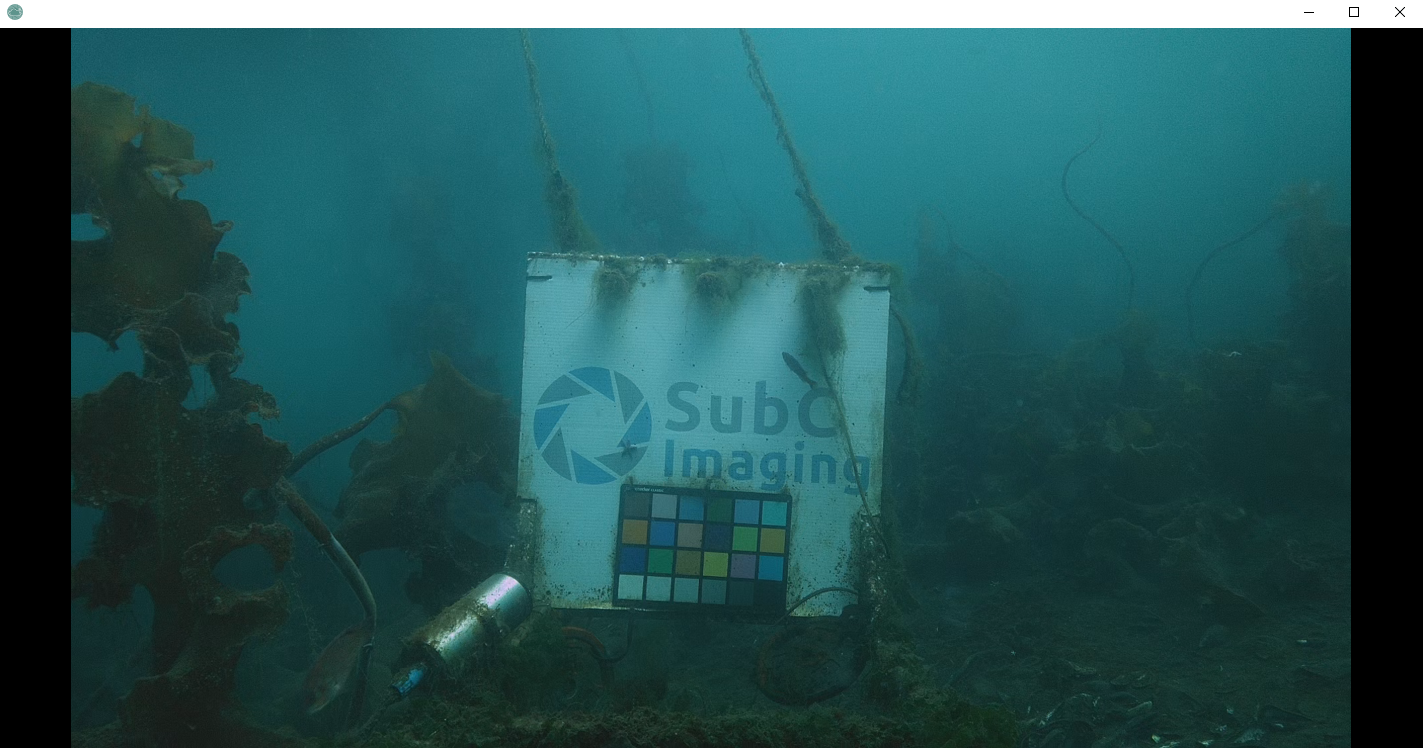
Video Full / Additional Screen - Click to open an additional window displaying the Channel video. Initially, the additional screen opens in full-screen mode. Click on the full-screen window to access controls to reduce the size and move this additional video window, for example, to display the video on another monitor.

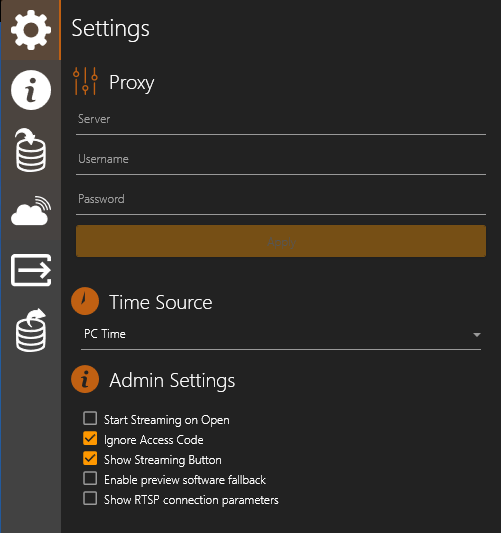
Menu contains many features. See the Menu section for details on Menu → Setting, Channel Info, Data I/O, Streaming, Output - RTSP Lan Streaming & HD/SD Output
Stream Start / Stop

Click the Stream button to Start Streaming
Stream is Active

The Stream toggle changes to indicate that Streaming is active. Click this button again to Stop Streaming.
See Streaming for more information.
The pages that follow explain each of these features in more detail.