Example: Test Data Output with Packet Sender
Below is a scenario to help explain the Stream Data I/O features using Packet Sender to confirm the success of the Data Output.
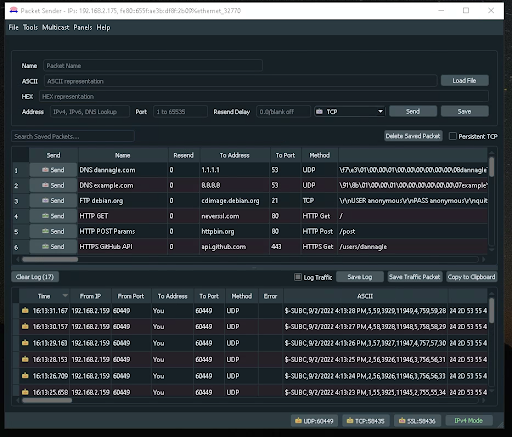
Step 1 - Open Packet Sender on the Data Output Target System
Download a free Packet Sender and install on the target system (target system is where you wish to take in the Stream Data Output video and data).
Open Packet Sender on the Data Output target system.
Note the UDP and TCP Port numbers located at the bottom-right of the Packet Sender window (required for Step 2).
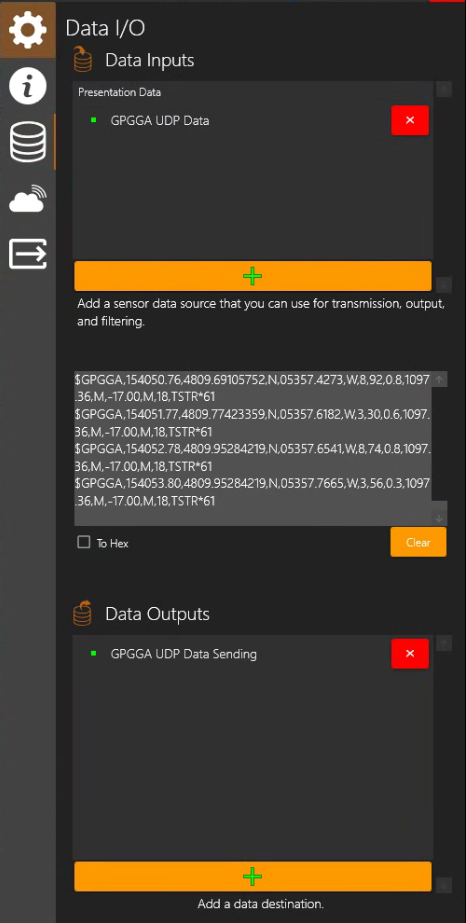
Step 2 - Configure Video & Data Source Input
On a system running Stream Desktop Application:
Configure a Channel 1 with video Input
Add Data Input to this Channel (sensor data generated on the same or another system).
Configure Data Output to send the Data to the target system’s IP Address with the UDP or TCP Port # shown on the target system running Packet Sender noted in Step 1.
Step 3 - Confirm the Data Output reaches the Target System
On the target system, you should now see the data coming in on Packet Sender.