Rayfin
Rayfin Camera Input

Select Rayfin as the Channel Input type.
If you have Rayfin cameras attached to your Network, the DVR+O / SCI software will automatically detect and display them so you can conveniently select a Rayfin camera from the list.
Alternatively, you can enter the Rayfin camera Serial Number or IP Address
Camera Address - Enter the Rayfin Serial Number (i.e. 00126 ) or its IP Address
Default or select UDP or TCP options from this drop-down field
Parameters - This field is for setting optional connection parameters.
The Parameters field will only appear if you activate it by selecting Menu → Settings → Admin Settings → Show RTSP connection parameters
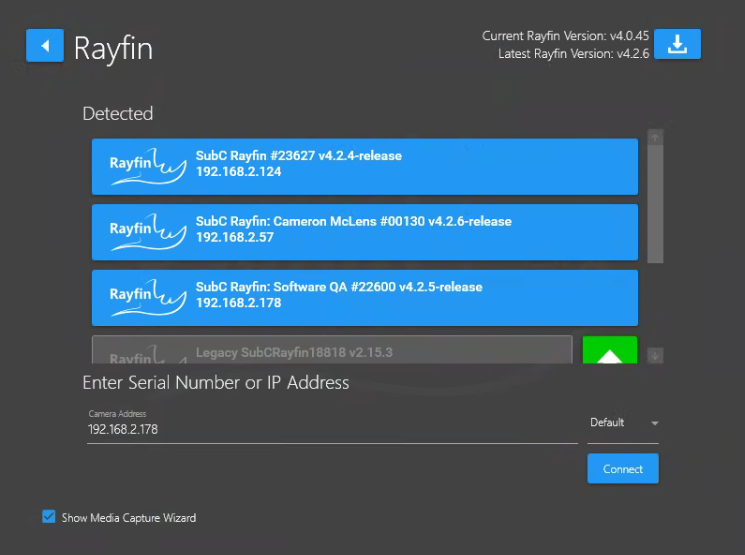
The green arrow displayed next to the 4th Rayfin Camera shown in the image above indicates that there is a newer version of Rayfin ROM & Firmware available for this camera. See Upgrade Rayfin Camera ROM & Firmware for details on how to run this upgrade.
If your Rayfin camera is v3, do not use this green arrow method to upgrade to v4. See FAQ → CLI-How to Upgrade Rayfin Camera from v3 to v4 for instructions.
Do not select the same Rayfin Camera for more than one Channel, as this will result in a camera conflict error when recording and taking stills/frame grabs.
The view of the Rayfin will be presented in the Channel Preview and in the center Main View.

If the Show Media Capture Wizard is selected (see bottom, left in the previous image), the Black Box and Media Capture configuration windows will appear. We will skip those for now as they are described in detail in the Media Capture Wizard section of this manual.
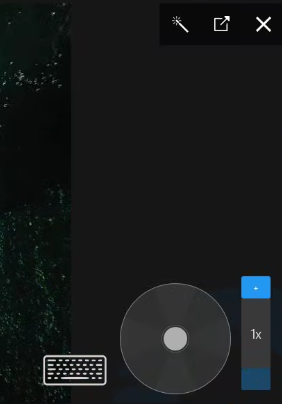
The Rayfin Camera Controls appear at the top and along the right & left sides on the DVR+O / SCI UI.
For details see Rayfin Camera Controls