SubC ReviewStudio
SubC ReviewStudio is the DVR+ / SCI companion application designed to review and enrich your Inspections and generate logs.
This page provides an overview on how to create an Inspection Project in DVR+ / SCI using Eventing and then open that Inspection Project in SubC ReviewStudio.
The typical use case is to install SubC ReviewStudio on a dedicated system, separate from the SubC DVR+ / SCI hosts system (where Eventing inspections are conducted to create Inspection Projects that are later reviewed in SubC ReviewStudio).
A SubC Product License is required to run SubC Review Studio on a dedicated inspection review system. Contact your SubC Account Manager directly or sales@subcimaging.com
See SubC ReviewStudio - Installation
ReviewStudio can also be installed on the same DVR+ SCI host system - in this scenario the DVR+/SCI License is shared with the ReviewStudio application. You can run either DVR+/ SCI application or ReviewStudio application - not both simultaneously.
If your use case requires the ability to open both DVR+ /SCI and ReviewStudio on the same system simultaneously, contact your SubC Account Manager directly or sales@subcimaging.com to request a SubC ReviewStudio License.
Make the DVR+ Eventing Inspection Projects folder available from the DVR+ host system to the ReviewStudio host system. Copy Inspection Project folder to the ReviewStudio host system or make the Inspection Project directory (i.e. via shared network drive) available to both systems.
DVR+ Eventing
Before using SubC ReviewStudio, you must first create an Inspection Project in DVR+ / SCI using Eventing.
In this example, we are using DVR+ (Multi-Channel) application.
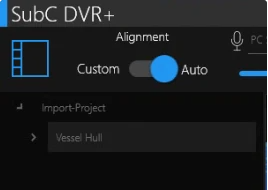
Configure Channel(s) in DVR+ UI in Priority Mode, then switch to Grid/Sync/Eventing Mode
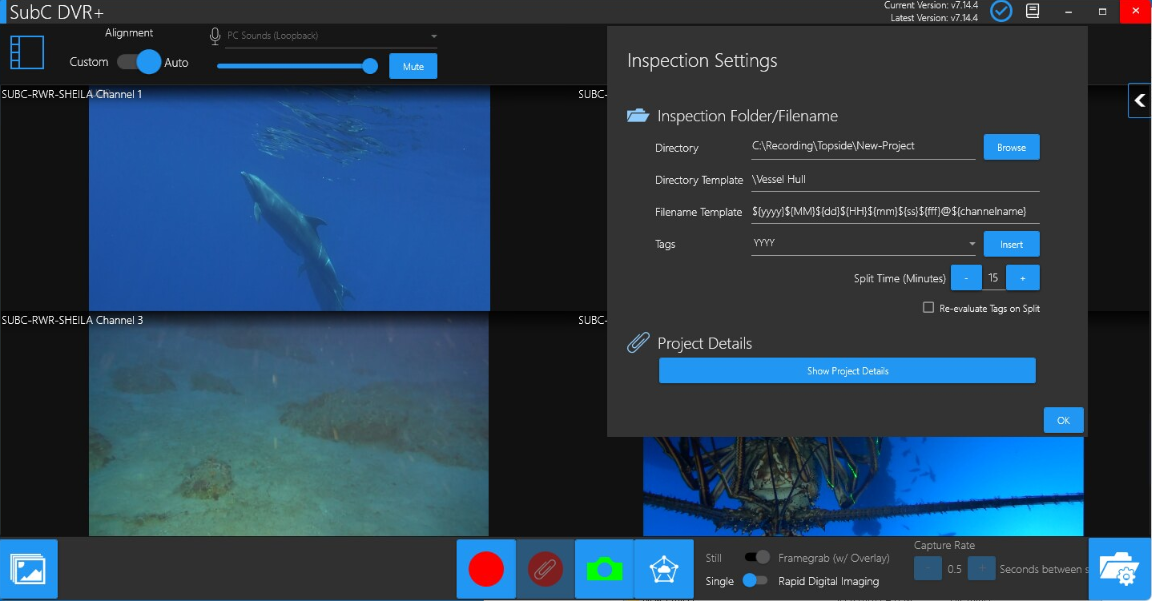
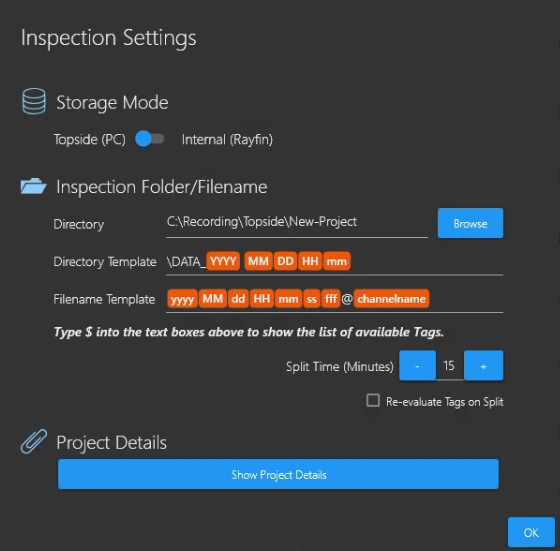
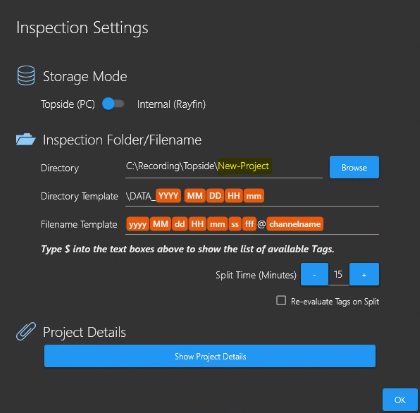
Open Grid Folder/Filename Settings

Populate the Inspection Settings - Inspection Folder/Filename fields
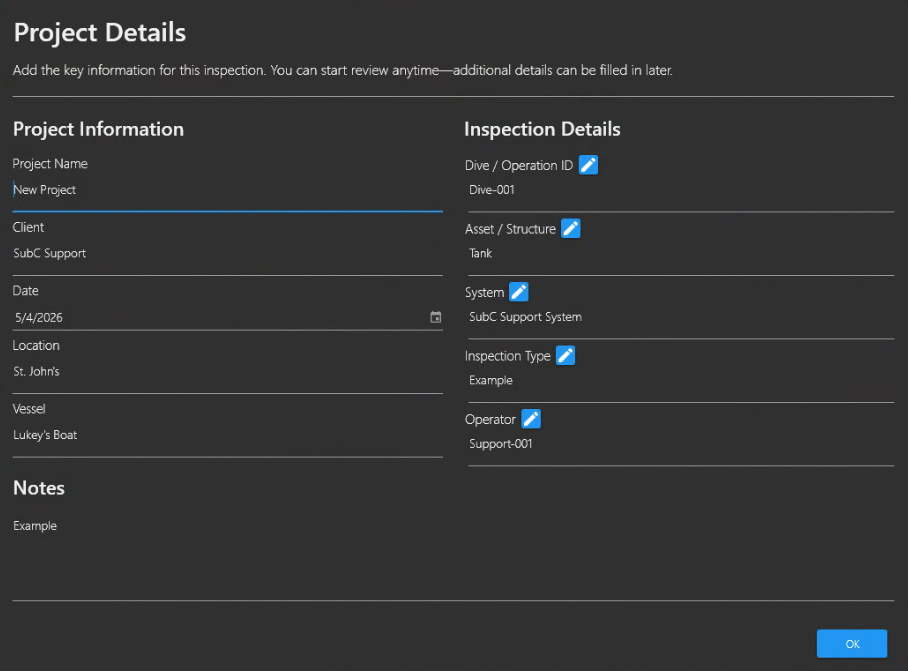
Open Project Details
Populate the Project Information and Inspection Details fields as appropriate for your Project.

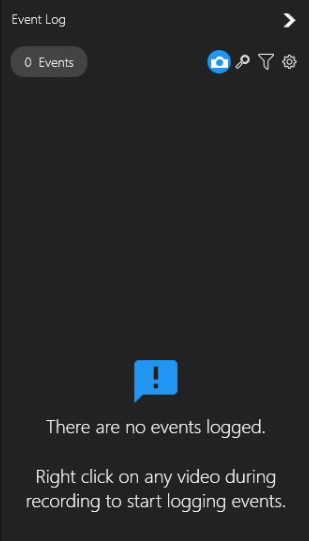
Click on this Show Events button on the right to open the Evening Log UI
Start Recording
Right Click to make the Events Radial Wheel appear.
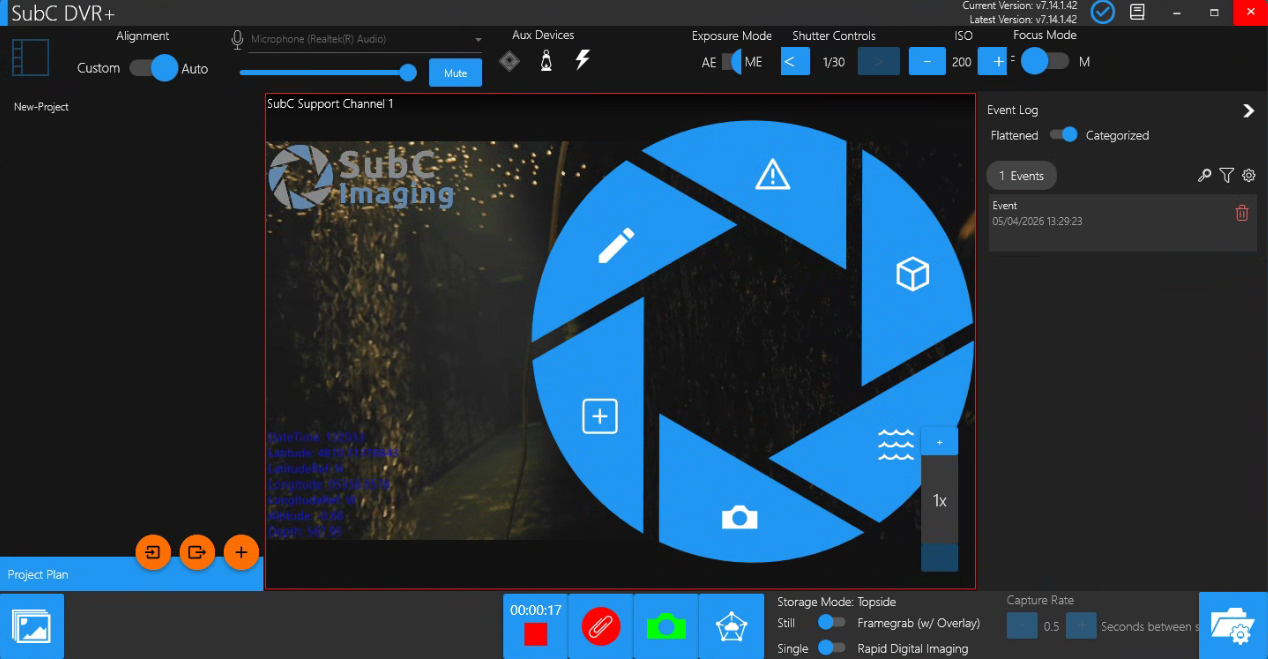
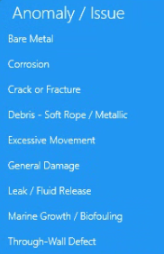
Left Click to select a Category & select and Event from the Category Events List
Event is populated
Events Radial Wheel disappears.
Right Click again to make the Events Radial Wheel appear again to capture the next event.
Repeat the above steps to capture all Events observed in the Eventing session.
As you interact with the Events Radial Wheel the Events that you acknowledge will appear in the Event Log column on the Right.
When the wheel appears, an Event placeholder is logged
When you select an Event from a Category, for example, Anomaly → Corrosion, the Event placeholder is populated.
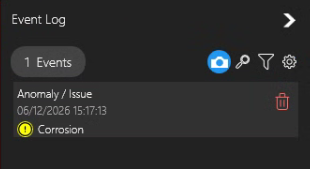
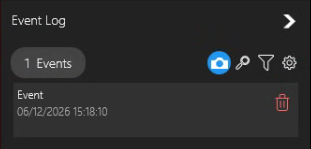
Once you stop Recording the Categories & Events that you logged will appear on the Right in the Event Log column.
You can start recording again and repeat this process to log more Events for this Project as often as your wish.
Project Plan - Import & Export Project Plans & Create New Directory
Before proceeding to the Opening a Project in SubC ReviewStudio section below, here is an overview of the Project Plan features located at the bottom, left of the DVR+ Eventing UI.
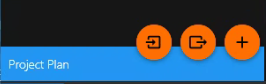
 | Import Project Plan |
 | Export Project Plan |
 | Create New Directory |
Import a Project Plan from an Excel file
When you create an Eventing Project on DVR+ system, you can use it as a template for multiple Eventing Inspection projects. You can copy a Project Excel file to another DVR+ host system and import it.
To Import a Project Plan, first create & select a new empty project folder as the location for the Project Plan you will import.

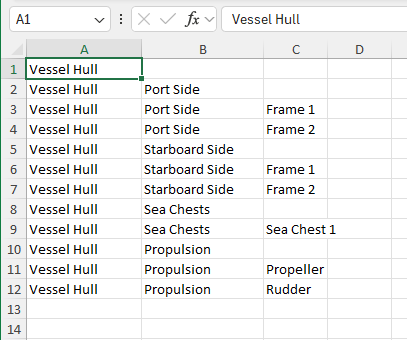
This example Project Plan .xlsx file contents
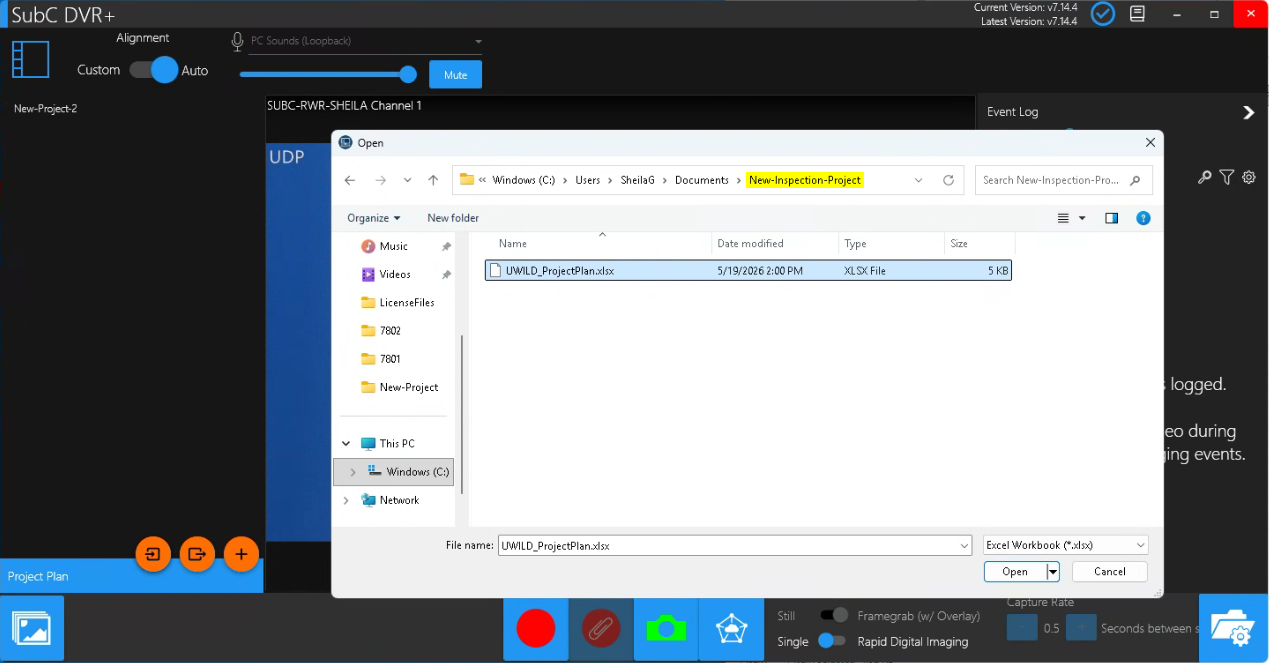
Click the Import a Project Plan from an Excel file button
Browse to the folder where you have saved the Project Plan you wish to import, select this Excel file and Open.
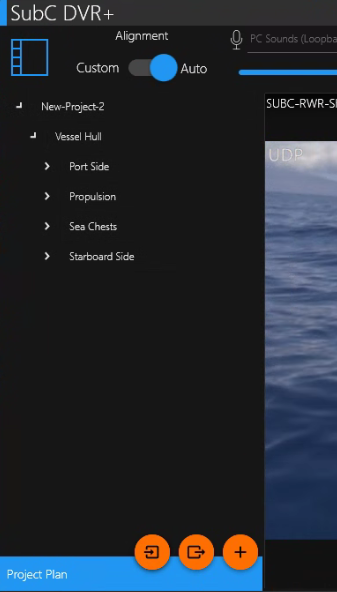
The Project Plan will import to the new project directory.
You can now use this Project to conduct an Inspection with the DVR+ Eventing UI.
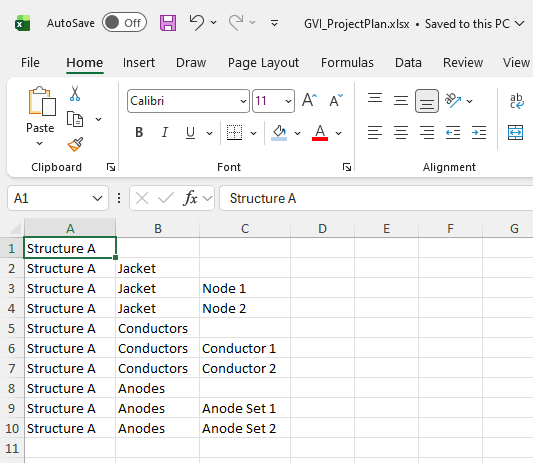
GVI - General Video Inspection:
You can Import the attached example GVI_ProjectPlan.xlsx (Excel) file to create your own Project Plan template.

Export a Project Plan to an Excel File
When you create a Project in the DVR+ Eventing UI, you can Export a Project Plan to an Excel file to use as a template for other Eventing Inspection sessions.
This Export method to create a Project Plan can also be imported to other DVR+ systems as show in the previous Import Project Plan section.

This example Project Plan .xlsx file contents
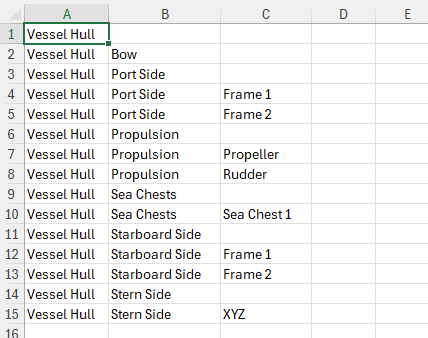
Only the folder structure of the Eventing Project will be exported, not the events that may have been captured in the original Eventing Project.
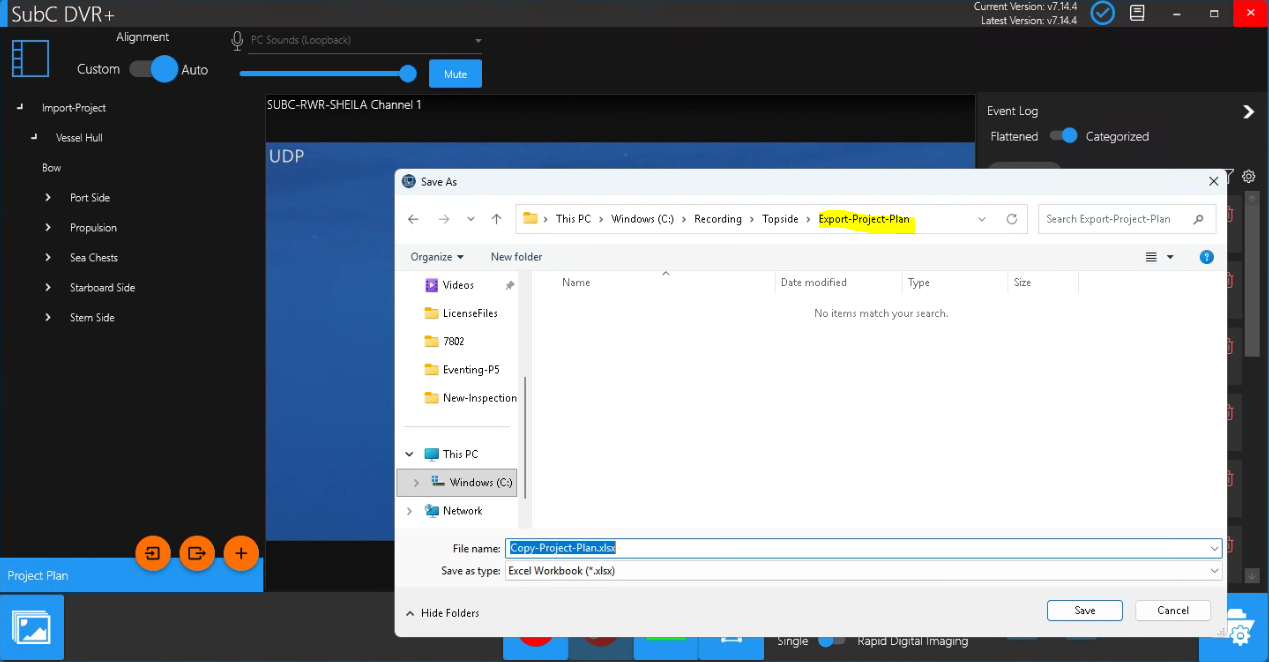
Click the Export a Project Plan to an Excel file button.
Browse to the folder where you want to save the exported Project Plan.
Give the Project-Plan.xlsx file an appropriate name Example: Copy-Project-Plan.xlsx and click Save.
Create a New Directory
Select the folder in your Eventing structure where you want the new directory to be created.

Click the Create a new directory button to add a new directory.
Give the new directory an appropriate name and click Accept.

Opening a Project in SubC ReviewStudio
Once you have completed an Inspection in DVR+ Eventing UI, you can then review your Project in SubC ReviewStudio.
You can run ReviewStudio on the same DVR+ host system or install ReviewStudio on another system, the latter being the more typically the use case.
If running ReviewStudio on another system, copy your DVR+ Inspection Eventing Project folder to the ReviewStudio host system (or if both DVR+ / SCI and ReviewStudio systems are on the same LAN, you can use a network shared drive that is accessible to both systems).

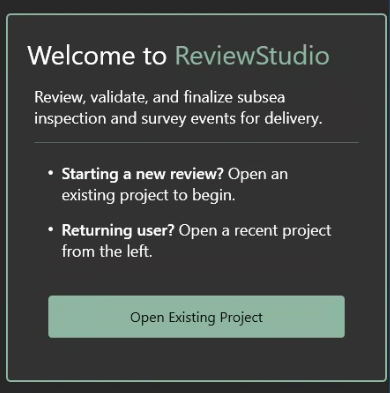
Open SubC ReviewStudio


Click on the “Book” icon button on the right to open a local .pdf copy of the SubC ReviewStudio User Manual.


Software Version: Notice the Current Version and Latest Version information on the top, right of the SubC ReviewStudio UI.
The blue circle checkmark indicates the current version matches the latest released version.
If there is a latest version that is newer than your current version a blue download arrow will appear. Download the latest version and install at your earliest convenience.
If there is a yellow circle with a “?” question mark, this indicates that the ReviewStudio host system is not connected to the Internet and therefore unable to check if a newer latest version is available.
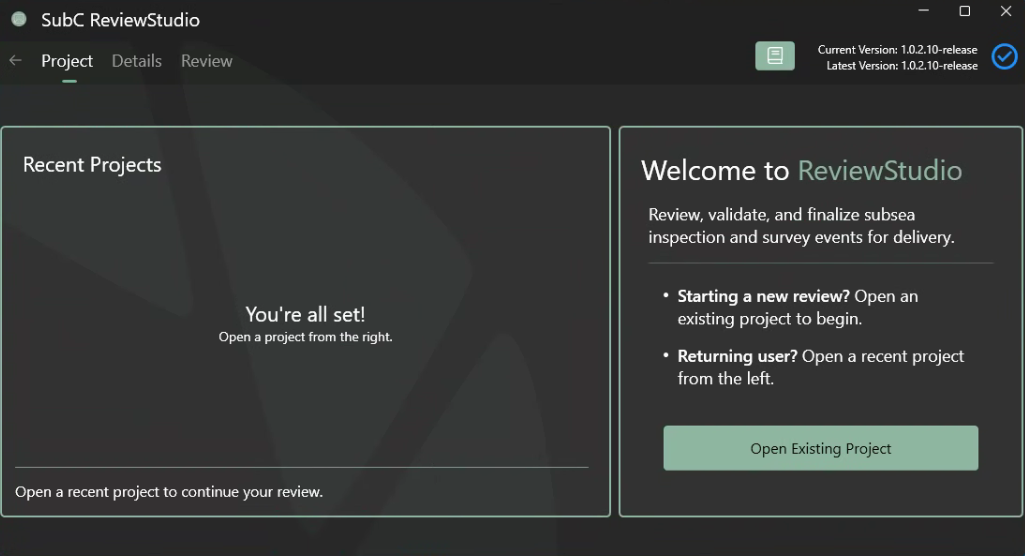
Recent Projects

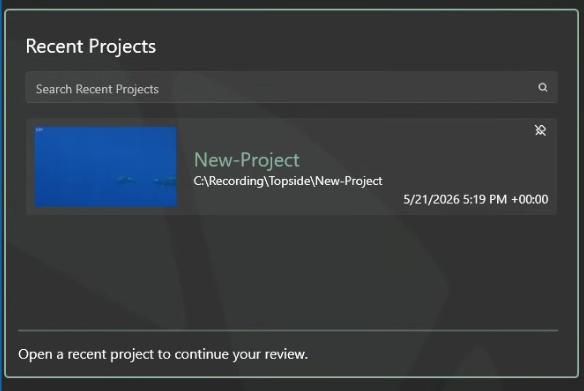
The very first time you open ReviewStudio, there will not be any Recent Projects listed in this section.
Once you start using ReviewStudio, Recent Projects you previous opened will appear in this section allowing you to quickly select a previous project again.
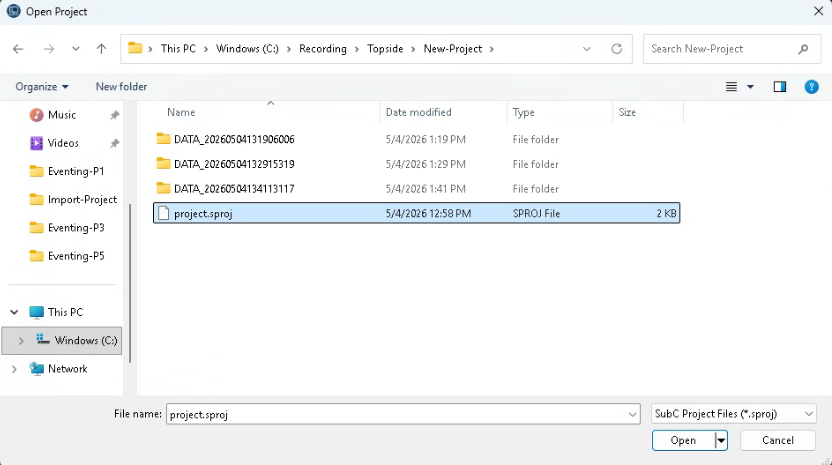
Open Existing Project
Select the Project Folder and its projects.sprod file and click Open.
Project Details will appear.
The Project Details can/may be populated in the DVR+ Eventing UI. You can also add/edit these details here in the ReviewStudio UI if you wish.
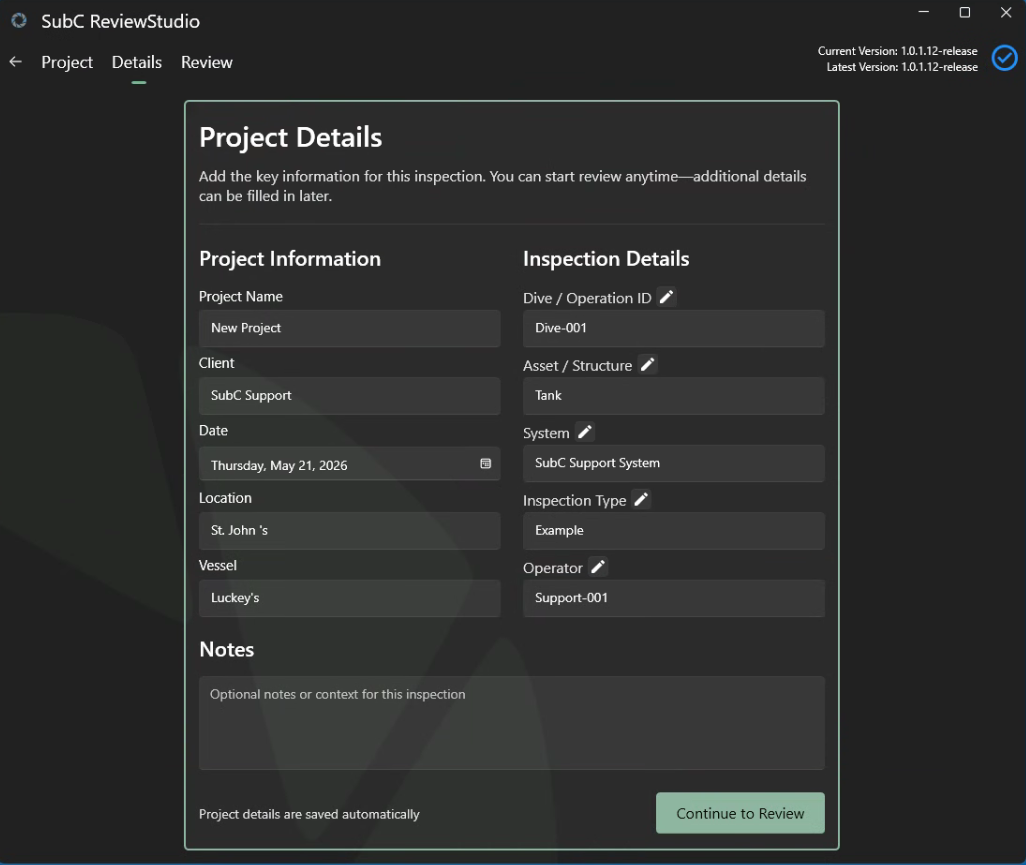
Click Continue to Review button
Your Project will open in the Review tab.
The Channels that were active and recording during the DVR+ Eventing session will appear, and on the right the Event Log shows the events that were logged during the DVR+ Eventing session.
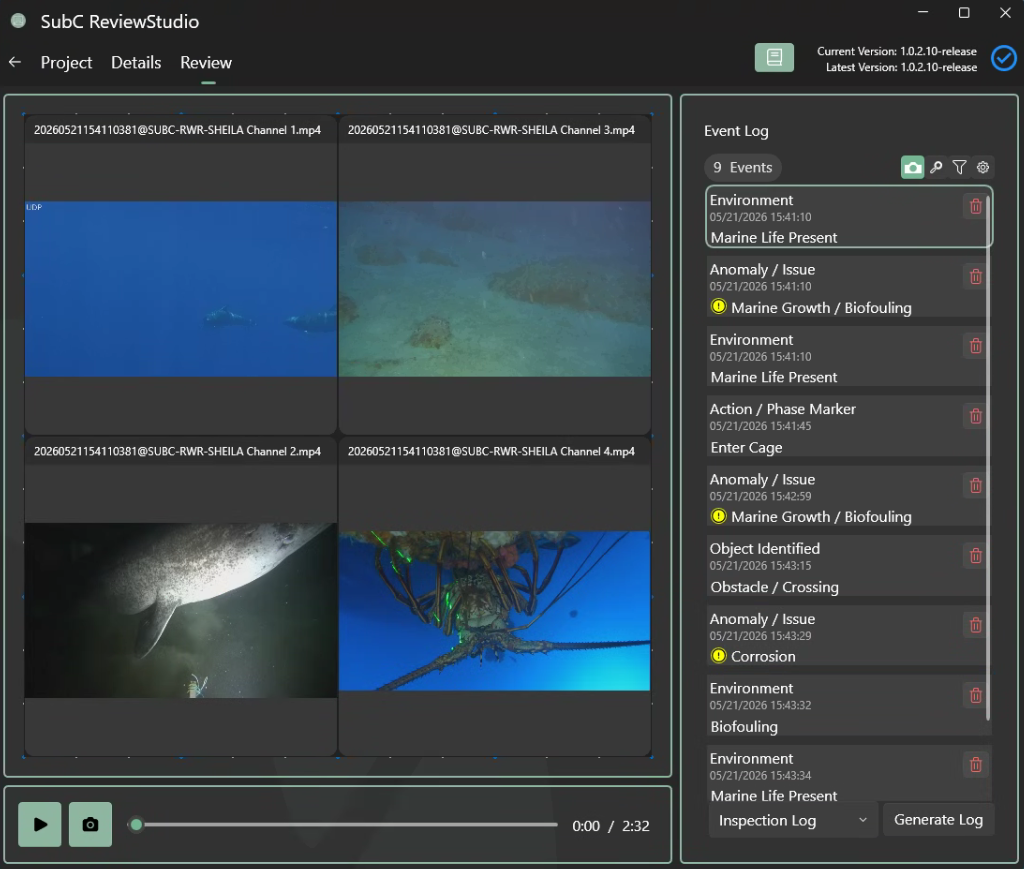
 | Play video button |
 | Pause video button |
 | Video Time Counter / Duration is displayed on the right. |
 | Click the Camera button to take a framegrab/still while the recording is in play or paused. You’ll notice a green wireframe appear and fade to center indicating an image has been saved. |
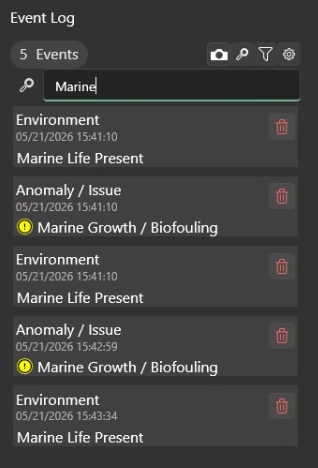
The Events that were captured in your Project in the DVR+ Eventing UI appear in the Event Log column on the right. Click on an Event and you’ll see the scrubber button move to the time position within the Project Video where/when that Event was captured. 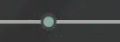 The video scrubber button allows users to move forward & back to a time position within a video. | 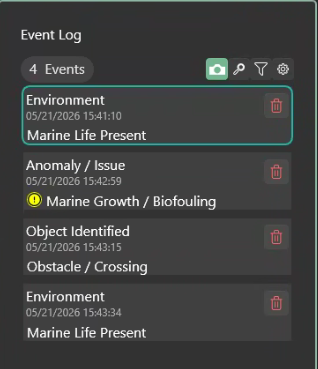 | ||||||||
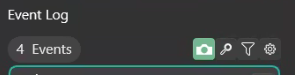
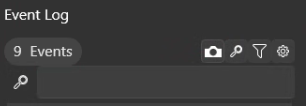
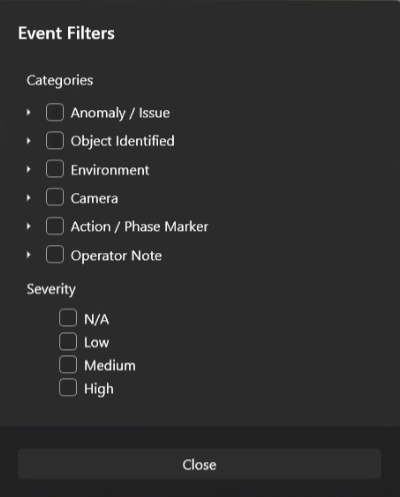
| On the top, right of the Event Log also notice the following features:
| ||||||||
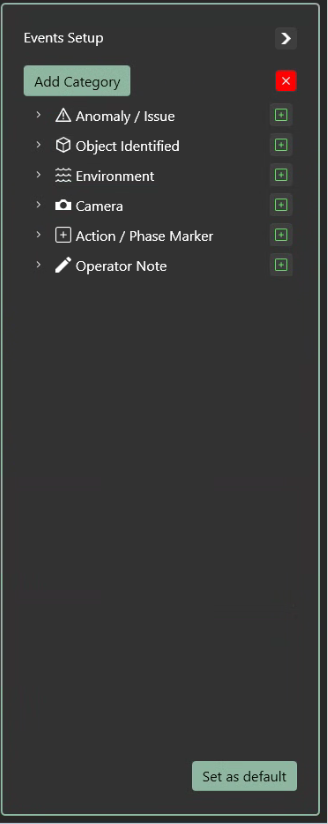
Log additional Events in the ReviewStudio UI 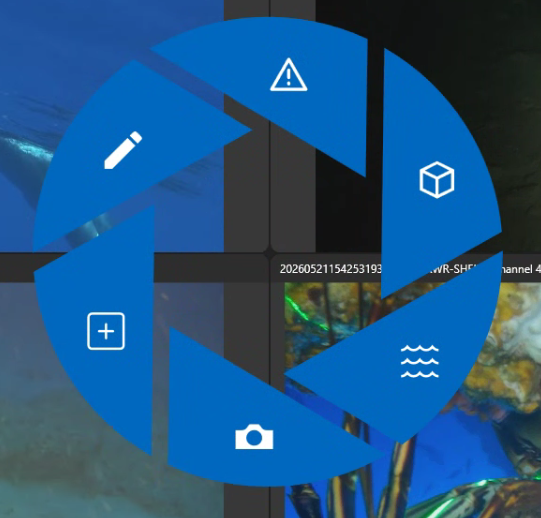 | Much like logging Events in the DVR+ Eventing UI, you can also log Events while reviewing the Inspection Project in ReviewStudio. Click Play button and as you review the Project recorded video, if you see an Event that was not logged during the initial Eventing Inspection session, Right Click over the video channels to activate the Events Radial Wheel and select a Category and an Event to log it. | ||||||||
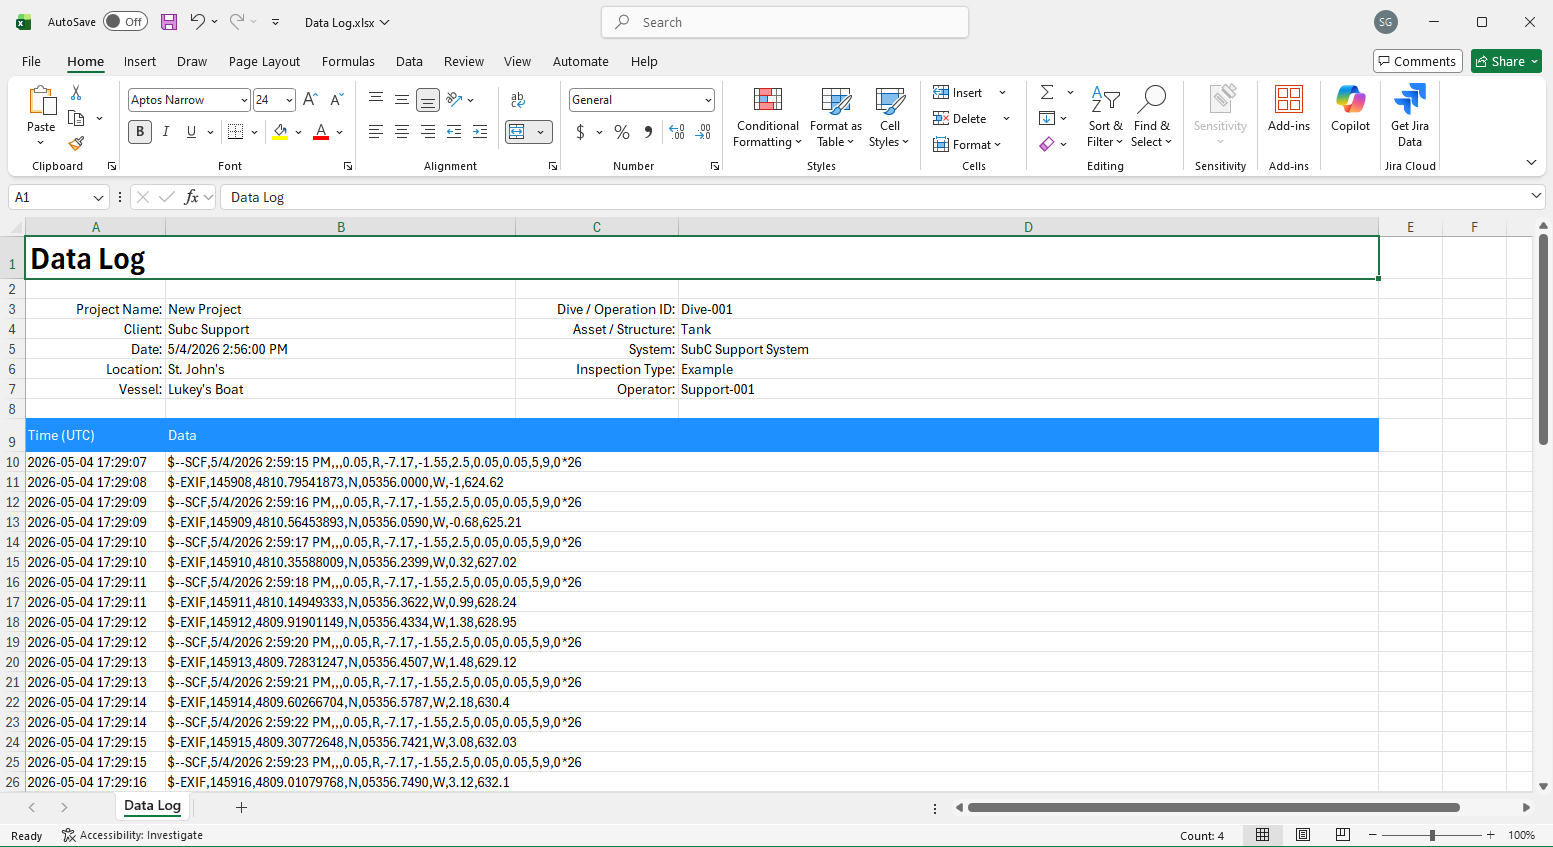
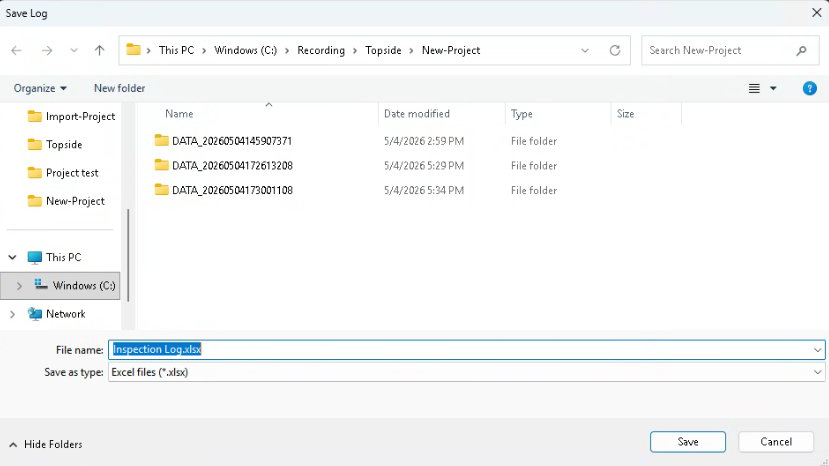
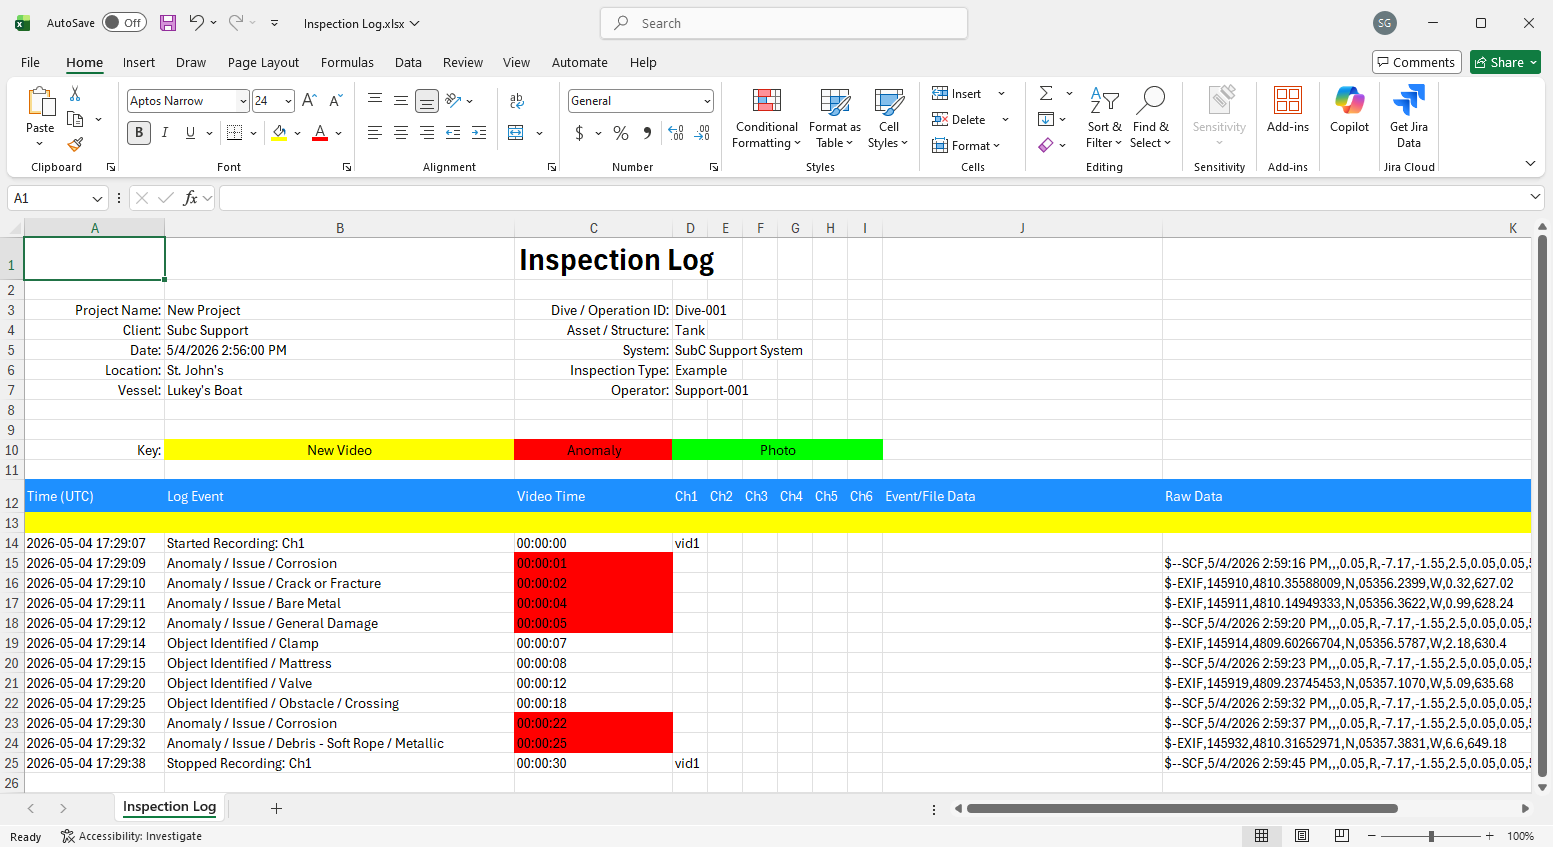
Logs  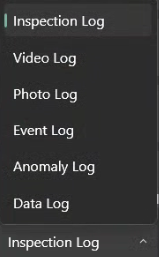 | Below Event Log on the right, are the Log Type selection and Generate Log button. Select one of the Log Types: Inspection | Video | Photo | Event | Data Log and click Generate Log button to generate that log file. |


A Save Log window will appear and prompt you to save the selected Log File name: (i.e. Inspection Log.xlsx) and Save as type: Excel files (*.xlsx) and click Save.
Open the Logs in Excel to view the details.
Example: Inspection Log
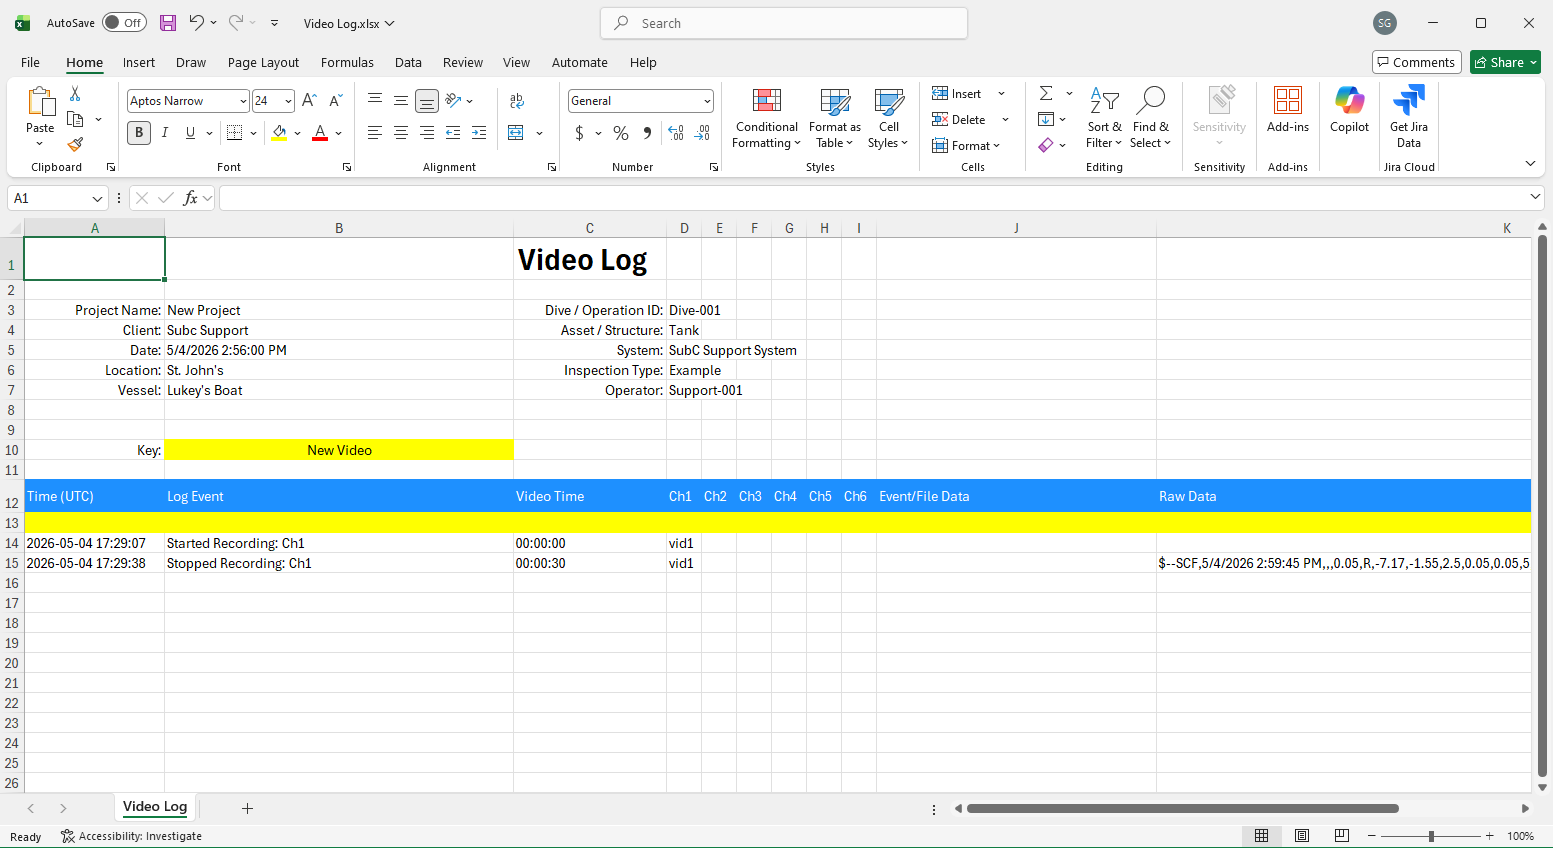
Example: Video Log
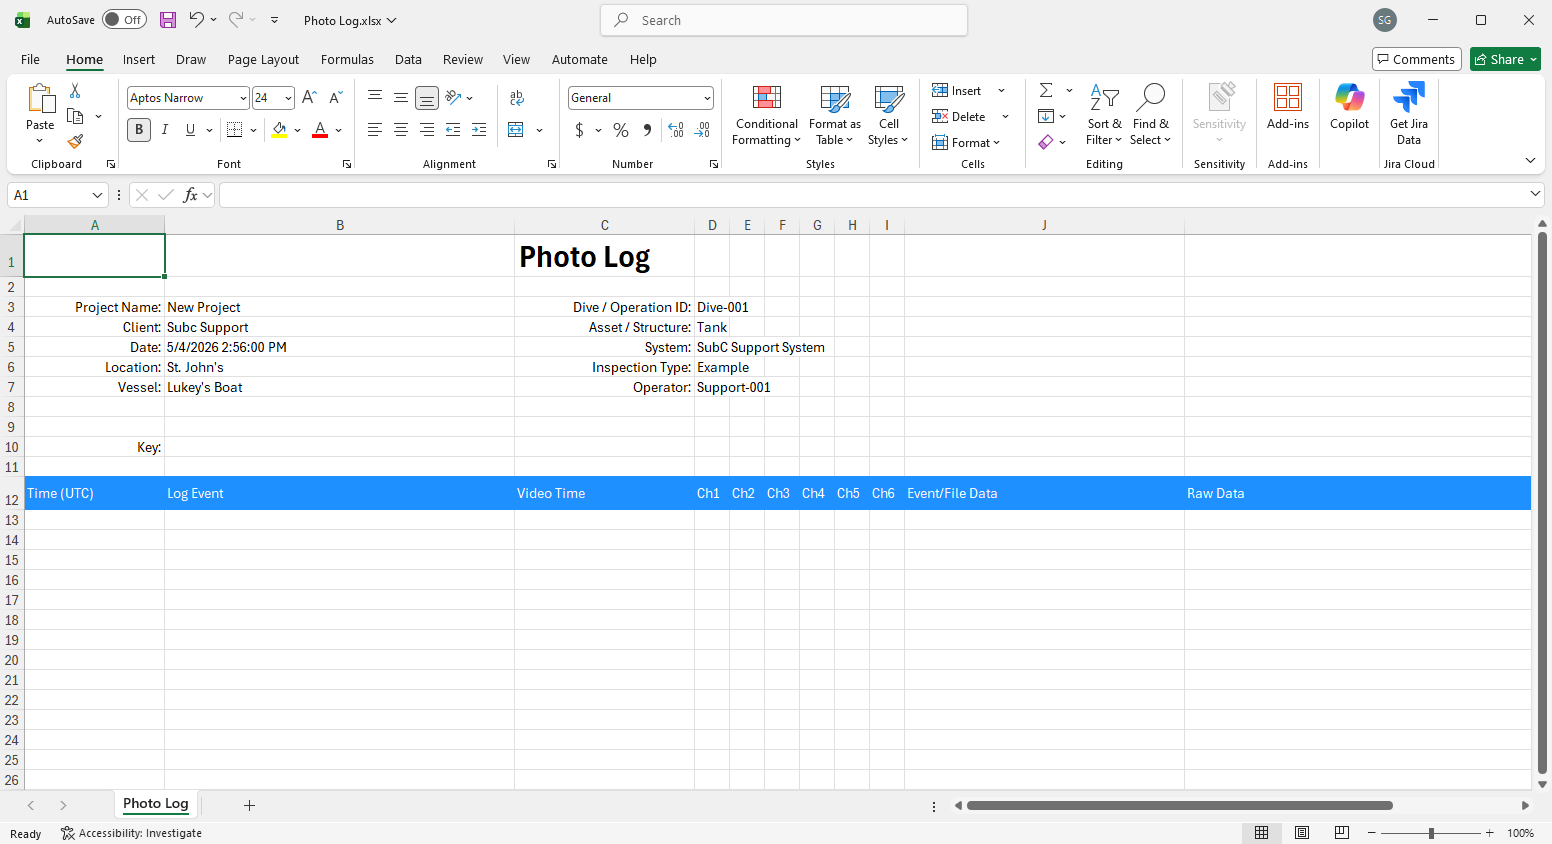
Example: Photo Log
(No records in this example; No photos were taken during this Event Inspection Project session)
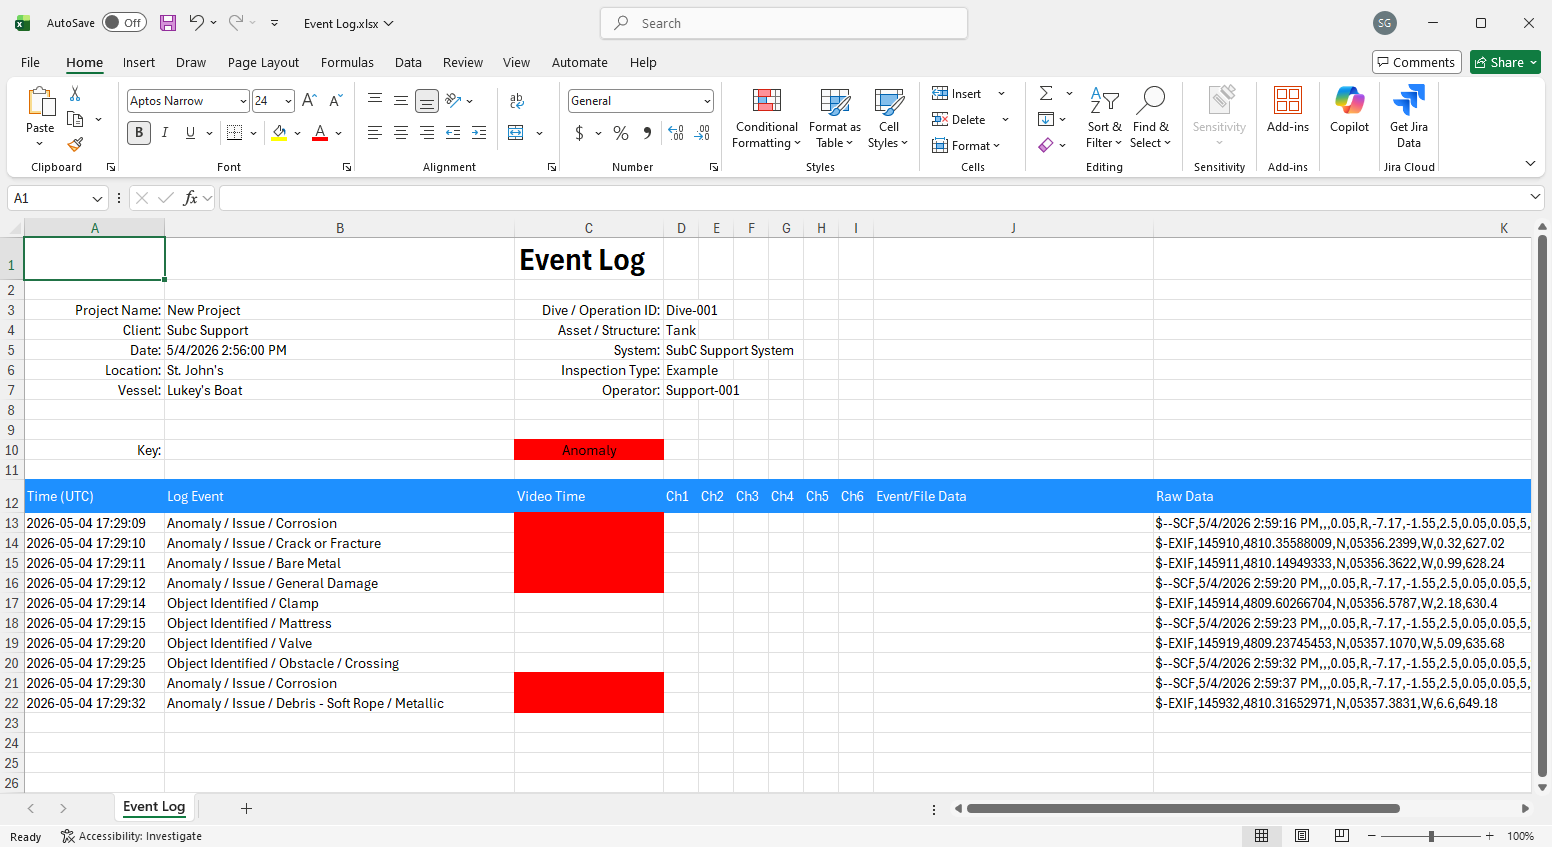
Example: Event Log
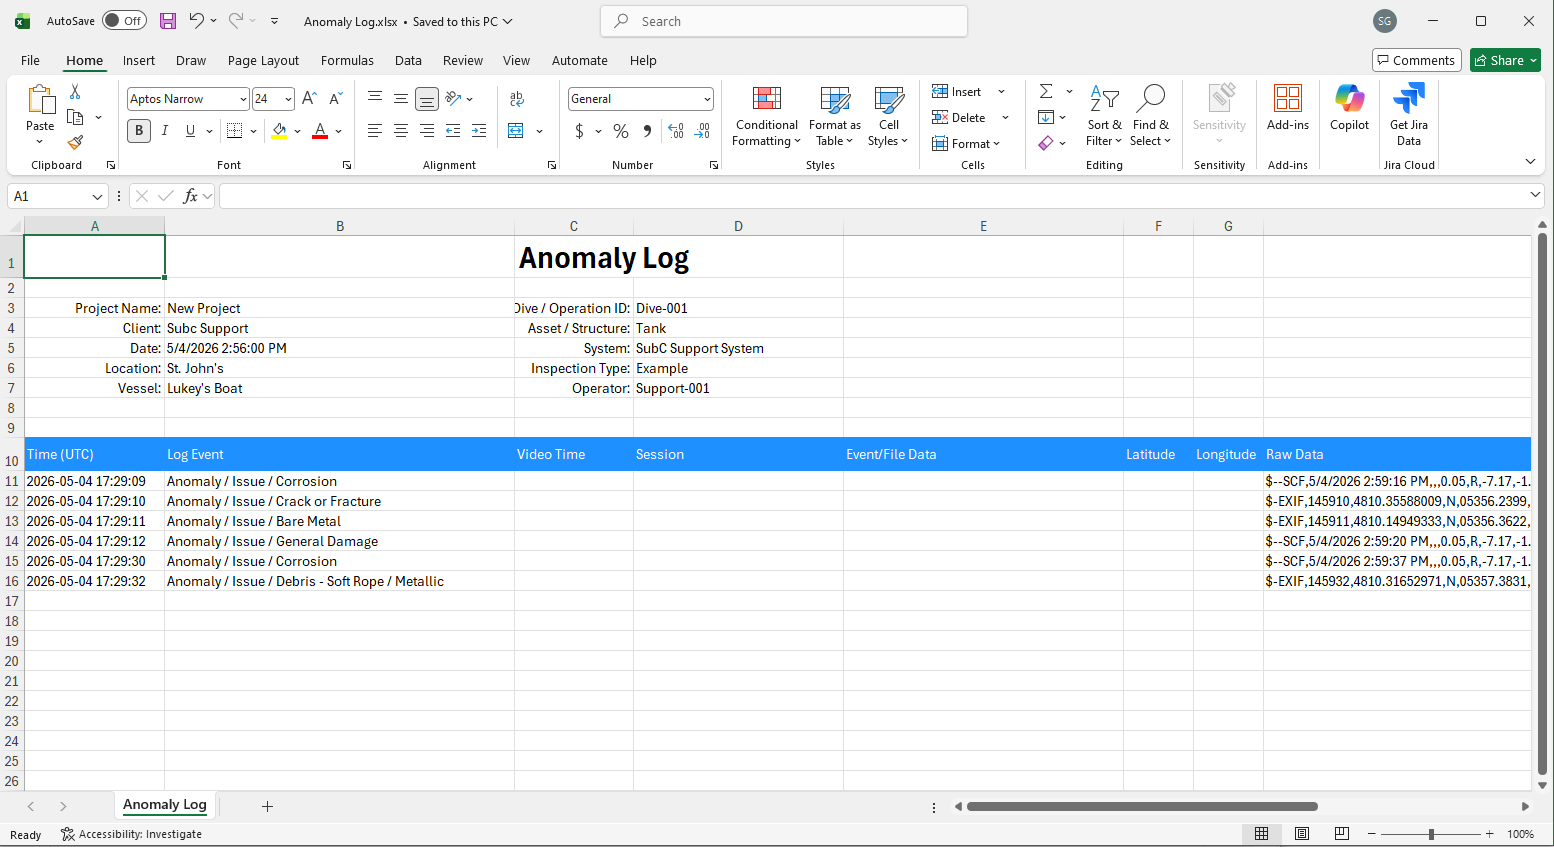
Example: Anomaly Log
Example: Data Log