Eventing
DVR+ Eventing
SubC DVR+ includes a new Eventing feature to provide the ability to capture events and objects observed during inspections.
The new DVR+ Eventing feature and its SubC ReviewStudio companion application replace the previous SubC Inspector companion application.
SubC Inspector will be retired in Q2 2027.
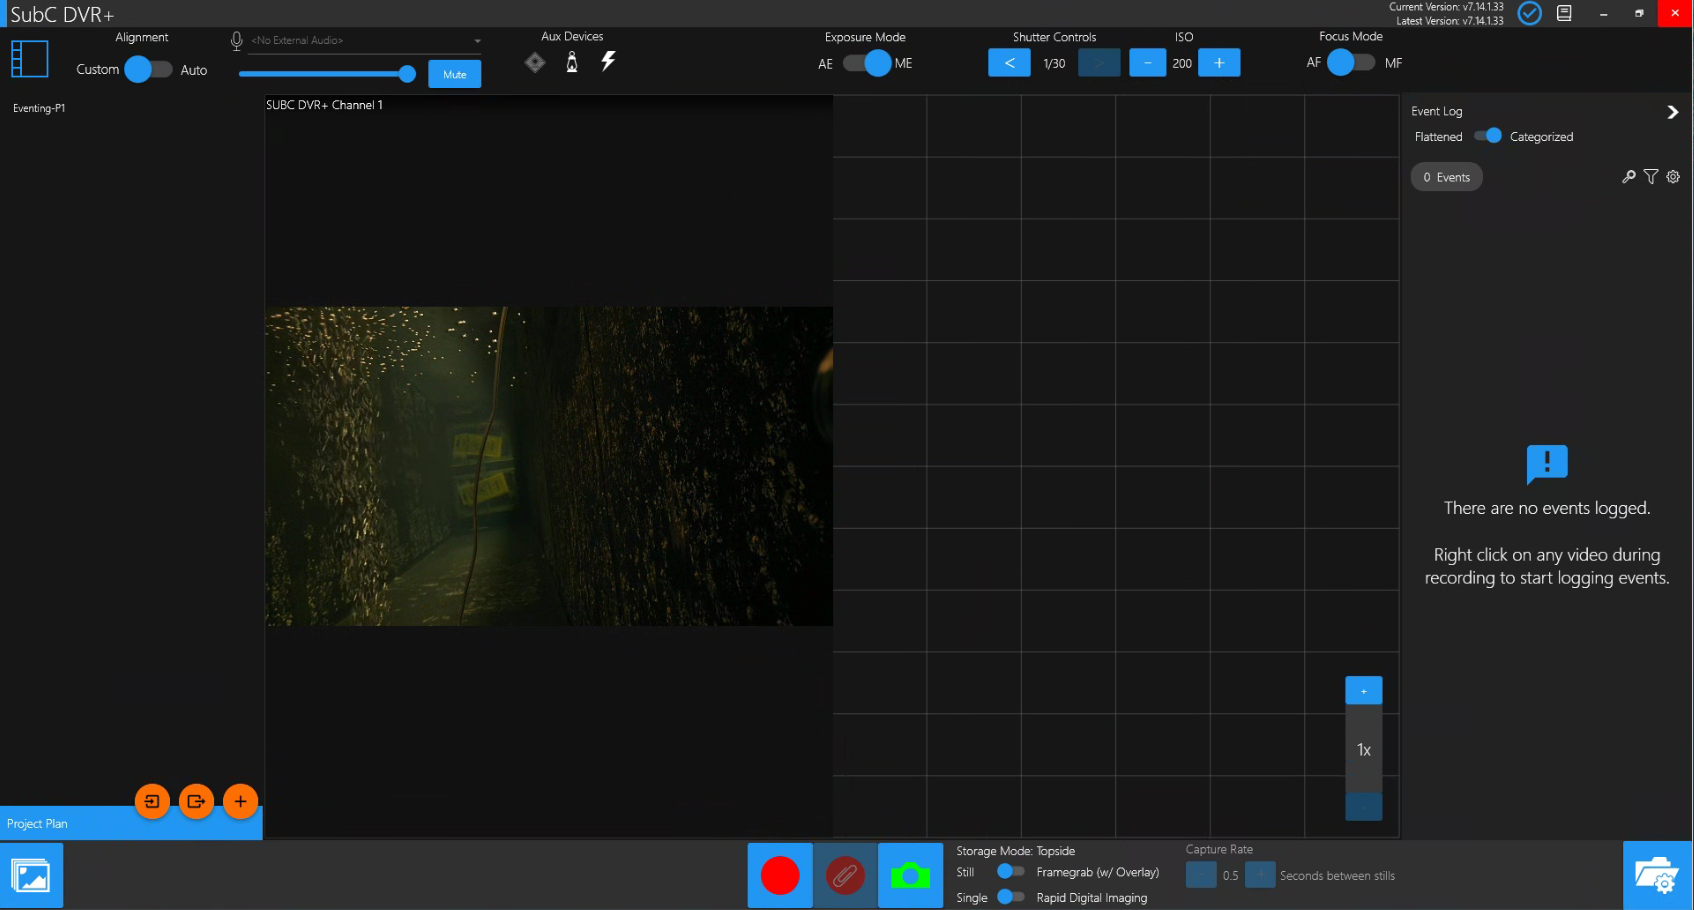
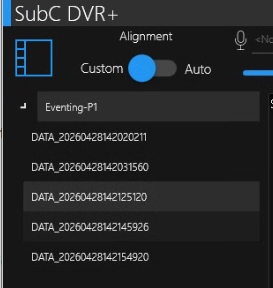
In Priority Mode, configure Channel(s) with video input.
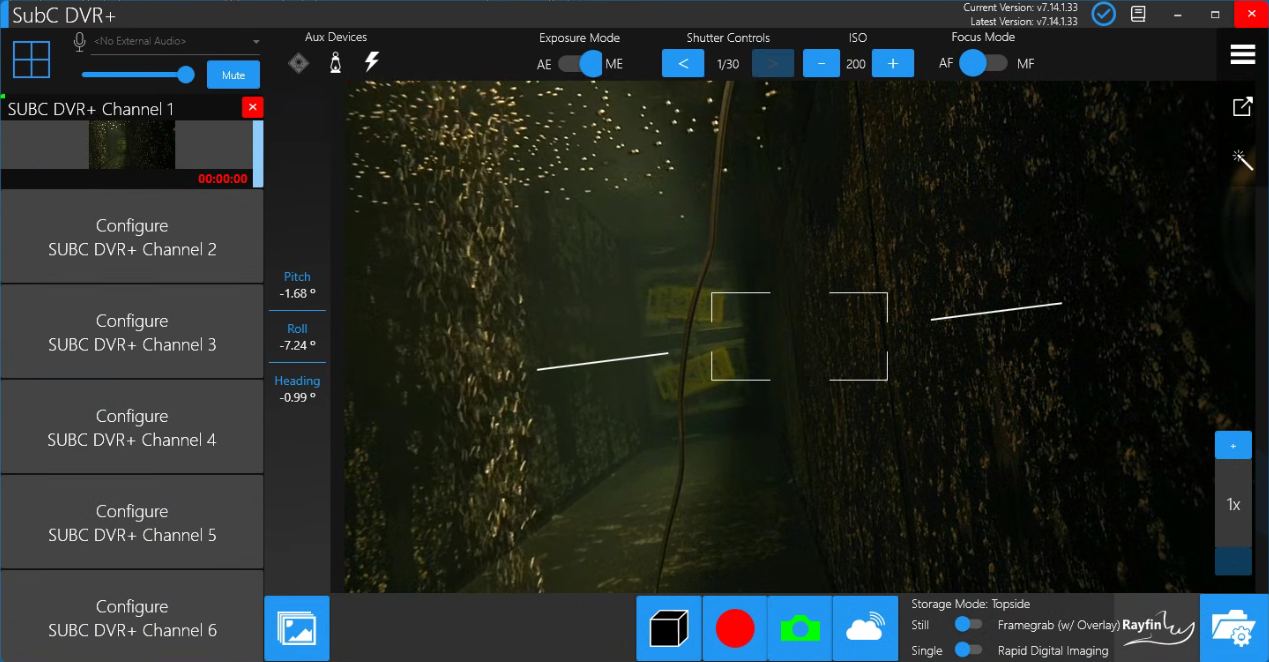
 | Click the 4-square box (Priority Mode) at the top-left to switch to Grid/Sync/Eventing Mode |
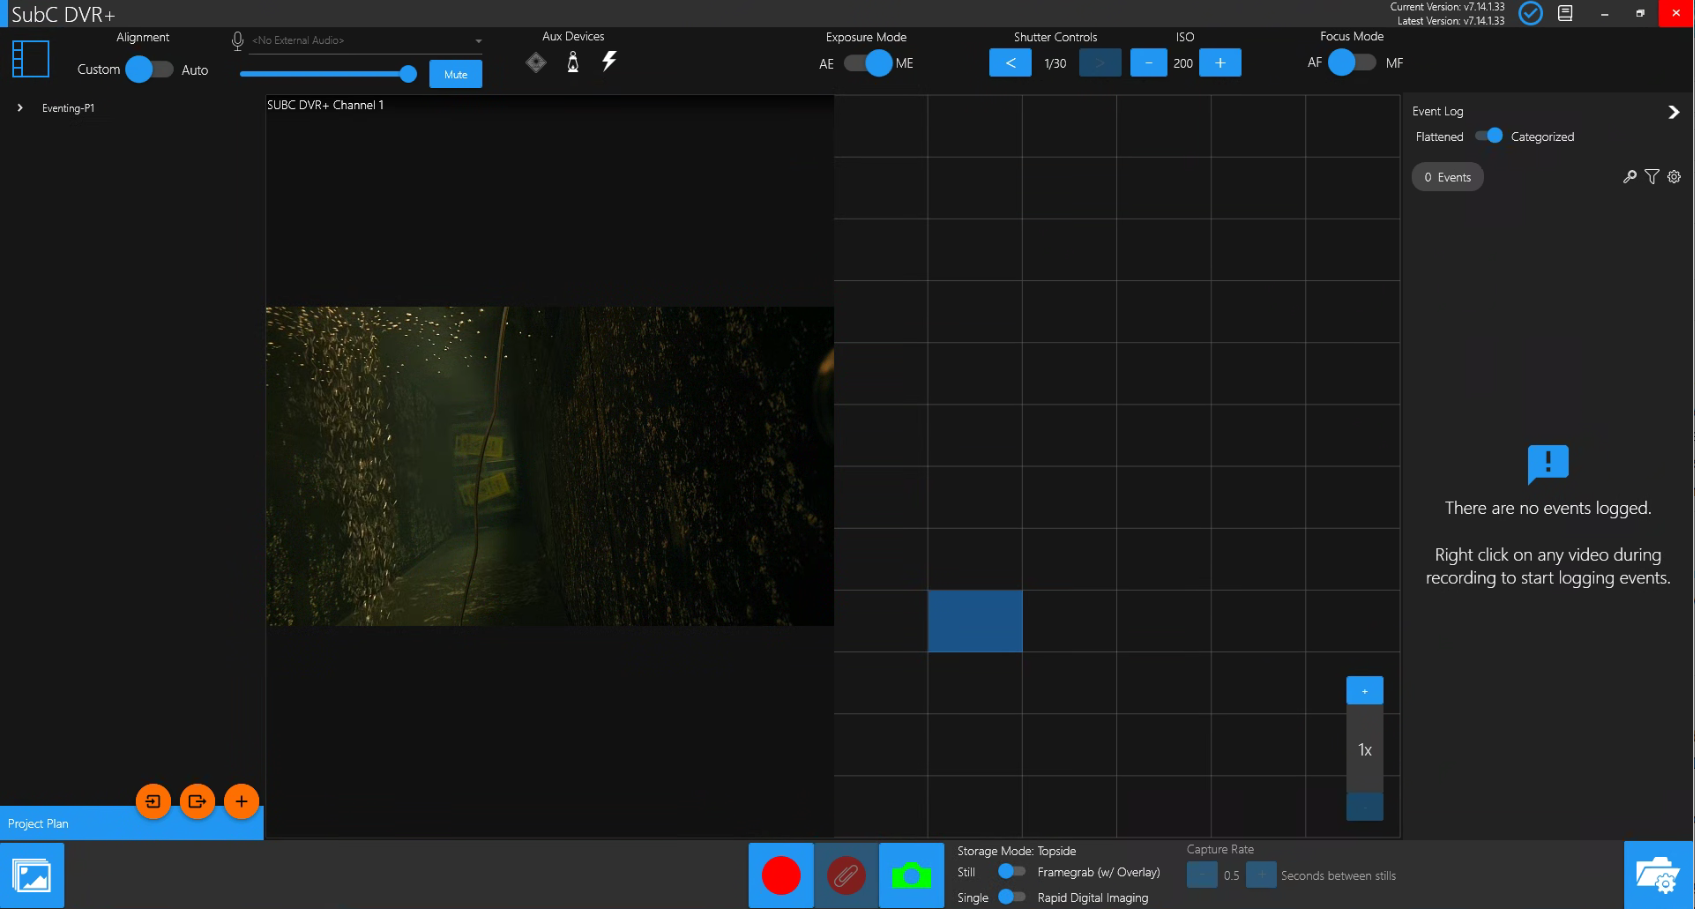
 | Click the expand button (<) on the right to open the Event Log interface. |
 | Click on Grid Folder / Filename Settings. This will open the Inspection Settings interface. Select an inspection Directory and set the Templates. |
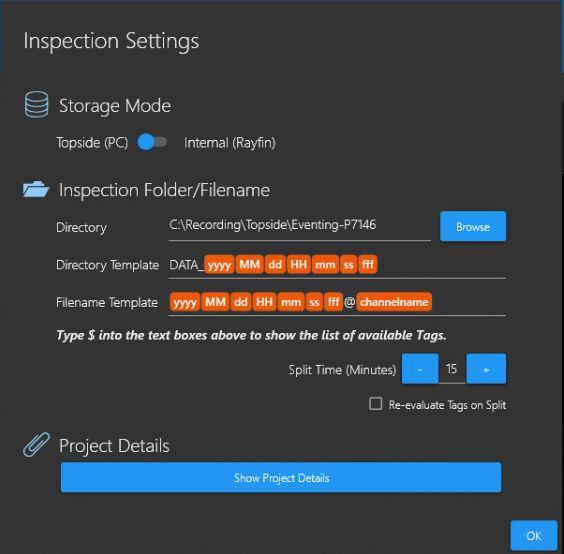
Inspection Settings
If you have DVR+ Channels connected to only Rayfin camera(s) (Rayfin Input type), the Inspection Settings will show both Storage Mode - Topside (PC) and Internal (Rayfin) options.
If you do not have any Channels configured with Rayfin Input or you have a combination of Channels configured with Rayfin Input and other Input types, the Storage Mode options will not be visible, only Topside (PC) Storage will be available.
Eventing - Topside (PC) only
Eventing is designed to be used only when Storage Mode is Topside (PC). Eventing will not be available when Storage Mode Internal (Rayfin) is selected.
In Grid/Sync mode, Inspection Settings → Storage Mode - Internal (Rayfin), is used only to set your Still Directory path & Still Filename format and Recording Directory & Recording Filename format on the Rayfin internal storage. Click OK. Your Stills & Recording files will be saved in the Rayfin internal storage.
Using Tags can speed up post Inspection processing time, getting results more quickly and allowing users to have better control over the directory structure and keep like files together.
See Directory Filename Tags for details.
For Eventing, select Topside (PC) destination for your Inspection files.

Directory - Browse to the folder where your video Recording and Inspection Eventing files are to be saved.
Directory Template - Default is DATA_${yyyy}${MM}${dd}${HH}${ss}${fff}
You can edit this format using Tags.
Note: The Directory Template will change if you add sub-directories under the primary Inspection Directory path selected for the Eventing project. See Create New Directory section below.
Filename Template - Default is ${yyyy}${MM}${dd}${HH}$ss}${fff}
You can edit this format using Tags.
To add Tags: Place the cursor in the Directory Template path or the File Template path in a position where you want to add format Tags and type $ to display & select from the list of available Tags. See Directory Filename Tags for details.
Split Time (Minutes) enables you to have your video Recording files produced on a specific time intervale; Set the duration in minutes here. Example: If you are continuously recording for 60 minutes, setting the Split Time to 15 minutes will produce 4 x 15-minute recording files.
Re-evaluate Tags on Split - When selected, will modify the filename of recorded video files each time they split according to the tags in the Filename Template.
Project Details

Click Show Project Details to open the Project Details interface.
Add the key information for this inspection. You can start review anytime - additional Project Details can be filled in later.
Populate the Project Information and Inspection Details fields with text that is relevant to your Inspection project.
Inspection Details column field titles are customizable, allowing you to rename these field titles to align with your project.
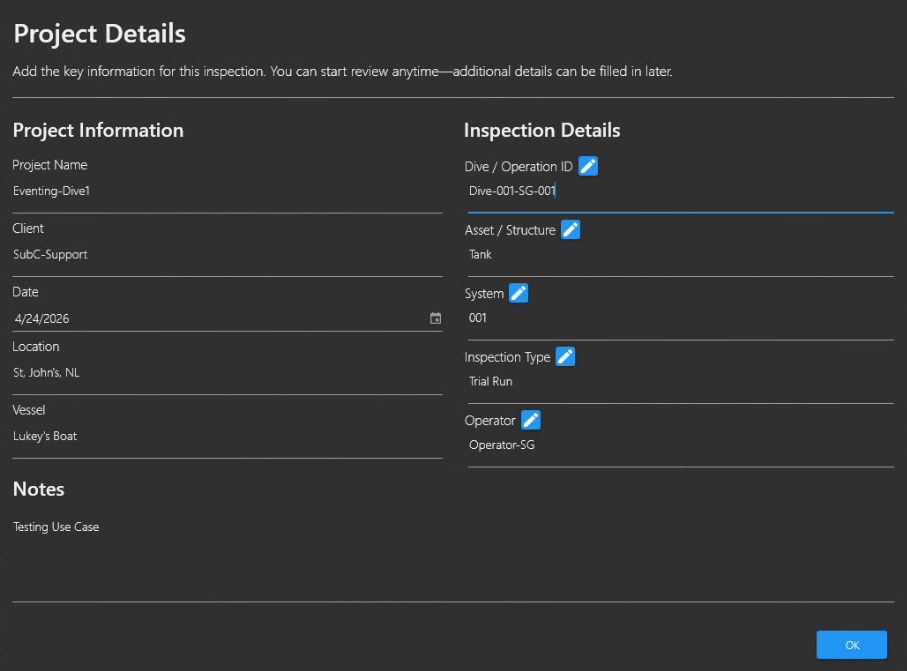
Once you have your Project Details set, click OK to proceed to Event Log Setup.
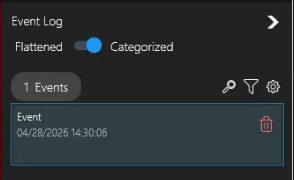
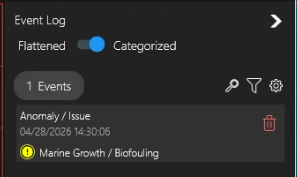
Event Log Setup
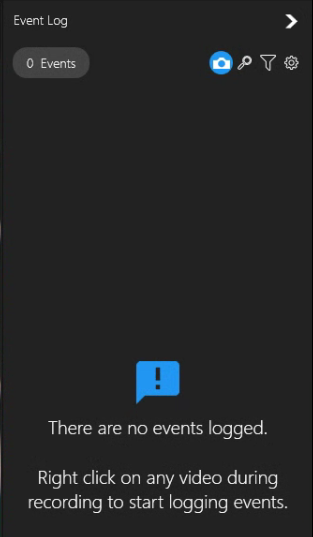
Events captured will appear in the Event Log
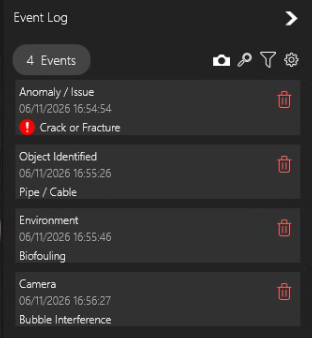
  | Event Log UI Click to reveal / hide the Event Log interface. |
 ON  OFF | Capture Framegrab / Still with Events Click the Camera icon toggle button to turn On (Blue) / Off (Black) Capture Framegrab / Still with Events. When camera icon button is On, each time an Event is captured a framegrab/still will be automatically taken and associated with the Event. |
 | Search Events 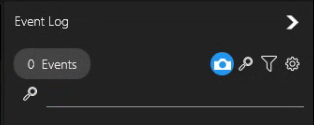 Type text to display matching events that have been logged. Leave this search field blank and hit enter to see all Events again. |
 | Filter Events Using Filters option is a convenient way to view only specific events. 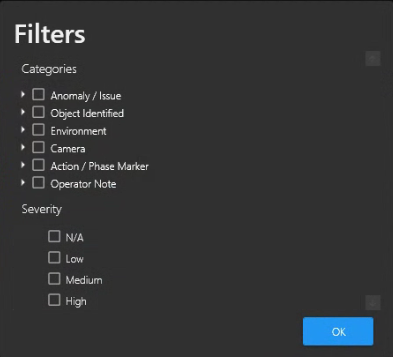 Select Categories, Events, and Severity to filter the list of events displaying only those that match the filters. |
 | Events Setup |
Events Setup Overview
 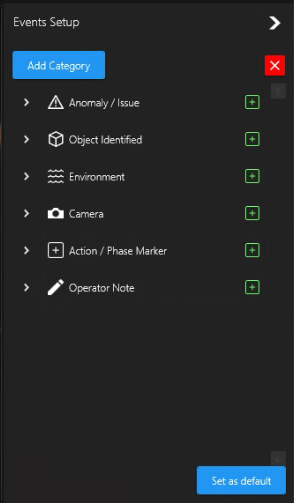 | Click the Settings (gearwheel icon) toggle button to open the Events Setup interface. Click the red [x] if you wish to close Events Setup interface and return to the previous interface. The Event Categories shown in the image on the left are defaults with predefined Events within each.  Click Add Category button to add your own custom category & events. See Custom Event Category below. Click > to expand an Event Category to add or exclude events from a default or custom category.  When you have finished, click Set as Default button to save your selections &/or additions &/or exclusions for the current project and your future projects. |
Click > to expand an Event Category and see its defined Events.
Click [+] button to add a new Event to the current Category.
Click red trash can icon to delete an Event definition.
Use the scrollbar on the right to slide up/down to view all events.
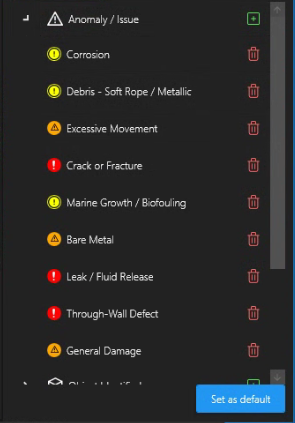
Add Event to a Category
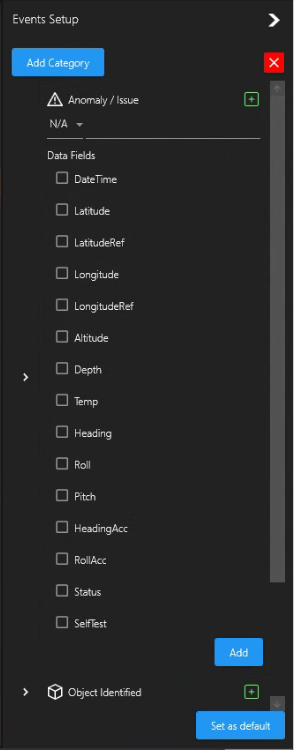
Click the Anomaly/Issue [+] button if you want to add Events to the selected Category. This [+] button is a toggle, click again if you want to close the add event field.
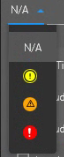 | Optionally, select a severity symbol for your new Event. In the next field, enter a unique new name for your new Event. 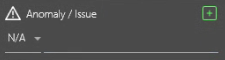 |
Data Fields - Select any of these data fields that are relevant to any incoming data you may have included in Data I/O. These data value(s) will appear in your Event logs.
 | Click the Add button to save your new Event in this Category. |
Custom Event Category
You can also add your own Custom Event Category.
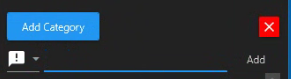
Click Add Category button to add your own new custom category.
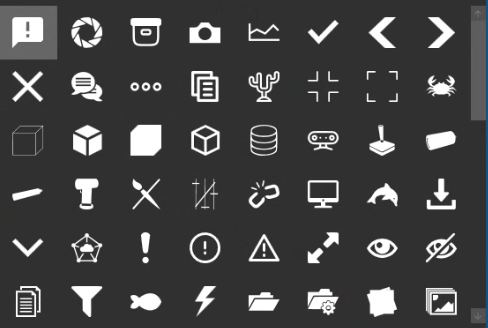
Select an icon for a new category from the field menu and give your new Category a meaningful name and click Add.
Once your new Category is created, you can add Events. See Add Event to a Category above.
Recording & Eventing
Before you start Recording and Eventing, you should already have set the Inspection Settings Storage Mode and Inspection Folder/Filename and Project Details populated.
In addition to the Directory Filename Tags available in the Media Capture Wizard, Project Details → Project Information Tags are available for inclusion in the Inspection Setting Directory and Filename Templates:
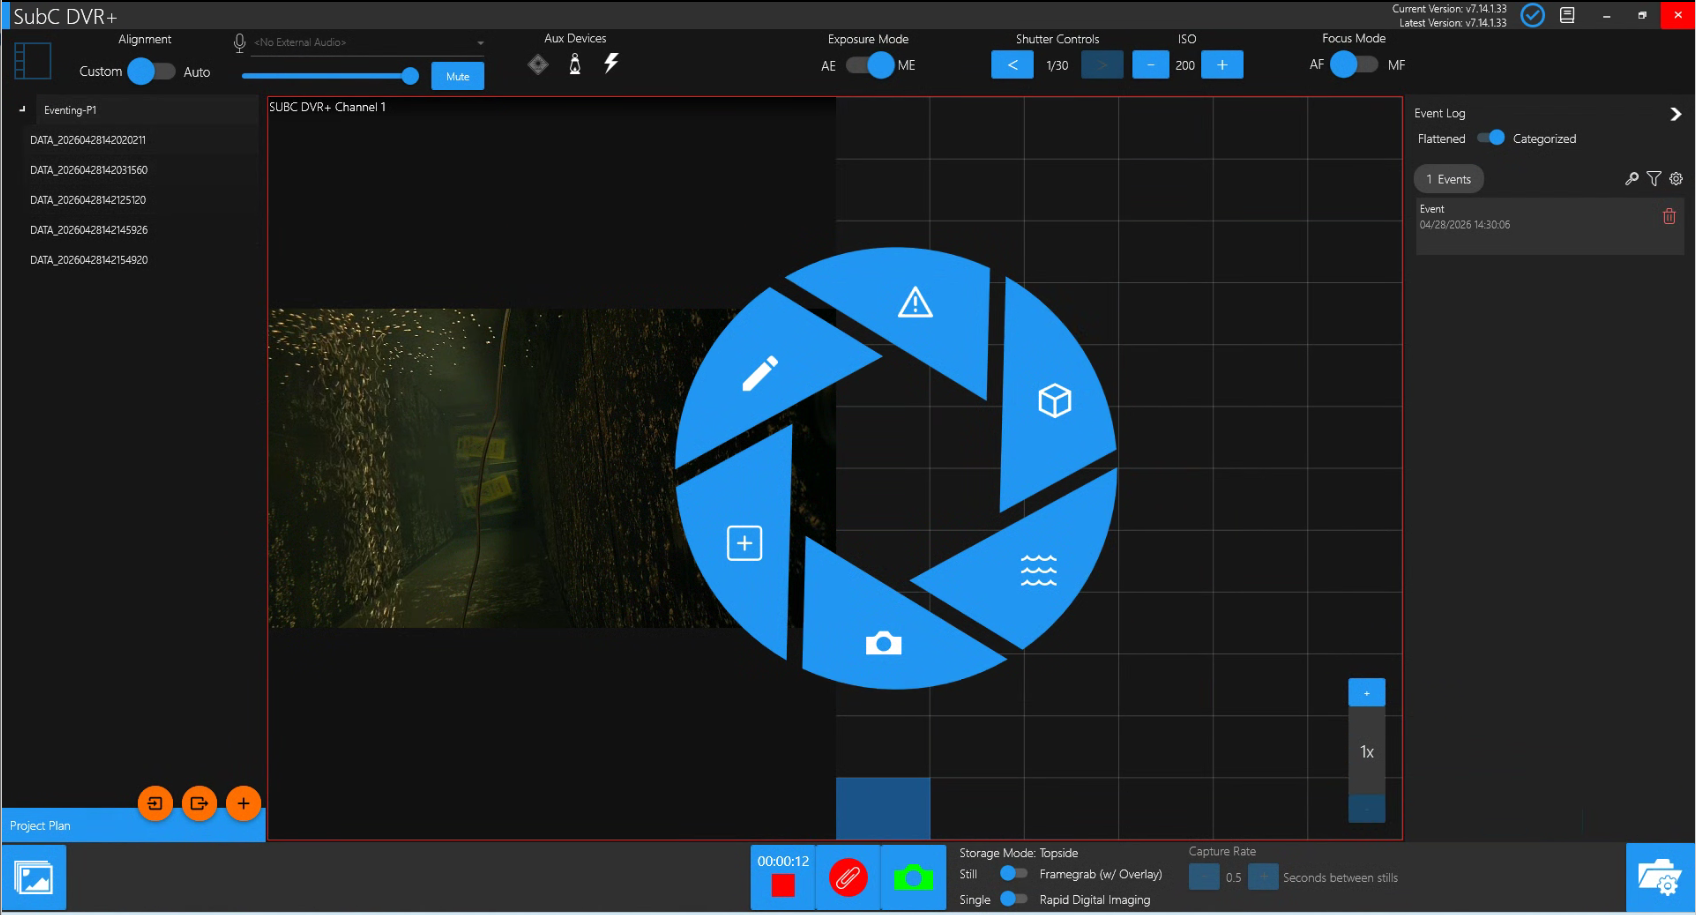
Eventing Radial Interface
Eventing Radial Wheel 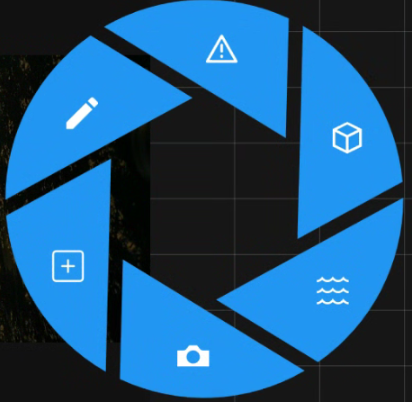 Click a Category on the Radial Wheel Select an Event from Category Events List Example: 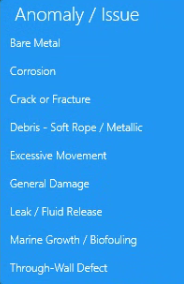 |
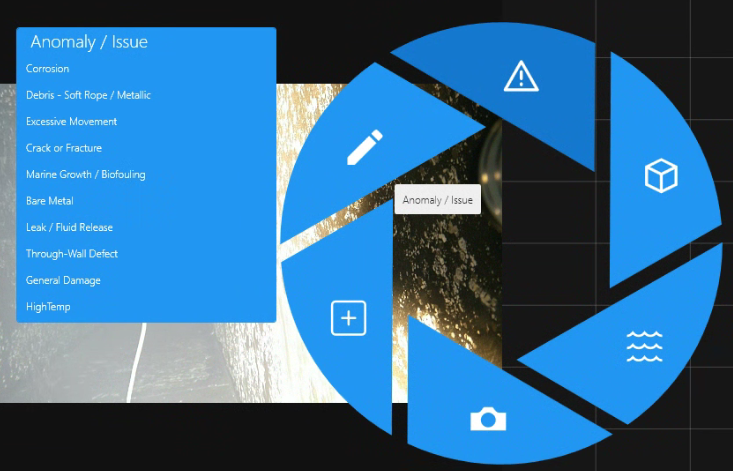 Once the Category & Event selection is made, the Eventing Radial Wheel disappears. Right-click anywhere in the center to log a new event again and repeat the event capturing process. |

Project Plan - Project Directory
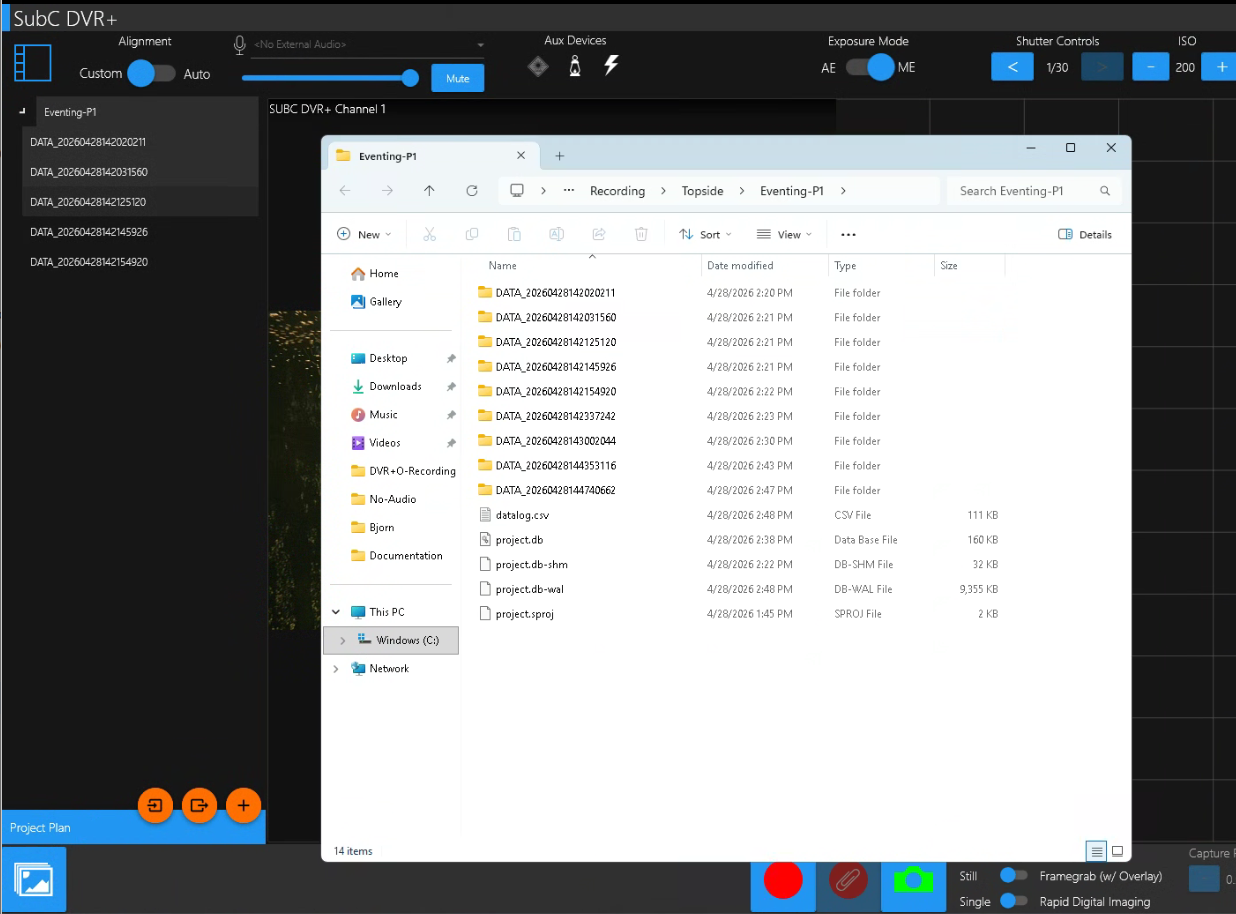
 | As you Record, each Recording Directory will appear under your Eventing Project Folder. |
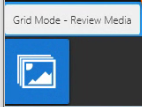 | Click the “Grid Mode - Review Media” button to open Windows File Explorer into your Eventing Project Folder. 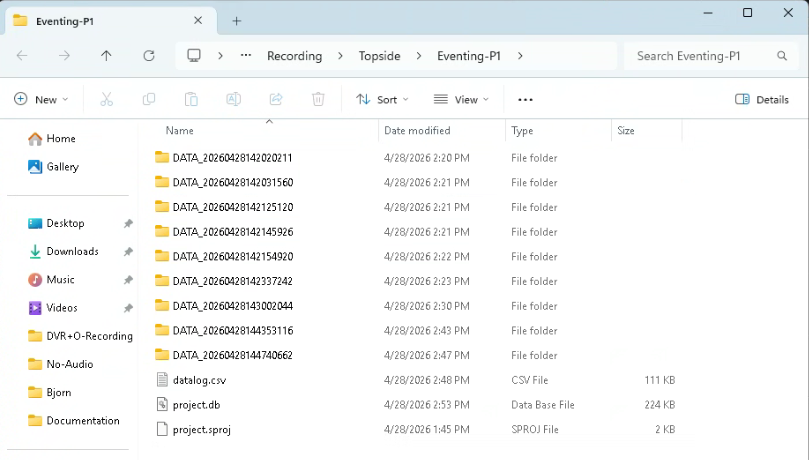
|
 | In addition to the Recording directory folders (which contain your video .mp4 and still .jpg files), you will also see the following files.
|
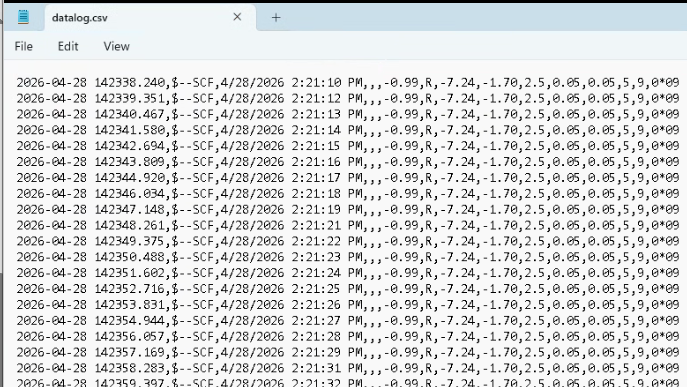 | The datalog.csv logs any data that is coming into your Channel 1, as in this example, we can Ch1 connected to a Rayfin camera which is automatically sending its data, and/or any Data input source(s) you may have included through Menu → Data I/O. |
| The project.db and project.sproj files contain your Inspection project Eventing details. These project files are the inputs to the SubC Review Studio application. |
Project Plan: Import Project - Export Project - New Directory
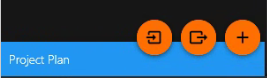
Import Project Plan
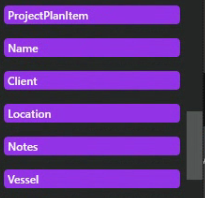
Create a new Inspection Project Directory. Copy your Project Plan Excel file into this folder. Open the Grid - Folder/Filename Settings and select this new Project Directory. 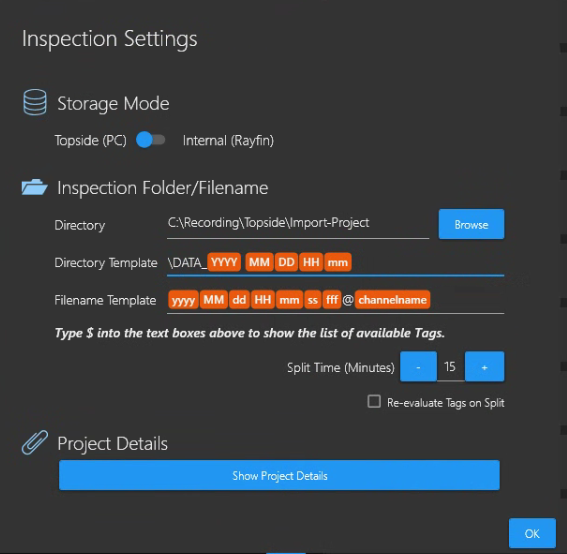 If you do not select a new Inspection Folder/Filename directory you will encounter this error. 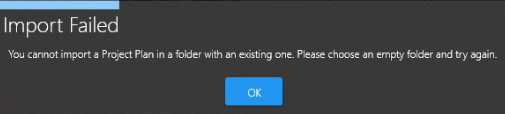 You cannot import a Project Plan in a folder with an existing one. Please choose an empty folder and try again. | Click the Import a Project Plan from an Excel file button and open your Project Plan .xlsx file.  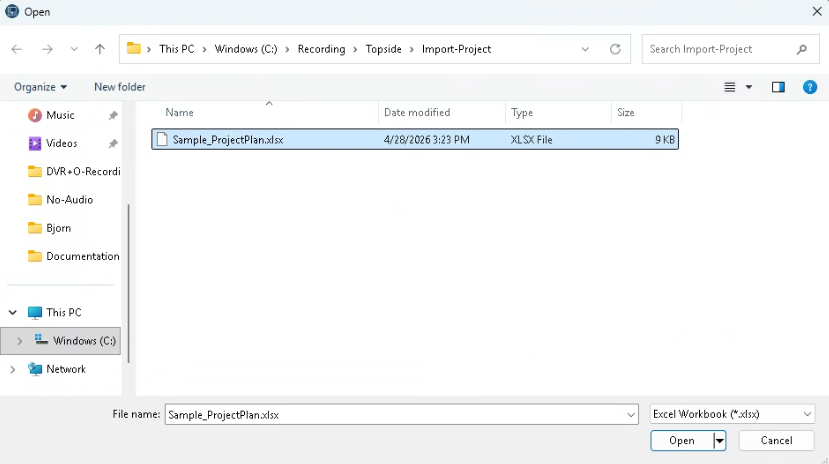 Your Project Plan .xlsx file will populate your Project folder. Example: 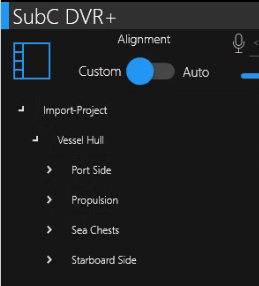 |
Export Project Plan
Open an existing Project 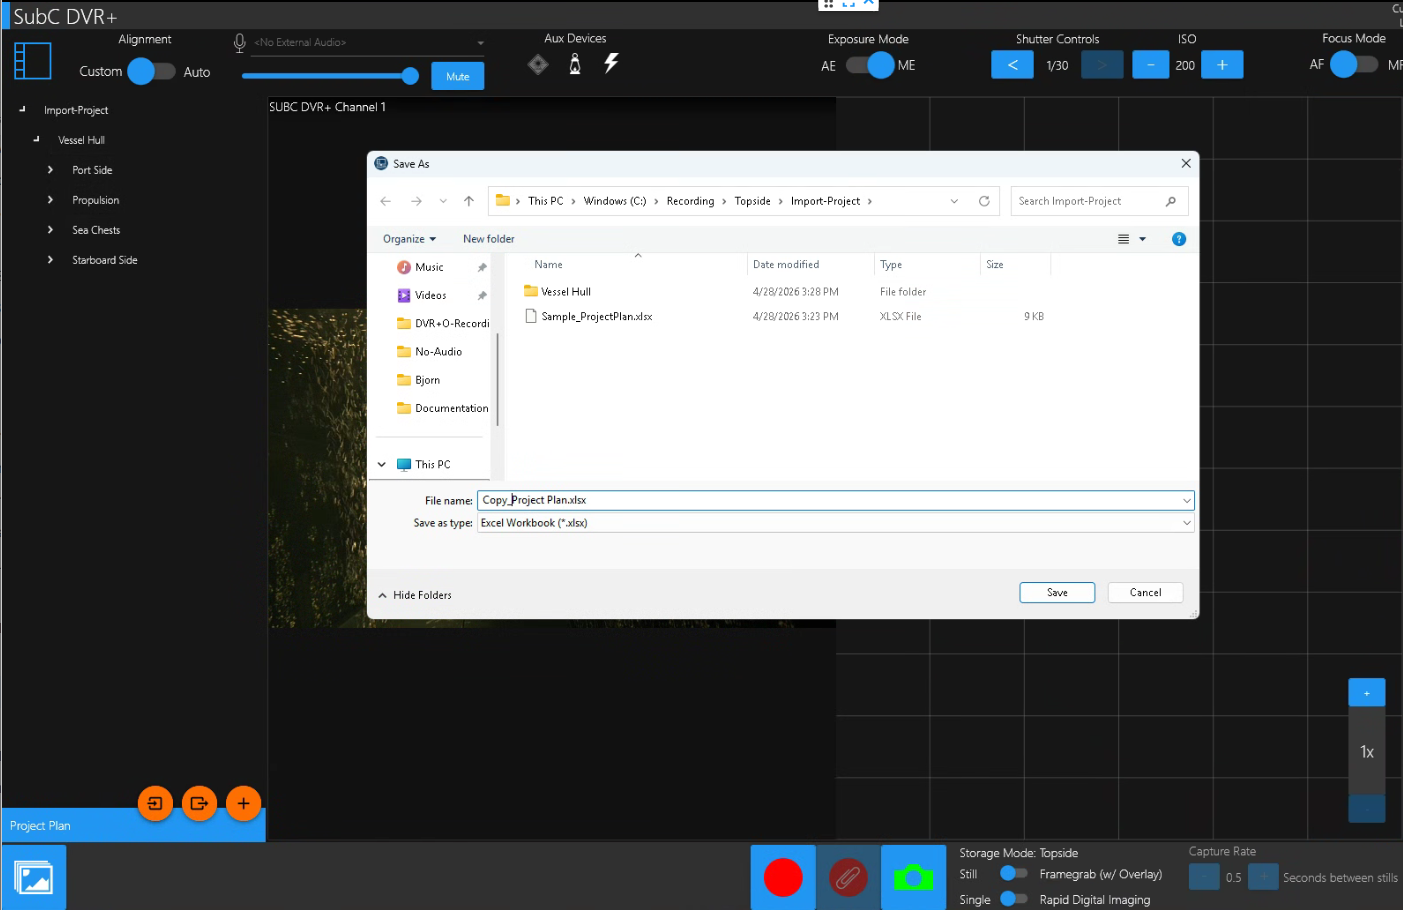
| Click the Export a Project Plan to an Excel file button  and save a copy of this current Project Plan to an .xlsx file Example: Copy_ProjectPlan.xlsx 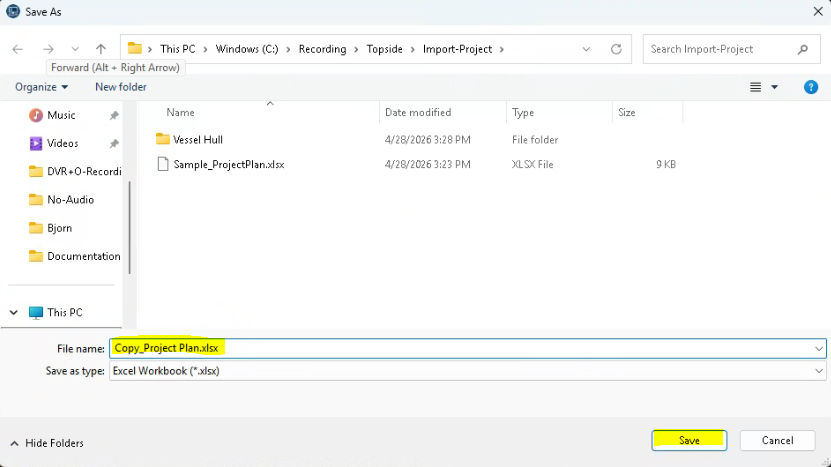 |
Create a New Directory
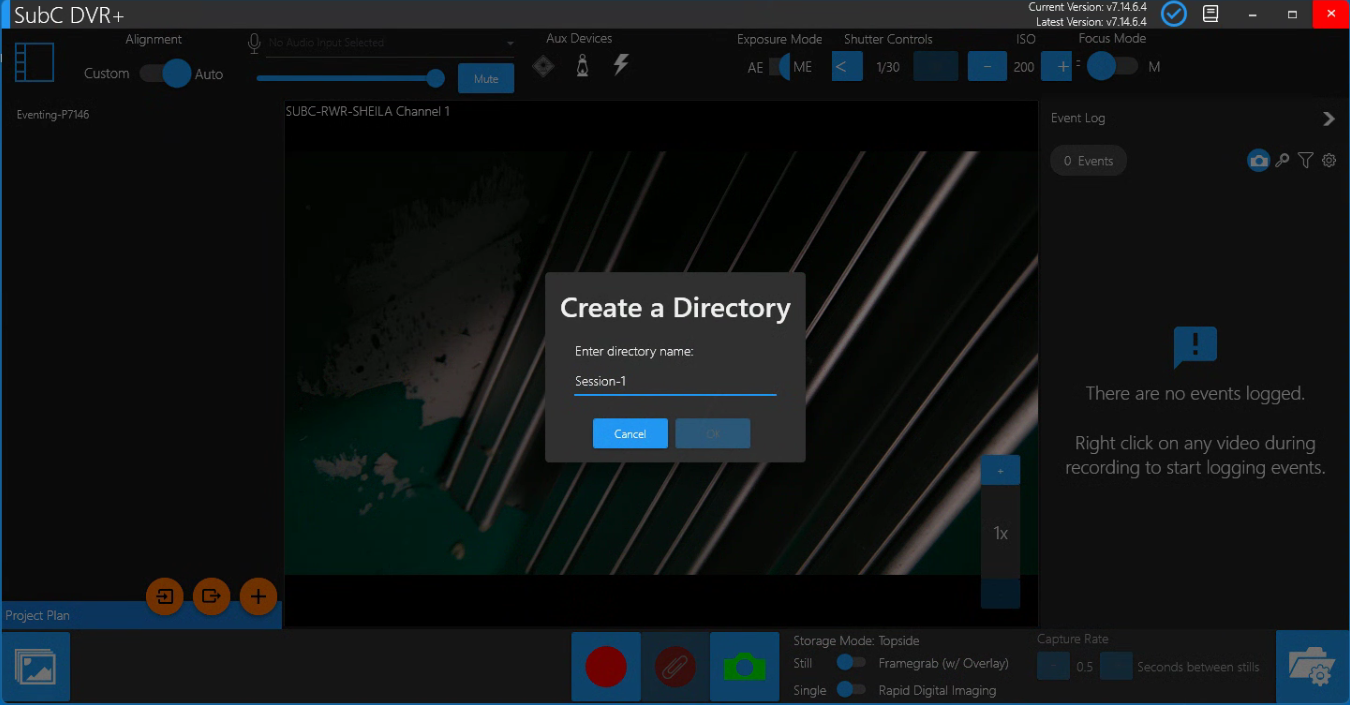
Select a folder in your Project where you want the new directory to be created. Example: “Vessel Hull” is selected.  Click Create a new directory button. Enter a new directory name and click Accept. 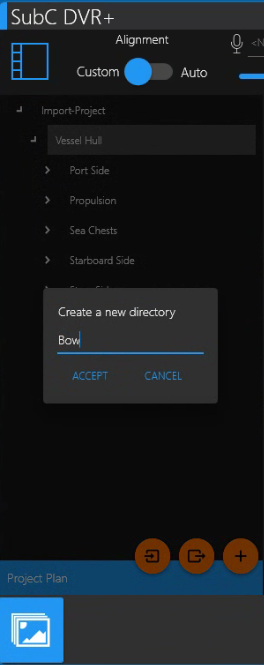 | The new directory “Bow” appears under “Vessel Hull” 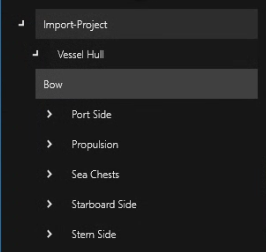 |
See SubC Review Studio companion application to review and enrich your Inspections and generate logs.