Rayfin Camera Controls
The Rayfin Camera Controls allow you to remotely adjust the Rayfin camera settings.
The Rayfin Camera Controls will appear at the top and sides of the SubC Software UI when you configure a Channel with a Rayfin Camera as Input.
Different Rayfin Camera Controls appear depending on which modes are turned on.
AUX Devices & Strobe Compensation
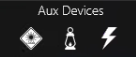 Click on each of the above toggles to turn on/off the Laser, LED and Strobe devices | Aux Devices are auxiliary devices that you can optionally use with the Rayfin Cameras. See Menu → Rayfin Aux Devices → and select SubC LED and SubC Laser from the Aux 0 and Aux 1 field lists.
|
|---|---|
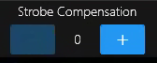 | When the Strobe is toggled on, the Strobe Compensation control appears. Taking stills using the strobe of an LED can sometimes cause a scene to be overexposed. To compensate, you can adjust the strobe compensation so that when a picture is taken, the exposure values are temporarily lowered. This will allow you to accurately frame your preview to match the same relative exposure of the photos. When the image is taken, its metadata contains the exposure information for ISO and shutter speed.  |
Auto Mode Controls

 | When Exposure Mode is set to AE - Automatic Exposure, the camera automatically calculates various settings, such as Aperture, Shutter Speed, and ISO Speed to correctly expose the image. |
|---|---|
 | Adjusting the Exposure Value allows you to override exposure settings picked by the camera's light meter to darken ( - ) or brighten ( + ) images. |
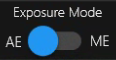
 | When Focus Mode is set to AF - Auto Focus the Rayfin camera automatically determines the focus settings. Select Auto Focus if the range is from 10cm to infinity. Let Auto focus set the best focus setting. Also, for improved results in poor visibility conditions, enable Anti-Turbidity mode to limit focus to 1m to infinity." |
Manual Mode Controls

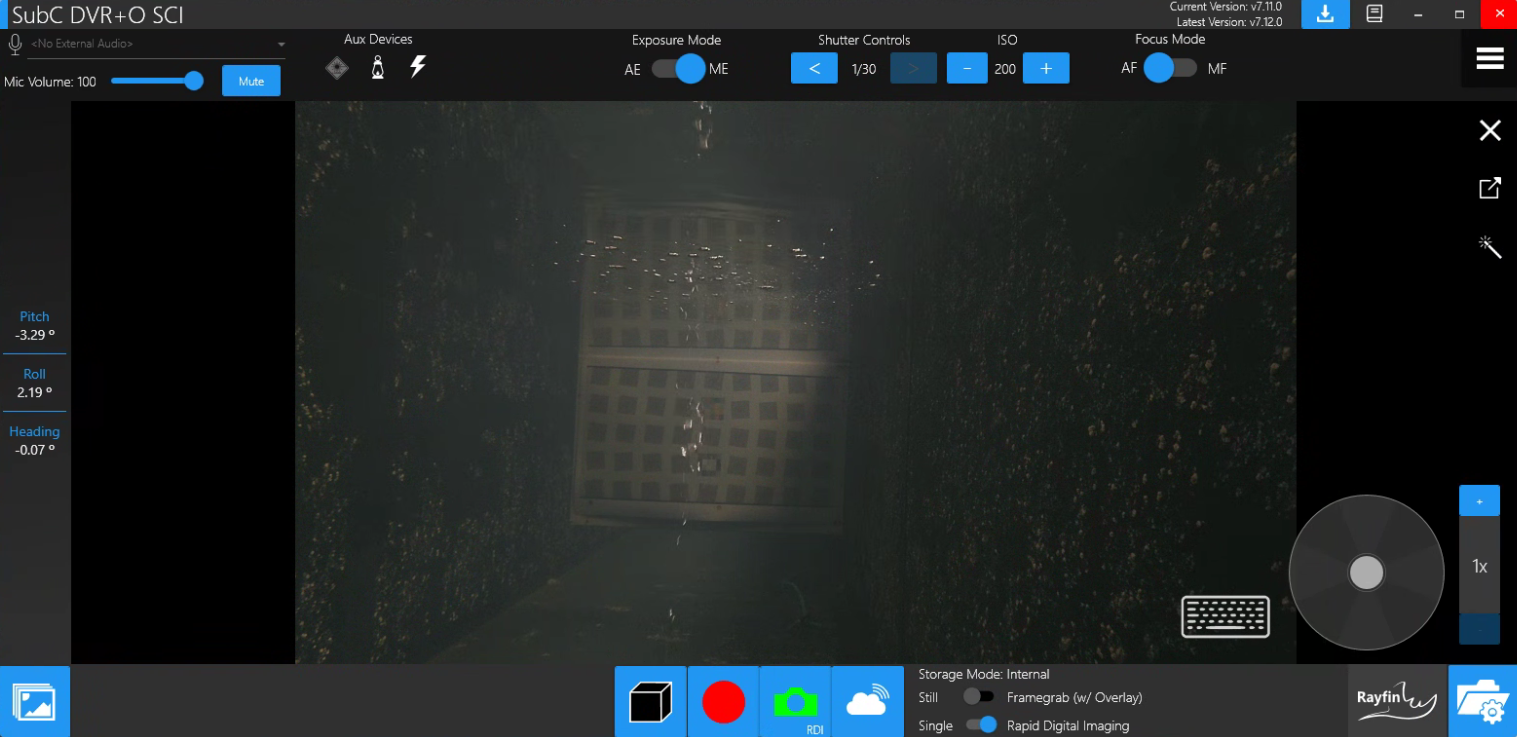
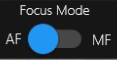
 | When Exposure Mode is set to ME - Manual Exposure the Shutter Controls and ISO controls appear allowing you to adjust settings that determine an image's exposure. 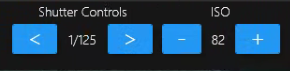 Shutter Controls allows you to adjust the Shutter speed, controlling how long the sensor is being exposed to light.
ISO, International Standards Organization, addresses the sensitivity to light pertaining to film or a digital sensor. ISO is one of the three sides of the exposure triangle used to make sense of what goes into determining an exposure. The other two sides are aperture and shutter speed
|
|---|---|
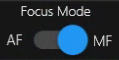 | When Focus Mode is set to MF - Manual Focus, you can adjust the Focus via Focus Near & Far settings. Select Manual Focus if the distance is known.  Focus Distance is a measurement inside the lens that affects where the camera is focused. A larger value indicates focusing nearer. |
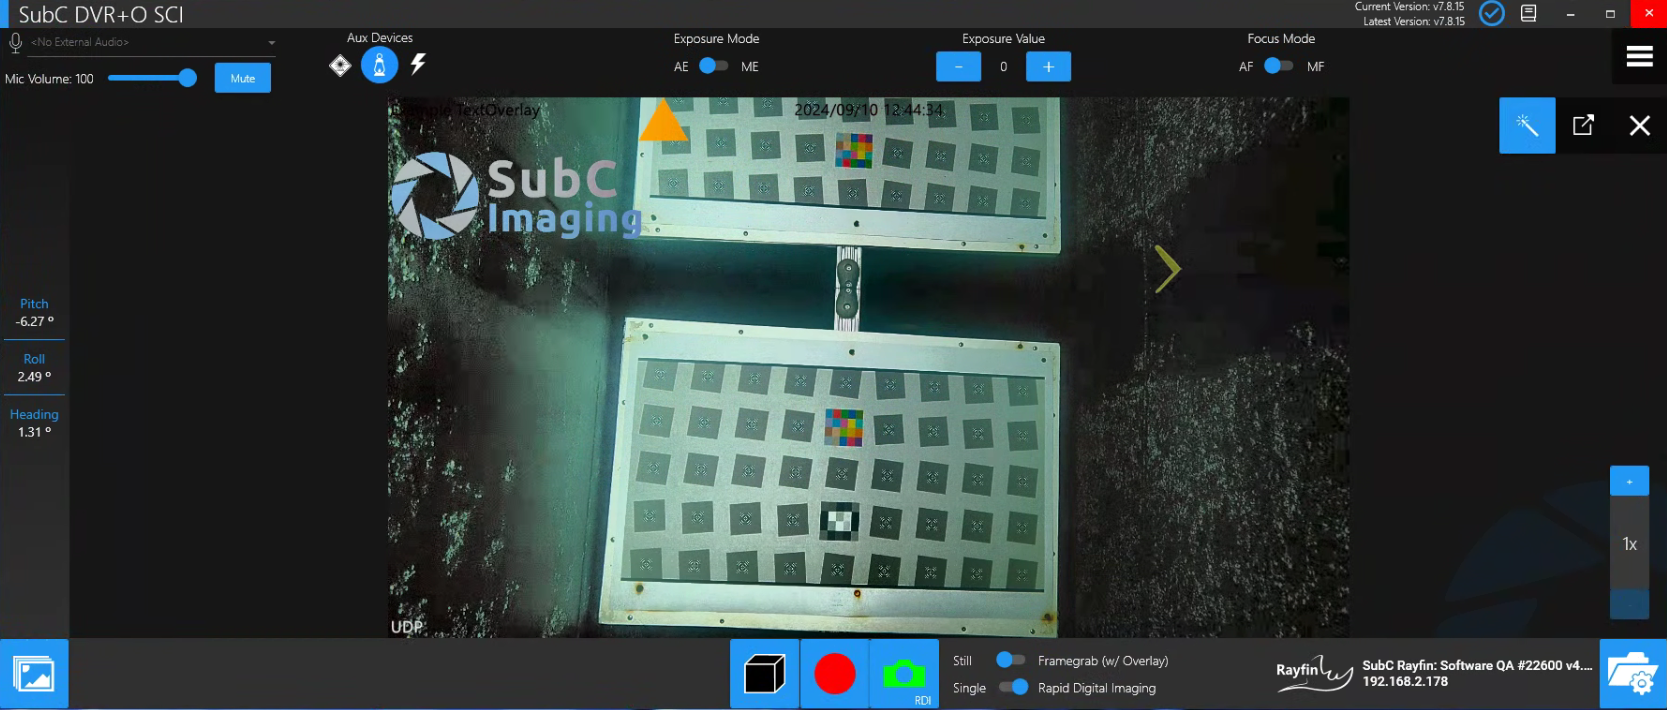
Telemetry Data 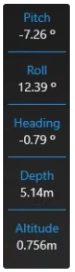 | The Rayfin camera’s depth, altimeter, pitch, roll, and heading values are displayed in a column to the left of the video, giving users a constant view of the camera's telemetry data to prevent accidental bottom strikes when using the Towed Camera System. Depth and Altitude data will only appear in this Telemetry Data panel when you have an Altimeter connected to the Rayfin camera. Contact sales@subcimaging.com to inquire about Altimeters. |
|---|---|
Image Enhancement  | The Real-time Image Enhancement is a feature that will help operators get the job done quickly and efficiently by allowing them to clearly see the videos and stills they're capturing in real-time. The Image Enhancement feature is ideal for water conditions with poor visibility as it helps bring out details in the enhanced video that are normally obscured. Image Enhancement processes live frames so the framerate is processor dependent. See Real-time Image Enhancement examples below. |
Keyboards Shortcuts  | Use keyboard shortcuts “hot keys” to also control the Kongsberg Pan & Tilt device using the keyboard arrow keys and specific character keys (a,z,q,s,x) to control the Rayfin Camera Zoom. See Keyboard Shortcut Keys for details. |
Pan & Tilt  | When you select a Kongsberg Pan & Tilt device, you can reposition using this Pan & Tilt control wheel. See Rayfin Aux Devices → Kongsberg Pan & Tilt section for more details. |
Zoom Level  | Zoom Level refers to the maximum magnification variation between the lens's widest and narrowest settings.
|
Real-time Image Enhancement
Image Enhancement Off
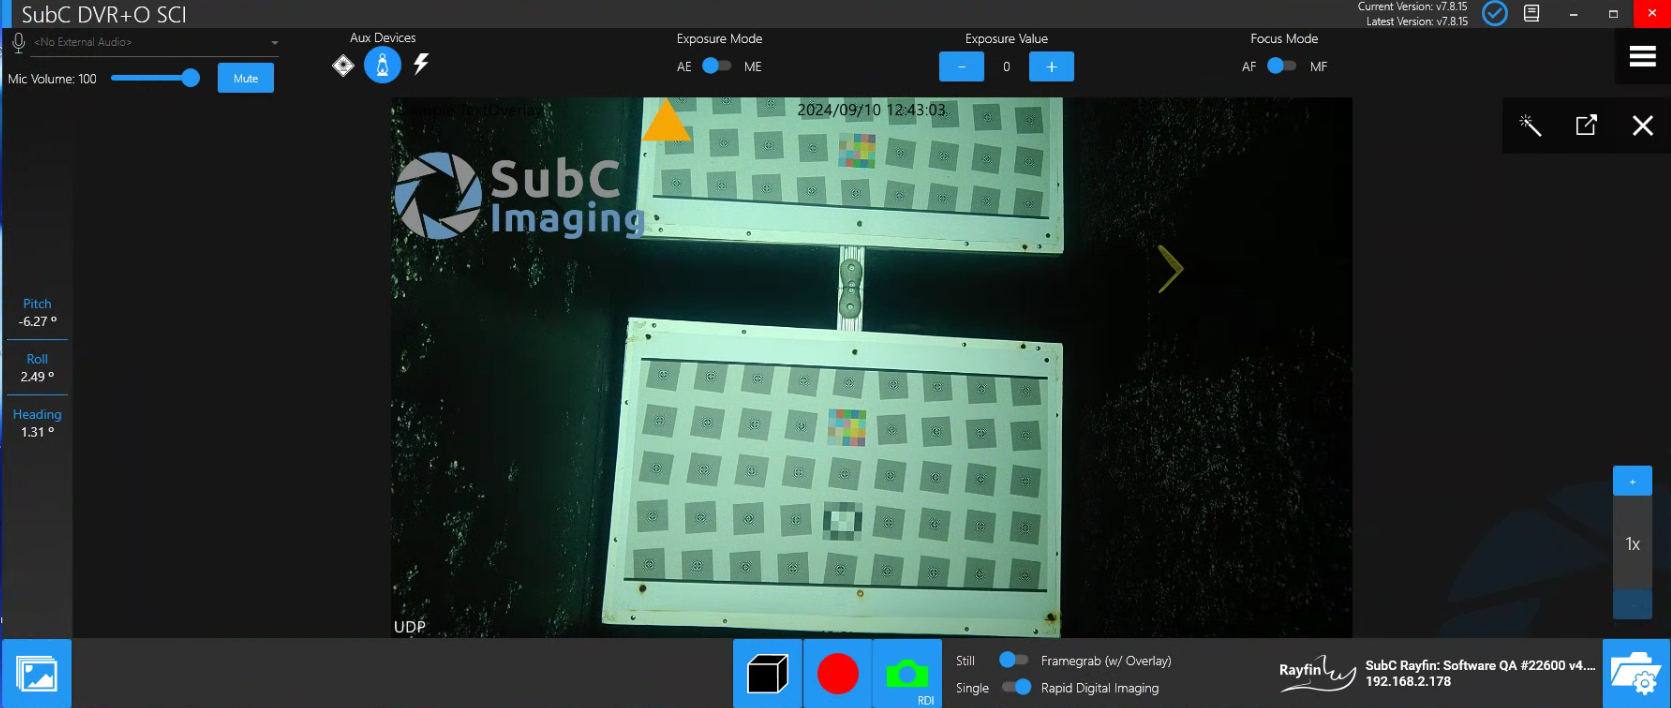
Image Enhancement On