Visual Script Development
Before deployment, it is necessary to develop and test a script that performs the desired functions. When the script starts on the deck of the ship, you can see the lights function, so it is clear that it is working. However, the only way to ensure it will operate as intended is to do long-term testing and check the results. It is important to verify the functionality before deploying the system.
Developing Your Script
The script that you use for your deployment will need to be developed and bench tested. Visual scripts are completely customizable and can be tailored to perform the functions that you want your unit to perform while it is deployed. For more information on Visual scripting go to SubC Rayfin Visual Script Builder.
SubC Rayfin Visual Script Builder is a web application that allows users to create, run, and apply API scripts on Rayfin cameras.
1. Equipment Setup & Getting Started
To perform bench testing, follow the steps outlined in Bench testing in the Quick Start.
The SubC DVR+O SCI and Termite software are available to install from the USB stick that was included with the system. The latest DVR+O SCI software is also available here
To get up to speed quickly, please consider reviewing the following resources:
https://www.subcimaging.com/post/subc-webinar-1-scripting-in-the-subsea
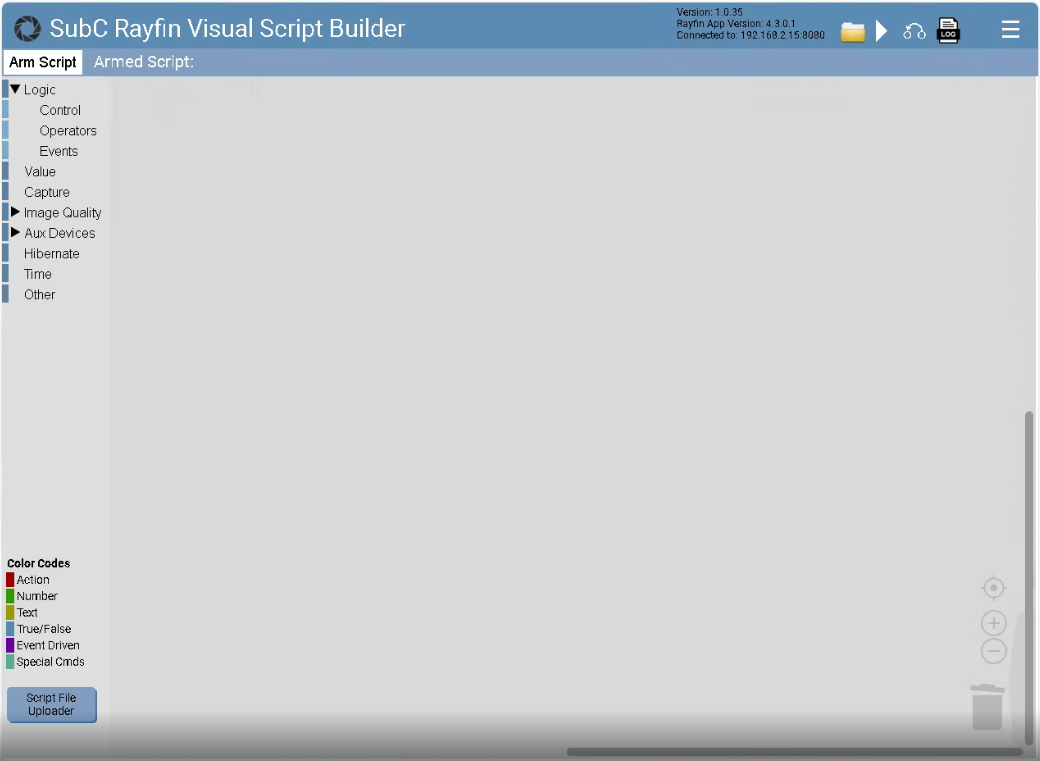
Connect to your camera and follow the SubC Rayfin Visual Script Builder article to navigate to the SubC Rayfin Visual Script Builder and create a new script.
Name the new script “Timelapse.rsl” or similar
If you have already made/have a script, drag and drop it into the SubC Rayfin - Script File Upload.
Once your script is loaded, click the “Arm Script” button to arm the camera with your script.
The Aux ports on the Rayfin can be configured as controllers to send and receive RS485 serial commands. This is helpful in the testing and debugging process.
2. Testing the Script
Throughout the process of creating your script, you will need to run the script to test it and verify that it is performing the desired actions.
Once the script is executed, you should be able to see the script running in Visual Script Builder and executing each action. Ensure that each step specified is performed.
3. Adjusting for Environmental Conditions
During your testing, it is also important to consider the environment in which the system will be observed while it is deployed. It is recommended to recreate this environment as accurately as possible so that the settings of the system can be adjusted to get the most out of your deployment.
The list below contains important factors to consider replicating:
If possible, testing should be performed with the system in water.
Lighting conditions
Distance from the target being observed
To help with your success in subsea imaging, we have created the following resources:
If your script is manually setting the Exposure and Focus settings, it is important to determine the best range of settings to be placed in the script. Once the deployment conditions have been recreated, take stills at various Exposure and Focus settings. It will be necessary to evaluate the stills and determine the settings that work best based on the deployment conditions. These settings will then need to be placed in the script.

Once these settings are found, it is recommended to fully test the script with the new settings to verify that the captured footage is what you are expecting.
If you are setting the Exposure manually during your deployment and the Shutter Speed and ISO are not set correctly, then your pictures will be either too bright or too dark.
If you are setting the Focus manually during your deployment and the Focus Value is not set correctly, this can result in blurry and out-of-focus images.
If you are unsure how far the system will be from the subject that is being observed, it is recommended to set the Focus Value to 2.00 and ensure that the system is more than 1 meter away from the subject. Consider adding multiple focus and exposure adjustments to your script. This will provide a high likelihood that the subjects will be in focus.
After verifying the functionality of your script and adjusting for the environmental conditions, the script should be tested in full - including the Hibernate function if the camera is a Hibernation version.
4. Script Execution Indicator
Standard Timelapse with Rayfin MK2:
In Standard Timelapse, the behavior of the Lamp(s) is determined by the user-defined script. The Lamp(s) will follow the instructions specified in the script blocks. There will be no dedicated indicator—users should expect the Lamp(s) to function as defined within the script.Rayfin Benthic Hibernation:
During the first hibernation cycle, the Lamp(s) will flash rapidly to indicate the transition into hibernation. This flashing behavior occurs only during the first hibernation cycle.
Hibernation Indicator
5. Interpreting the Results
Standard Timelapse with Rayfin MK2: To verify the results, simply stop the script, connect to the camera using the DVR+O SCI software, and click on “Review Media” to confirm that the recordings and still images were captured as specified in the script.
Rayfin Benthic Hibernation: For the Rayfin Benthic Hibernation camera, you will need to cancel the hibernation process using the Wake-up switch before you can connect to the camera. For detailed instructions on how to cancel hibernation, please refer to the Cancel Hibernate page.
After connecting to the camera, verify that:
The photos or videos are saved in the correct location
The correct number of pictures or videos were taken
The photos or videos taken are spaced correctly in time
The photos or videos taken have the correct exposure and focus settings
Other functions of your script performed as expected
For months-long deployments, SubC highly recommends testing the system for as long as possible before deployment. Only after testing your script and the camera functionality for an extended period can you be sure that the system is ready to be deployed and will work as expected.
If the script did not run as expected, please refer to the Autonomous Timelapse Troubleshooting article.