
DVR+ Eventing
We’ve made a few new UI enhancements to the SubC DVR+ Eventing feature which was introduced in DVR+ / SCI v7.14.0.
DVR+ Eventing provides your Inspection teams with the ability to capture events and objects observed during your expeditions.
Watch Eventing Demo: https://www.youtube.com/watch?v=XfCVQK8EJW4
Introduction
-
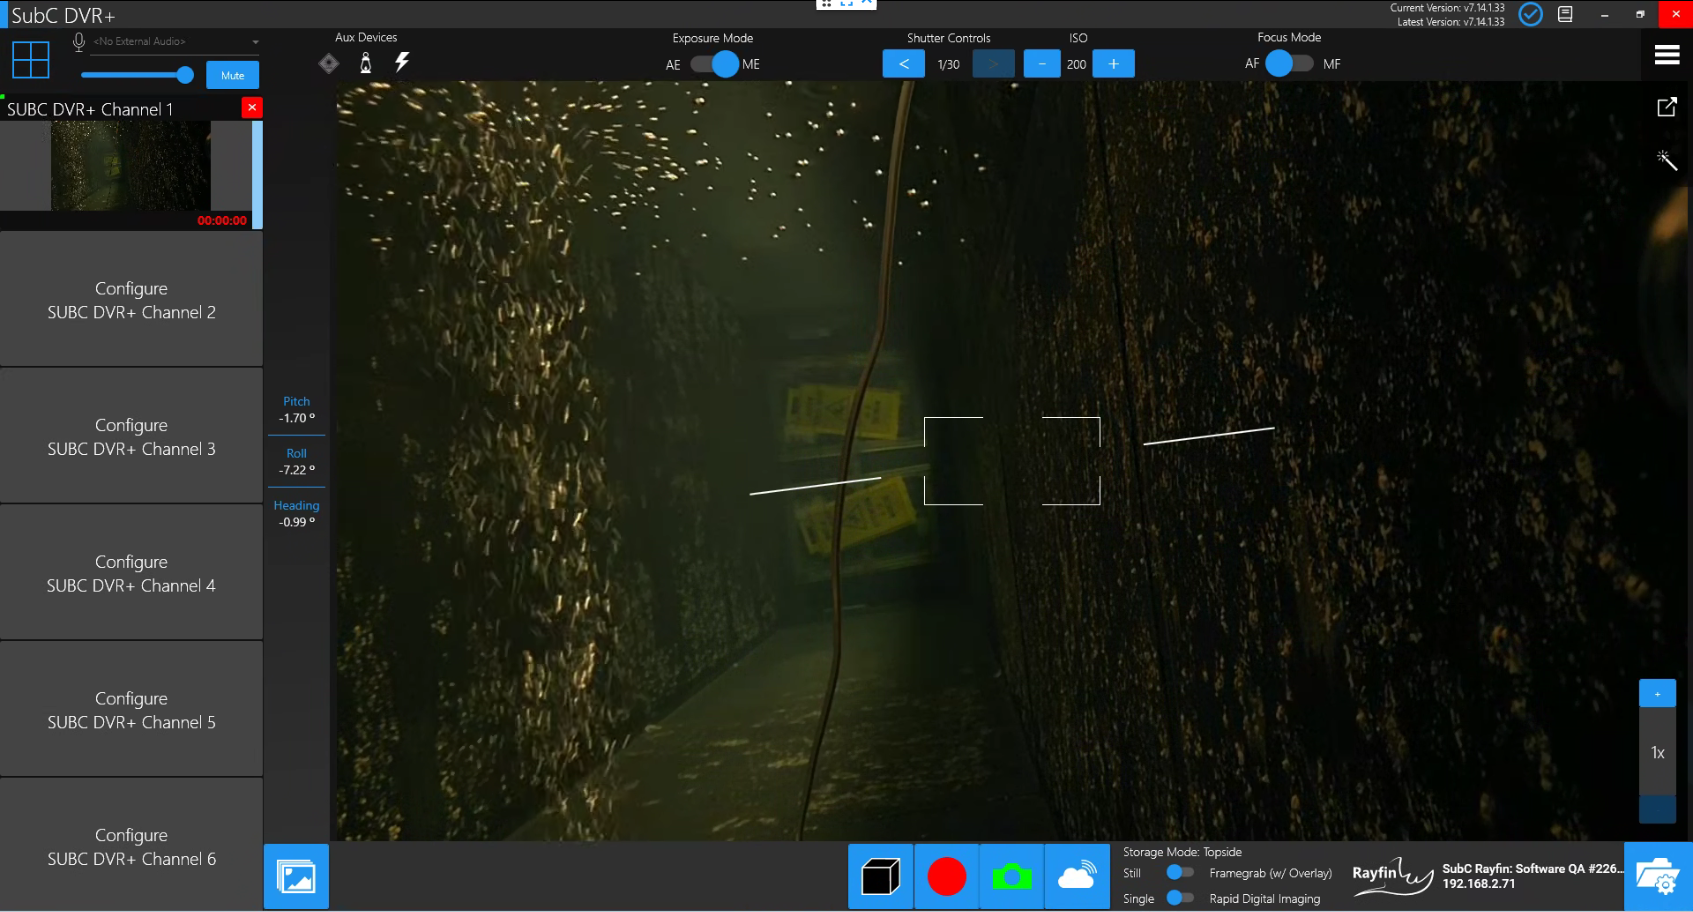
In Priority Mode, configure Channel(s) with video input.
-
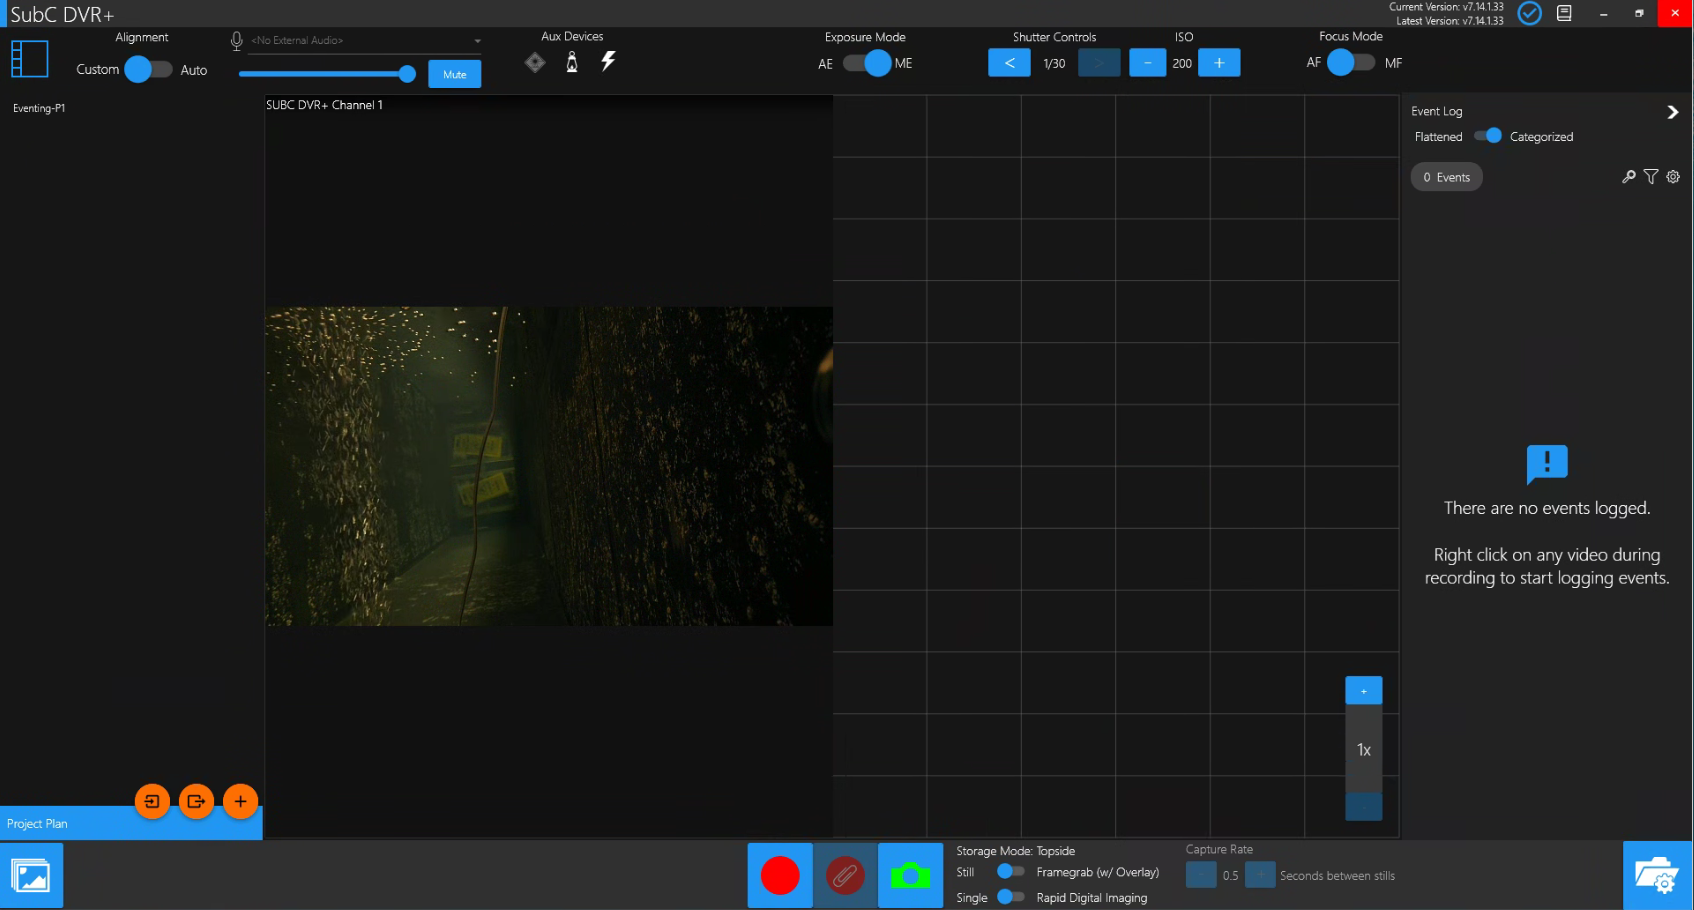
Click the 4-square box at the top-left to switch to Grid/Sync/Eventing Mode

-
Click the expand button (<) on the right to open the Event Log UI.
-
-
Click on Grid Folder / Filename Settings.
-

This will open the Inspection Settings UI. Populate the fields in this section.
We’ve made using Tags easier and added Project Information Tags for Inspection Settings.
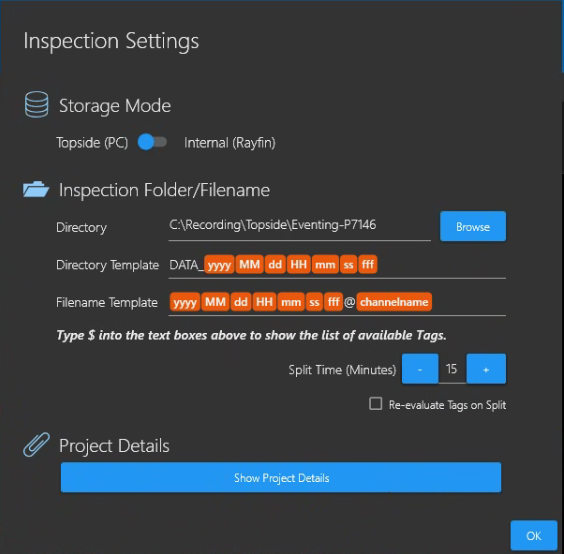
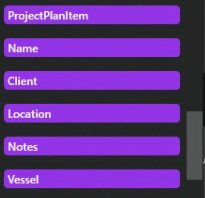
In addition to the Directory Filename Tags available in the Media Capture Wizard, Project Details → Project Information Tags are available for inclusion in the Inspection Setting Directory and Filename Templates:
See Eventing → Recording & Eventing section.
Inspection Settings
Storage Mode
Select Topside (PC) or Internal (Rayfin) as destination for your Inspection files.
Inspection Folder/Filename
These fields determine the Directory where your video Recording and Inspection Eventing files are to be saved. The Templates determine the Directory and Filename format.
Tags offer a convenient way of populating the Template fields. Place the cursor in the desired position in the Directory or Filename Template field and type $ and select a Tag from the list
Split Time (Minutes) enables you to have your video Recording files produced on a specific time intervale; set the duration in minutes here.
Example: If you are continuously recording for 60 minutes, setting the Split Time to 15 minutes will produce 4 x 15-minute recording files.
Re-evaluate Tags on Split - When selected, will modify the filename of recorded video files each time they split according to the tags in the Filename Template.

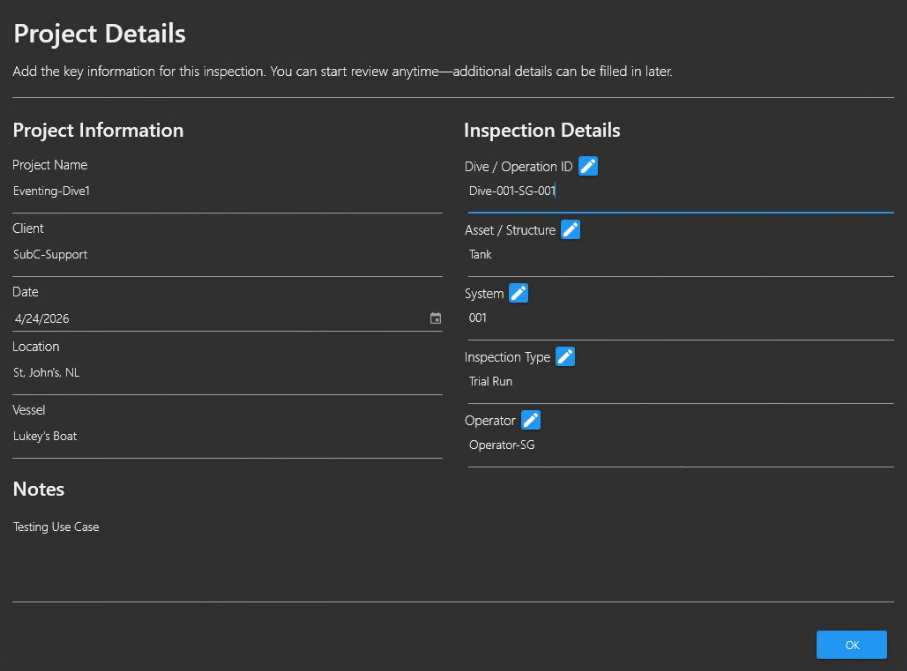
Project Details - Click Show Project Details to open this UI. Populate these fields with text that is relevant to your Inspection project. The Inspection Details field titles are customizable, allowing you to rename these field titles to better align with your project.
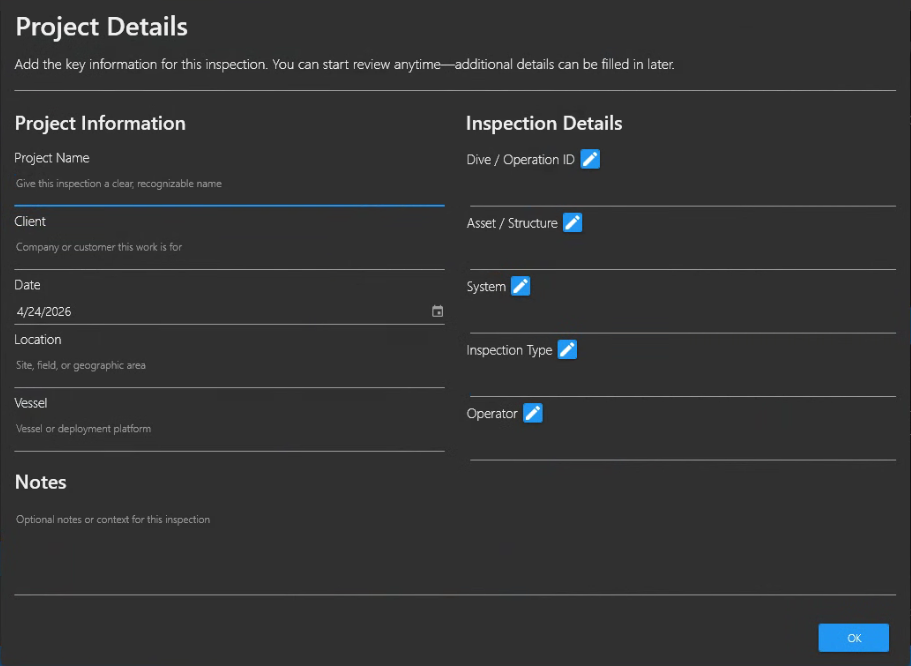
Once you have your Project Details set, click OK to proceed to Event Logging.
See DVR+ Operation → Eventing for details.
SubC ReviewStudio
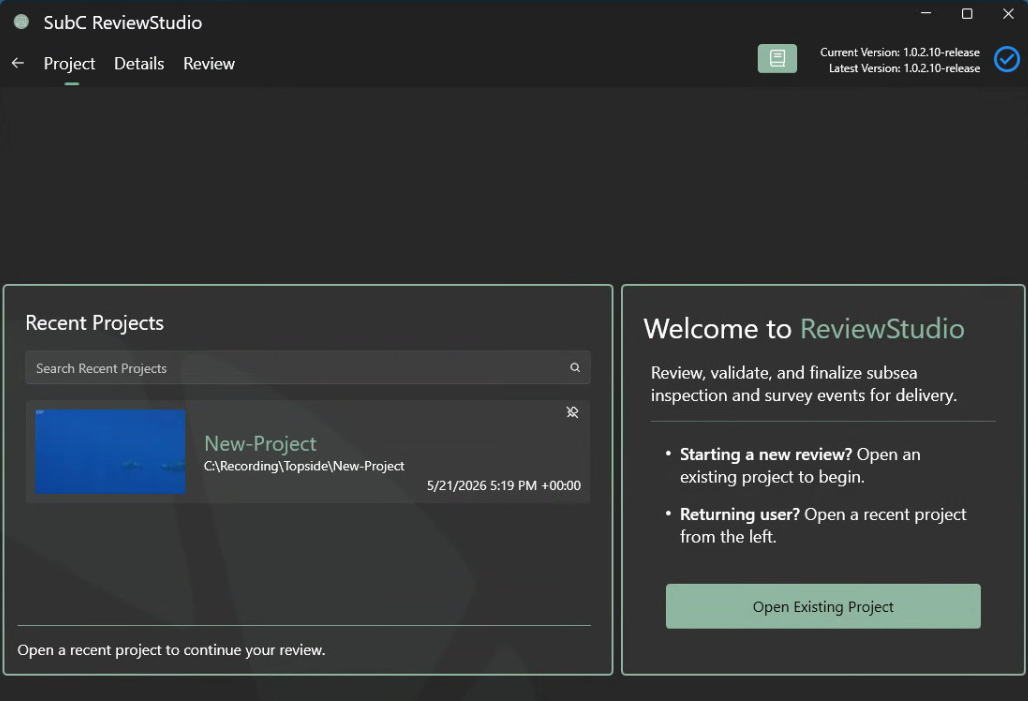
Standard features that are common to all SubC Software UI have been added since the original release of ReviewStudio with DVR+ / SCI v7.14
-
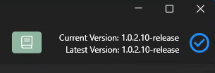
Book icon to access a local .pdf copy of the ReviewStudio User Manual has been added.
-
Software Version Status indicator has been added.
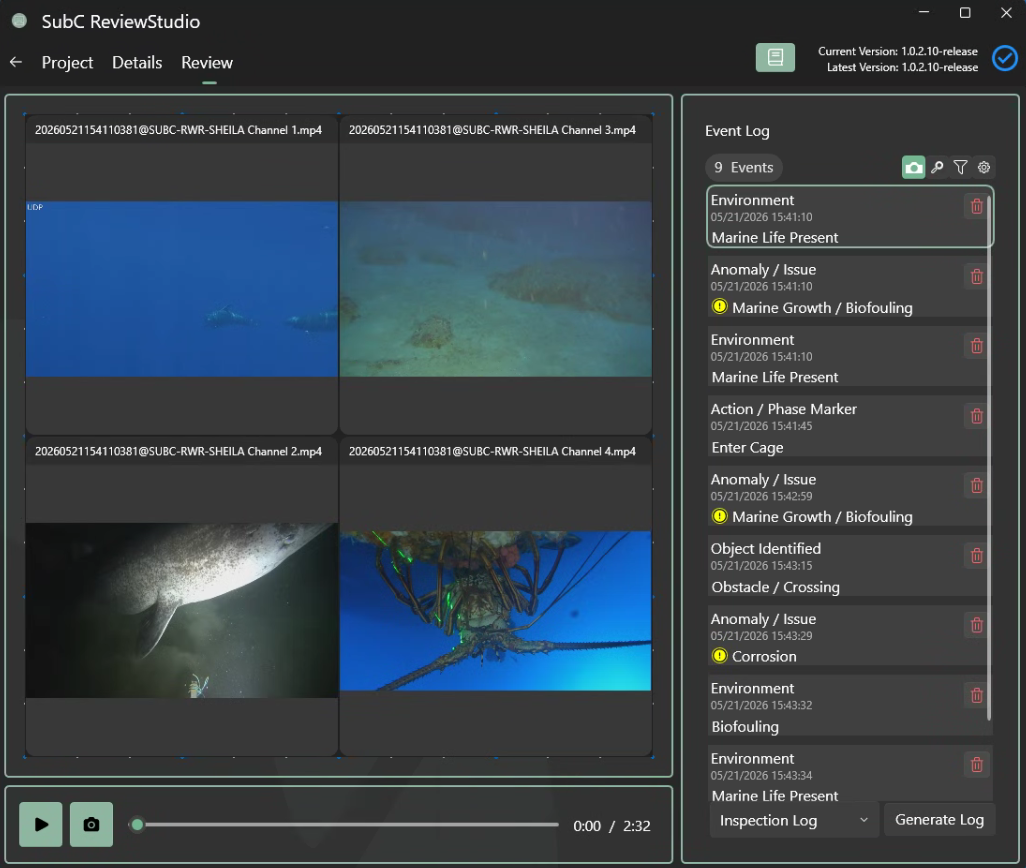
In ReviewStudio → Review UI we’ve added two new Camera icon buttons.
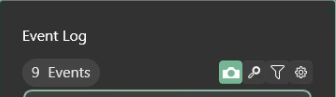
-
The Camera icon button located in Event Log section, when turned ON (green), as you capture Events a framegrab/still is taken and associated with that Event.

2, Use the Camera icon button located next to the recording payback Start/Pause button to take framegrabs/stills while reviewing the Inspection Recording.
New Overlays
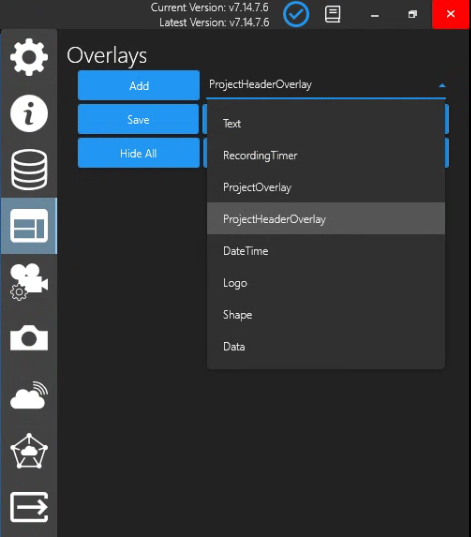
In DVR+ Menu → Overlays, we’ve added:
-
Project Overlay (Persistent)
-
Project Header Overlay (Intermittent)
Project Overlay
Add Project Overlay if you want Tags (Field Content) from the Eventing Project Details to persistently appear during your Eventing session.
When you select “ProjectOverlay”, Type $ into the text box to show the list of available Tags.
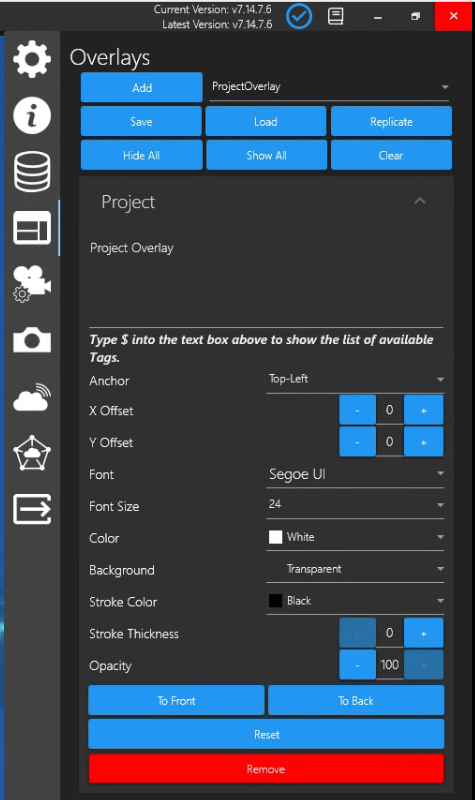
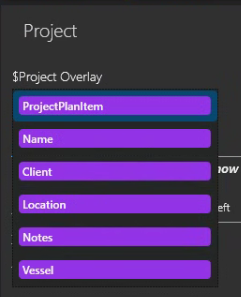
List of ProjectOverlay Tags appear. Select a tag from the list; Type $ again to select other tags from the list.
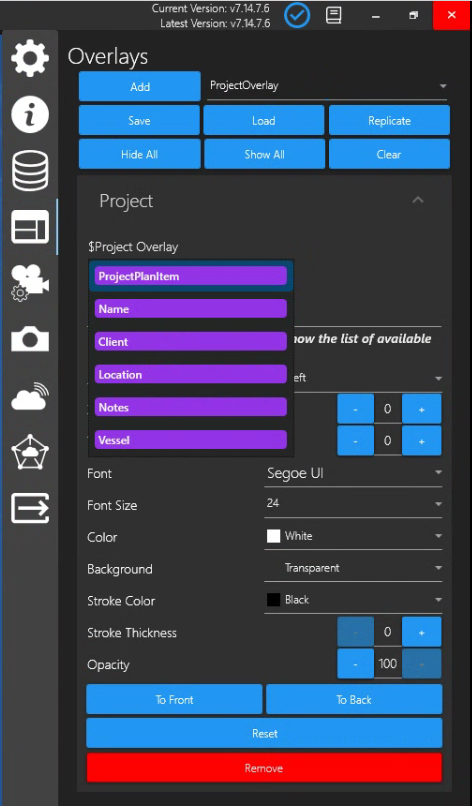
The ProjectOverlay Tags correspond to the fields in the Eventing Project Details
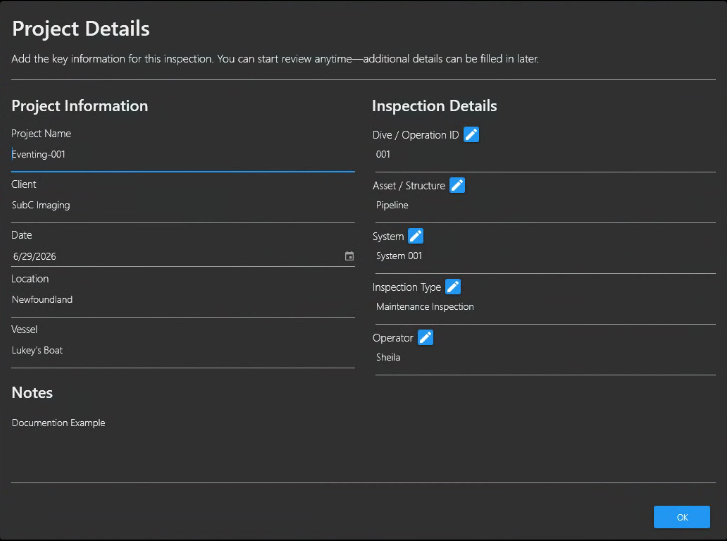
Once you have your Eventing Project folder selected, the ProjectOverlay Tags that you have selected will appear as persistent Overlay on the Channel video. The ProjectOverlay Tags remain visible throughout the Eventing session / Recording.
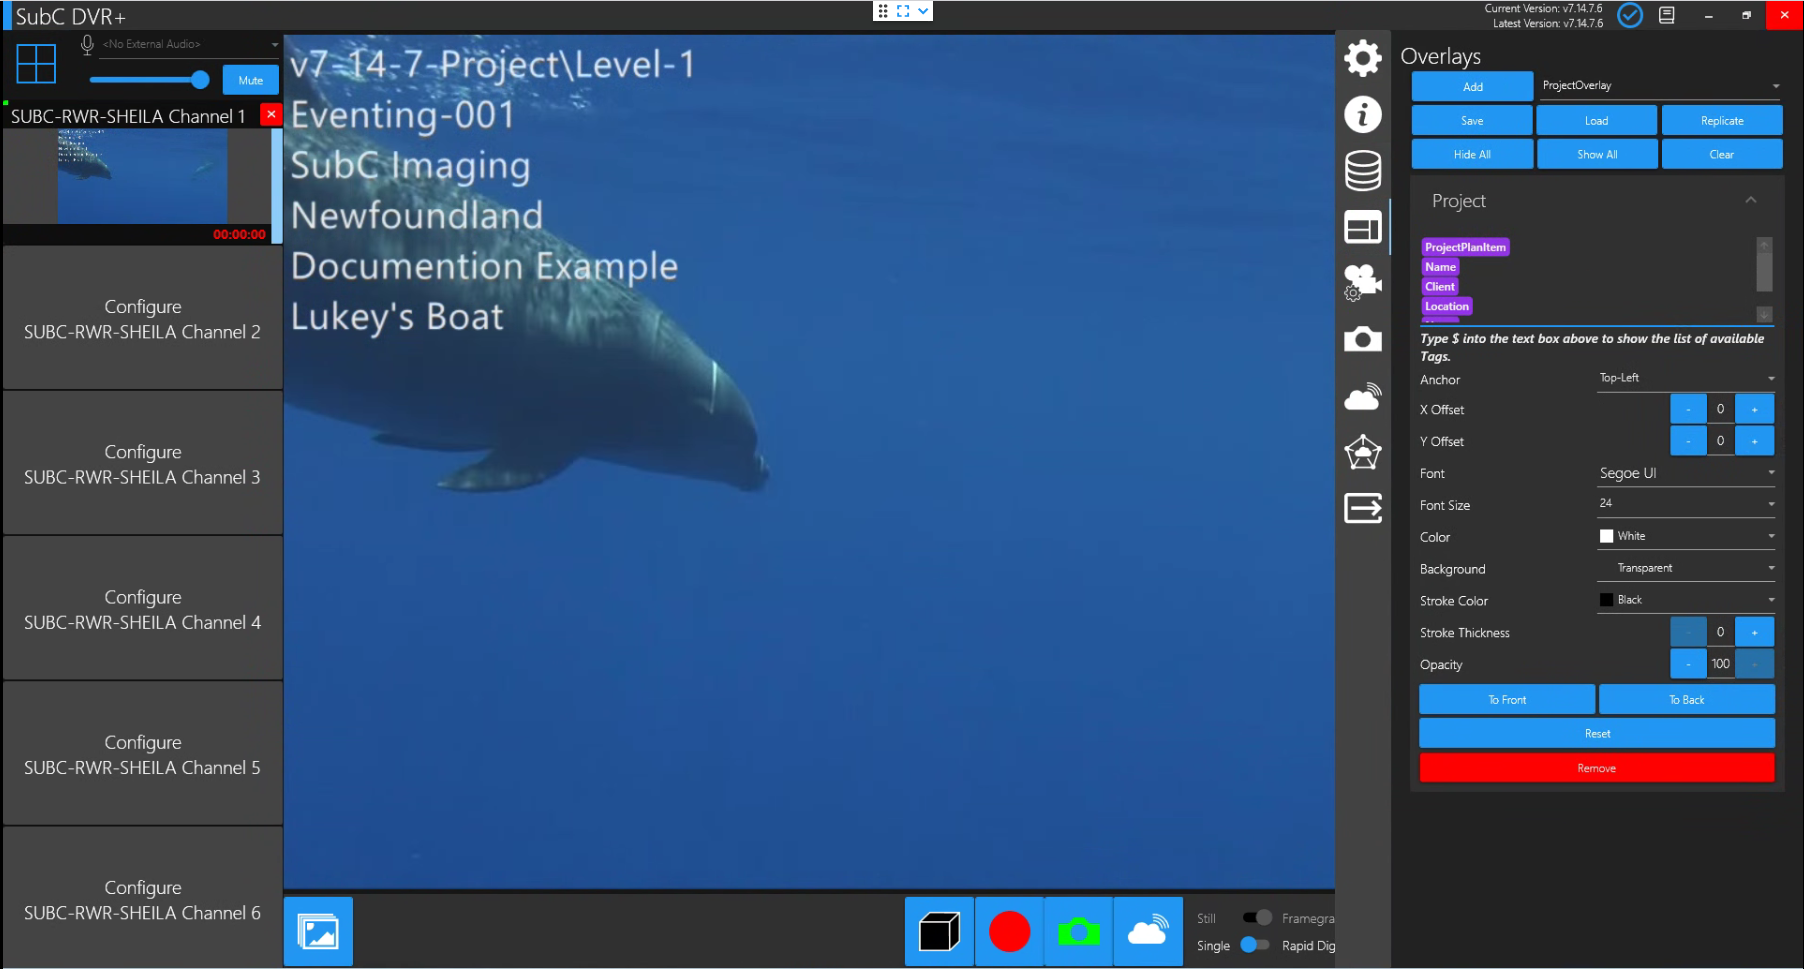
See Menu-->Overlays → ProjectOverlay for details.
Project Header Overlay
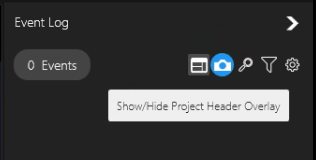
Add Project Header Overlay if you want Tags (Field Content) from the Eventing Project Details to appear intermittently during your Eventing session. You can toggle Show/Hide the ProjectHeaderOverlay to only appear visible when you choose during the Eventing session / Recording.

Click the Show/Hide Project Header Overlay toggle button.
For example, you may have multiple stages (i.e. “Level-1”, “Level-2”, etc.) in your Eventing session and you may wish to only have the Project Header Overlay Tags appear for just a moment (as an introduction / stage marker) at the beginning of each stage of the Eventing session.
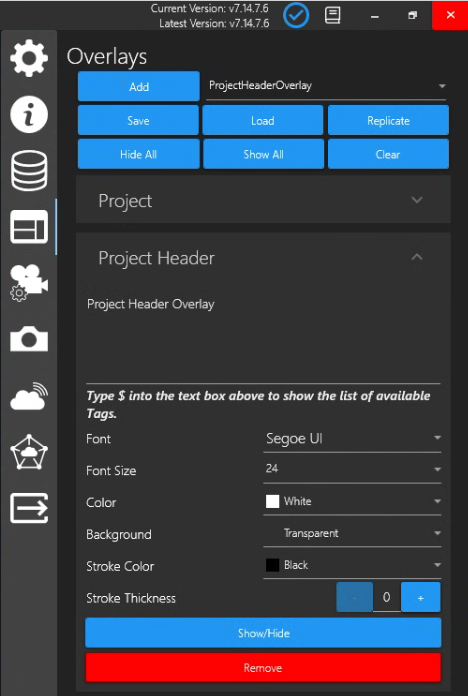
When you select “ProjectHeaderOverlay”, Type $ into the text box to show the list of available Tags.
List of ProjectHeaderOverlay Tags appear. Select a tag from the list; Type $ again to select other tags from the list.
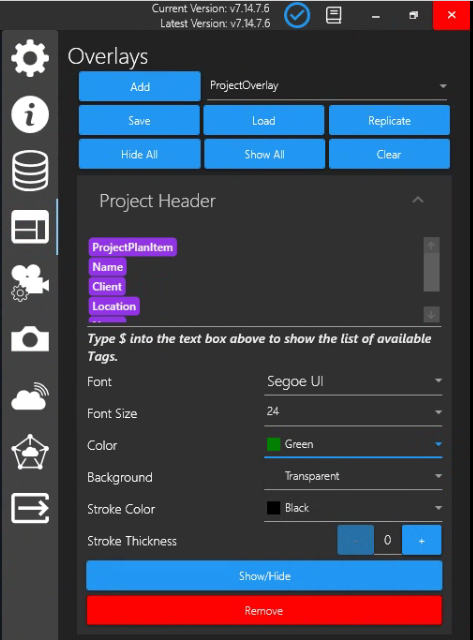
The ProjectHeaderOverlay Tags correspond to the fields in the Eventing Project Details
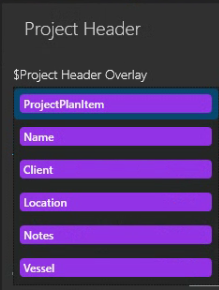
Once you have your Eventing Project folder selected, the ProjectHeaderOverlay Tags that you have selected will appear as Overlay on the Channel video.
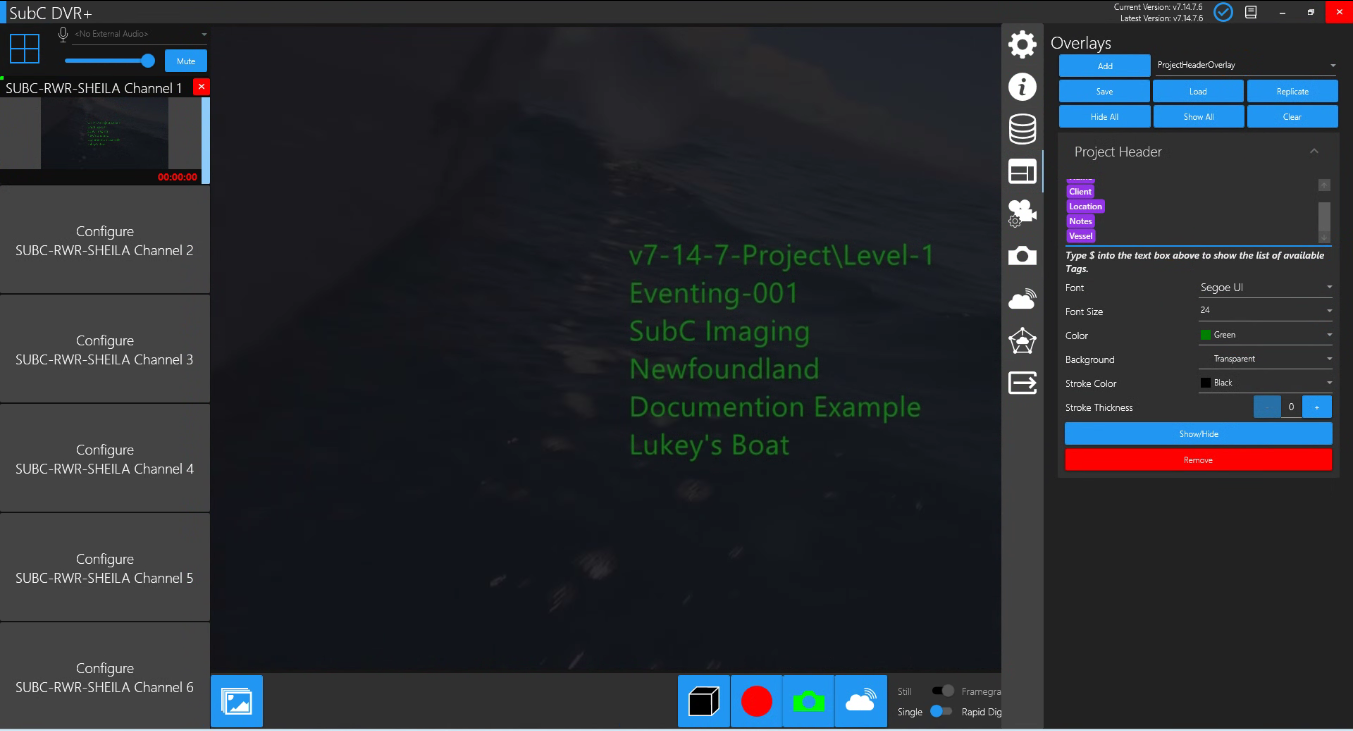
See Menu-->Overlays → ProjectHeaderOverlay for details.