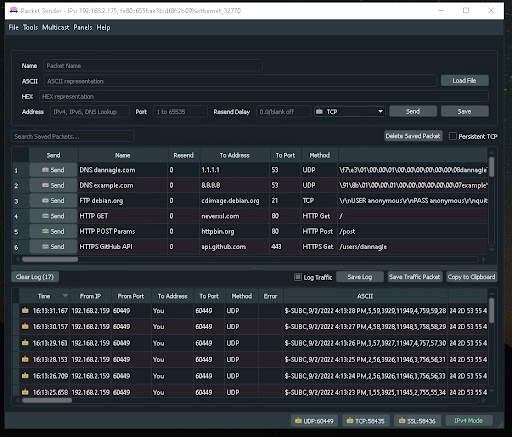
Below is a scenario to help explain the Stream Data I/O features using Packet Sender to confirm the success of the Data Output.
Step 1 - Open Packet Sender on the Data Output Target System
-
Download a free Packet Sender and install on the target system (target system is where you wish to take in the Stream Data Output video and data).
-
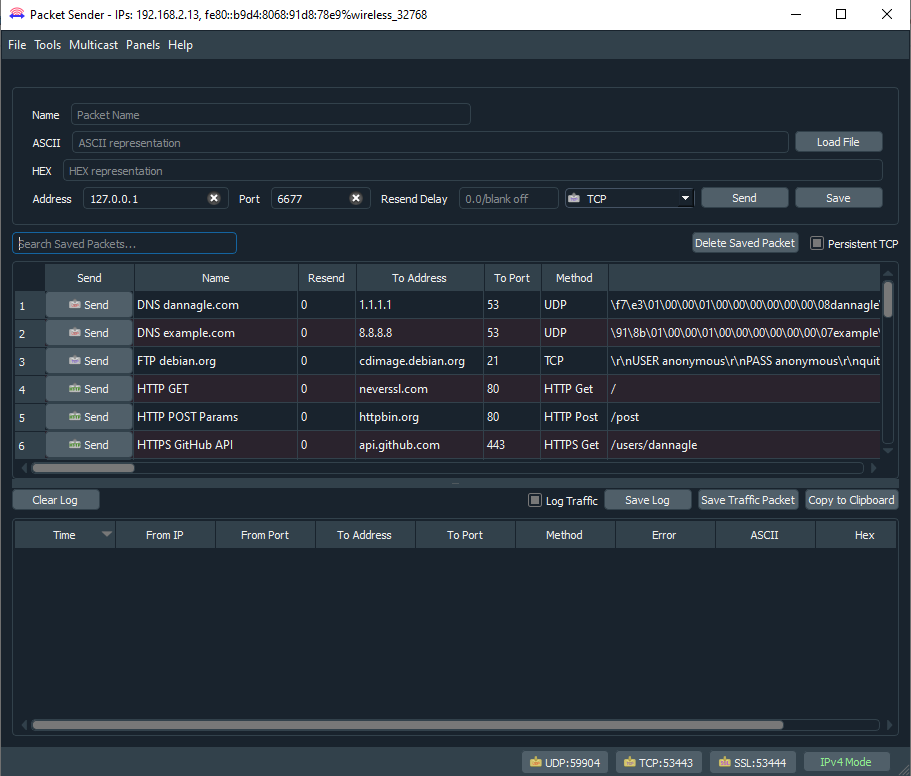
Open Packet Sender on the Data Output target system.
-
Note the UDP and TCP Port numbers located at the bottom-right of the Packet Sender window (required for Step 2).
Step 2 - Configure Video & Data Source Input
-
On a system running Stream Desktop Application:
-
Configure a Channel 1 with video Input
-
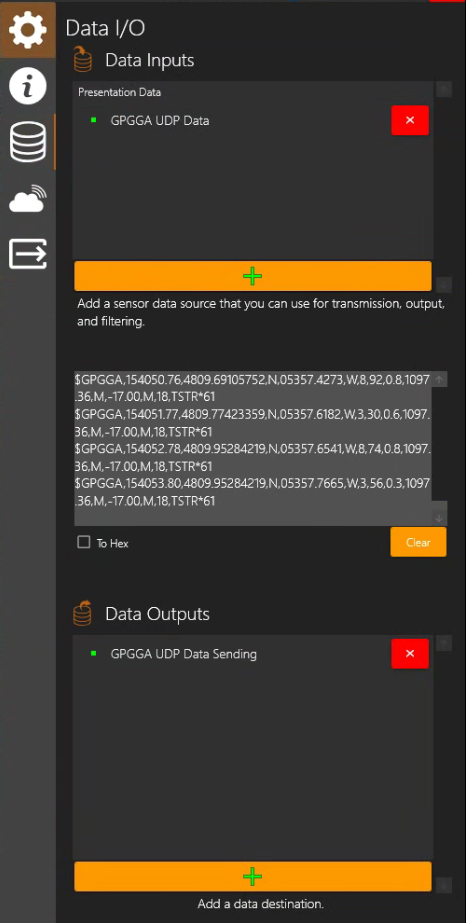
Add Data Input to this Channel (sensor data generated on the same or another system).
-
Configure Data Output to send the Data to the target system’s IP Address with the UDP or TCP Port # shown on the target system running Packet Sender noted in Step 1.
-
Step 3 - Confirm the Data Output reaches the Target System
On the target system, you should now see the data coming in on Packet Sender.